
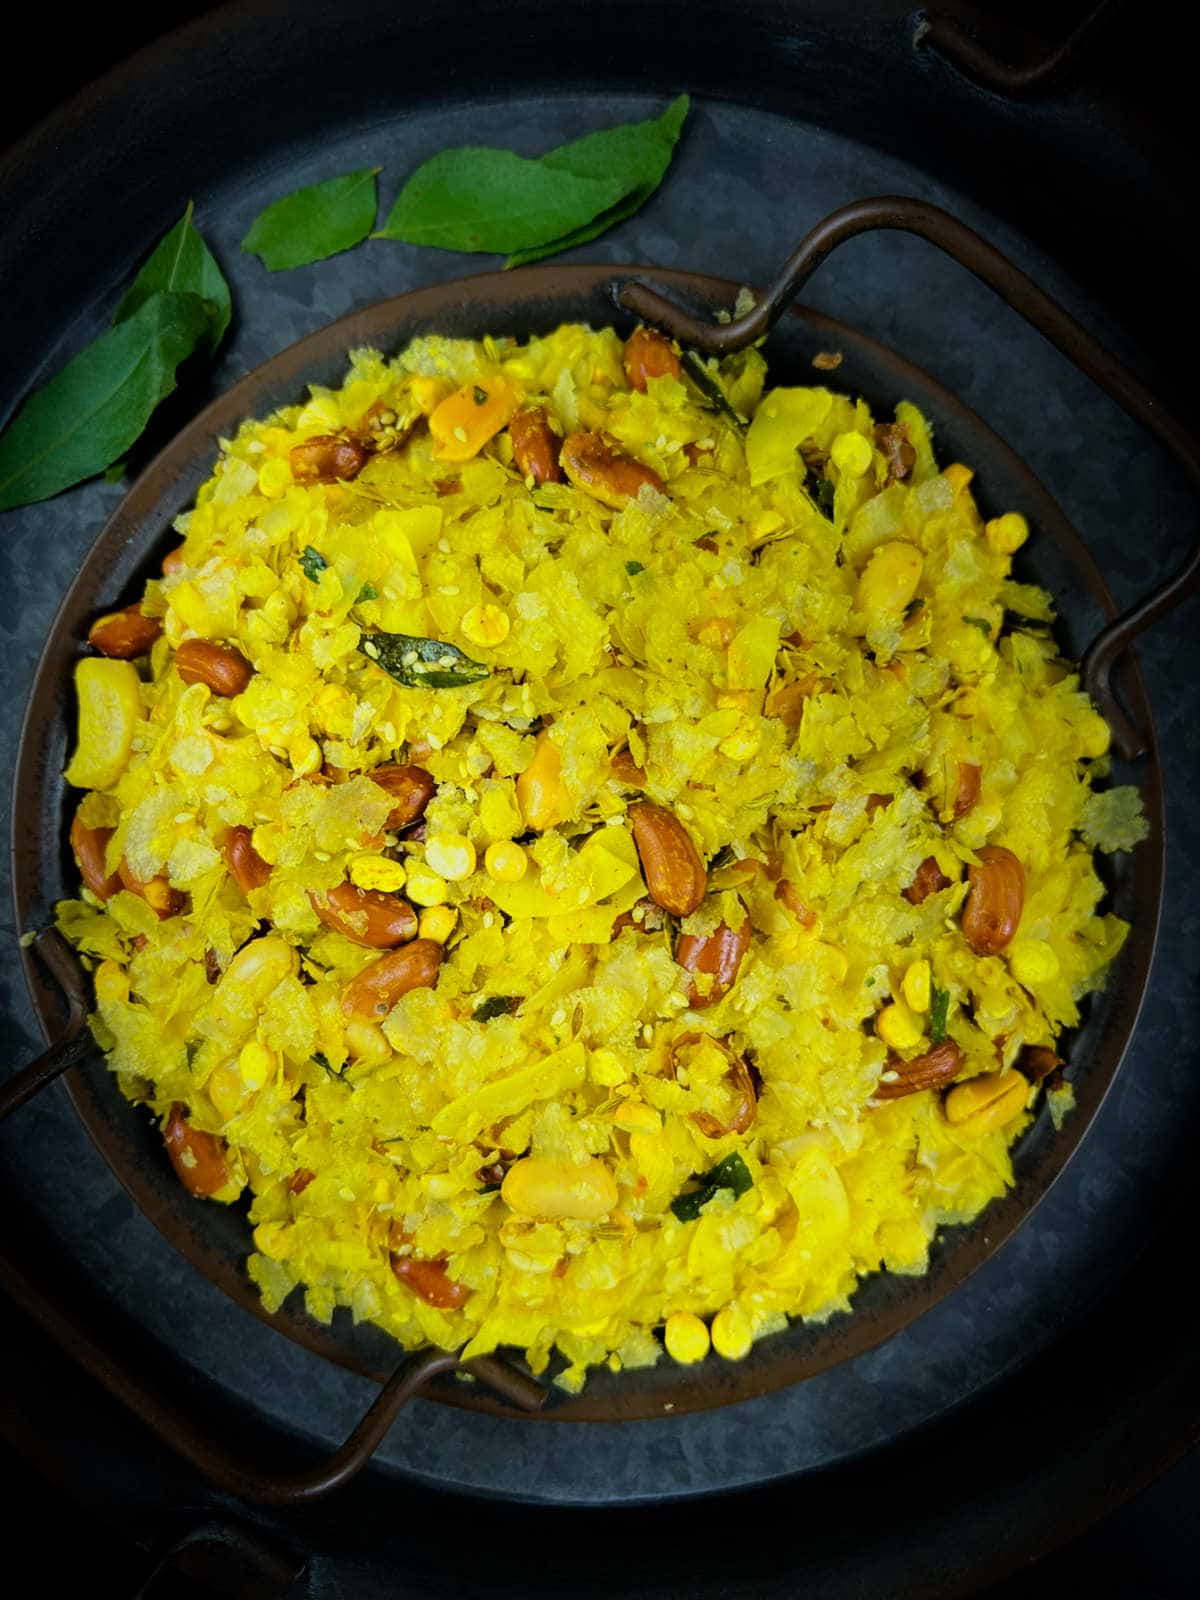
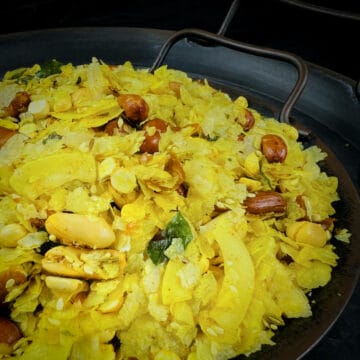
Poha chivda is a popular Indian snack made from flattened rice flakes, spices, nuts, and dried fruits. It offers a delightful combination of flavors, with the sweetness of raisins, the crunch of roasted nuts, and the warmth of spices.
This easy-to-make and versatile snack can be enjoyed on its own or as a tea-time snack with masala chai, and it is commonly prepared during festivals or as an anytime snack.
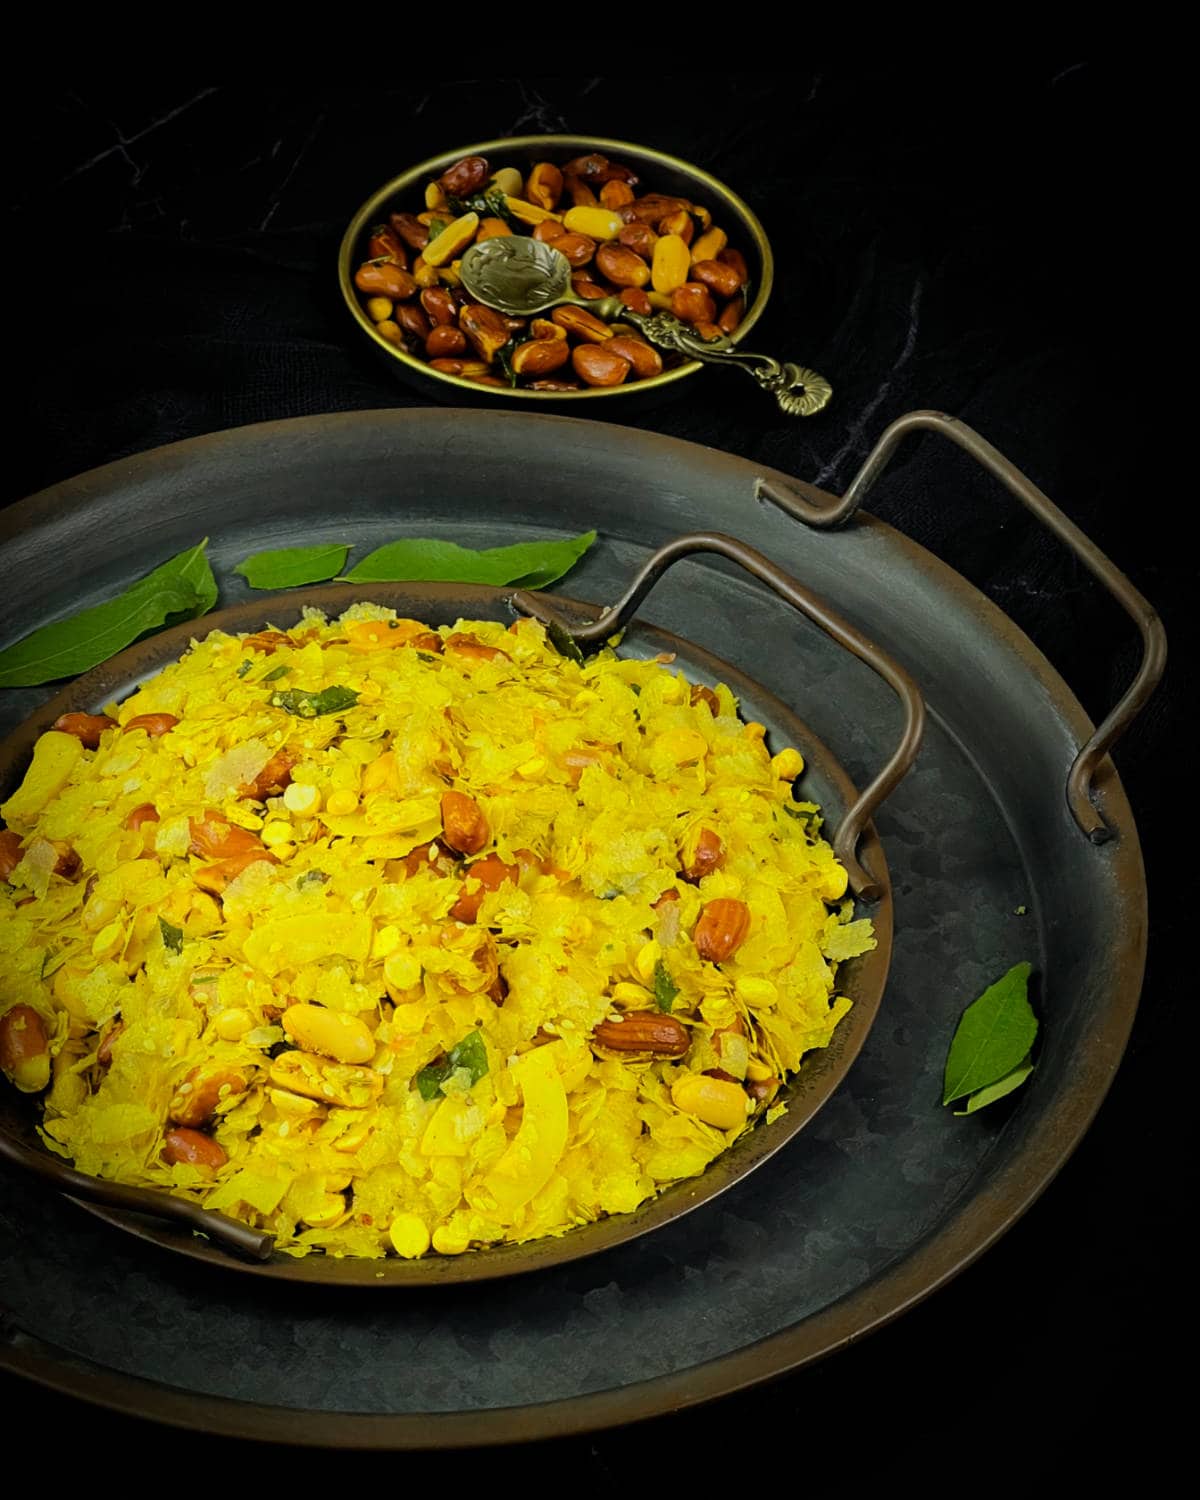
Poha Chivda is a crunchy and crispy snack with a combination of salty and sweet flavors. The word "chivda" refers to a savory snack mix made with flattened rice, spices, and nuts. Poha chivda is the most common type, but there are many other variations, such as sabudana chivda, cornflakes chivda, oats chivda, and makhana chivda.
Roasted poha chivda is commonly prepared during festivals like Diwali, but it is enjoyed throughout the year as a popular snack in India. Every year, our Diwali preparation starts with making a big batch of poha chiwda.
Why you will love this recipe?
- Easy to make: This recipe to make poha chivda is simple. It can be prepared quickly and easily, making it accessible for both beginner and experienced cooks.
- Flavorful and balanced: It has a perfect balance of flavors. The spices provide a warm and aromatic taste, while the sweetness from the raisins adds a nice contrast.
- Shelf-stable snack: This chivda can be stored in an airtight container for a relatively long period. It retains its crispy texture and flavors, making it an ideal snack to enjoy at any time. I
Ingredients
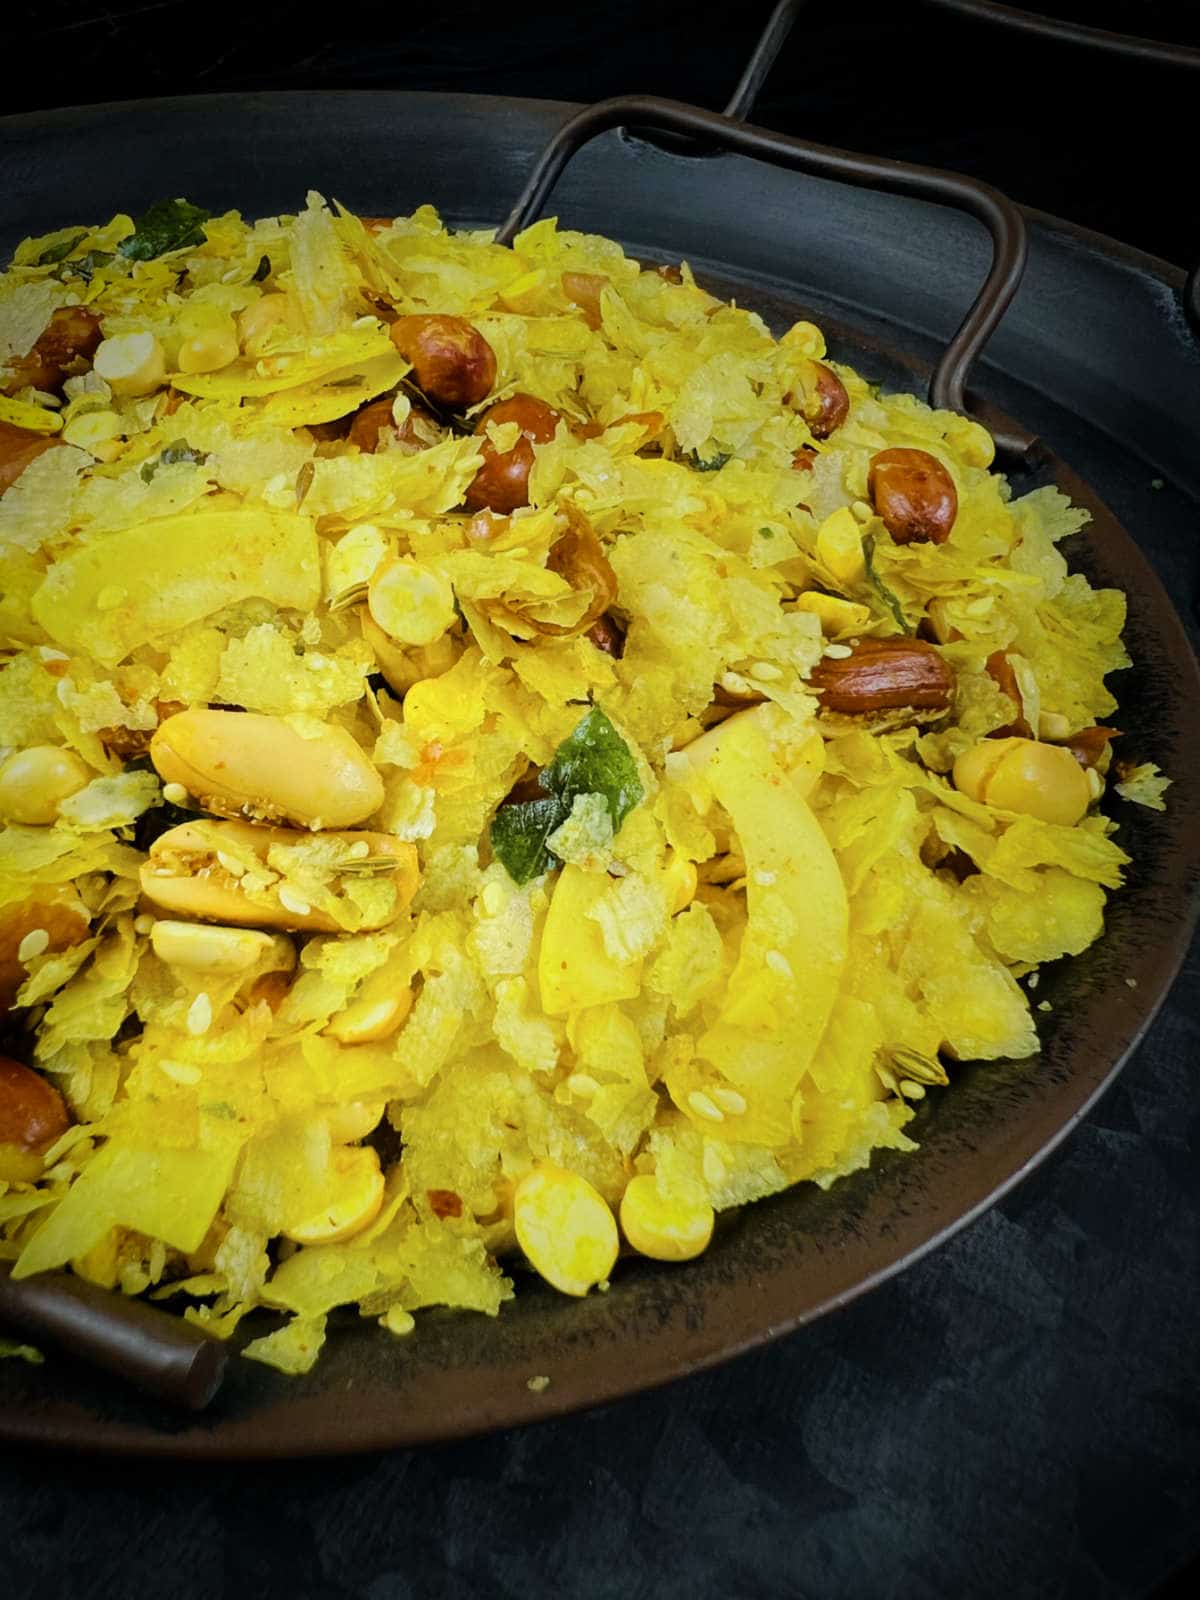
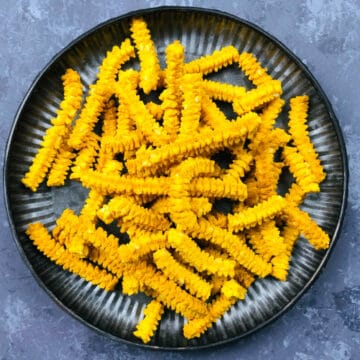
Poha: Poha is flattened rice flakes. Use thin nylon poha for this recipe. It is easily available in Indian grocery stores and online stores like Amazon.
Spices: In my recipe, I am using hing, turmeric powder, chili powder, sesame seeds, and fennel seeds.
Nuts and dried fruits: I am using peanuts, cashews, and golden raisins. You can use other nuts of your choice like almonds, pecans, or macadamia.
Other ingredients: Green chili, curry leaves, dried coconut, salt, and sugar. Do not skip the sugar as it balances the overall taste of the chivda.
Step-by-step instructions
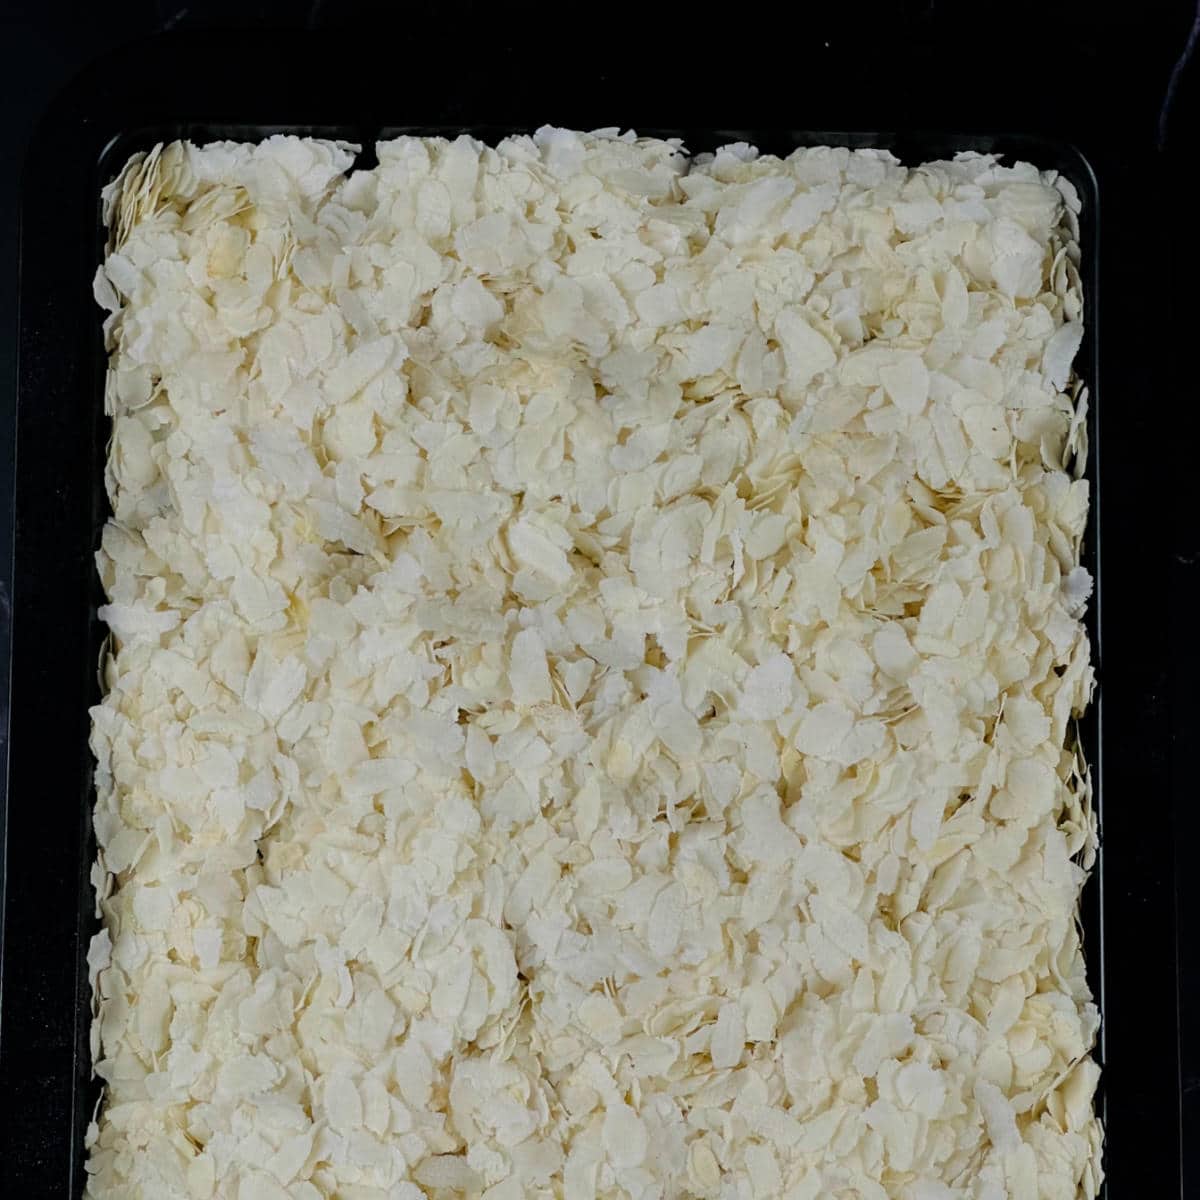
Step 1: Preheat the oven to 210 F (100 C). Spread the nylon poha on a wide baking sheet. Roast it in the oven for 30 minutes, until crunchy.

Step 2: Take a large
Step 3: Add asafoetida, chopped green chili, curry leaves, red chilli powder, turmeric powder, fennel seeds, sesame seeds, salt, and sugar. Fry them for 2 minutes.
Step 4: Add the dry coconut slices, roasted Bengal gram, and raisins. Fry for one more minute.
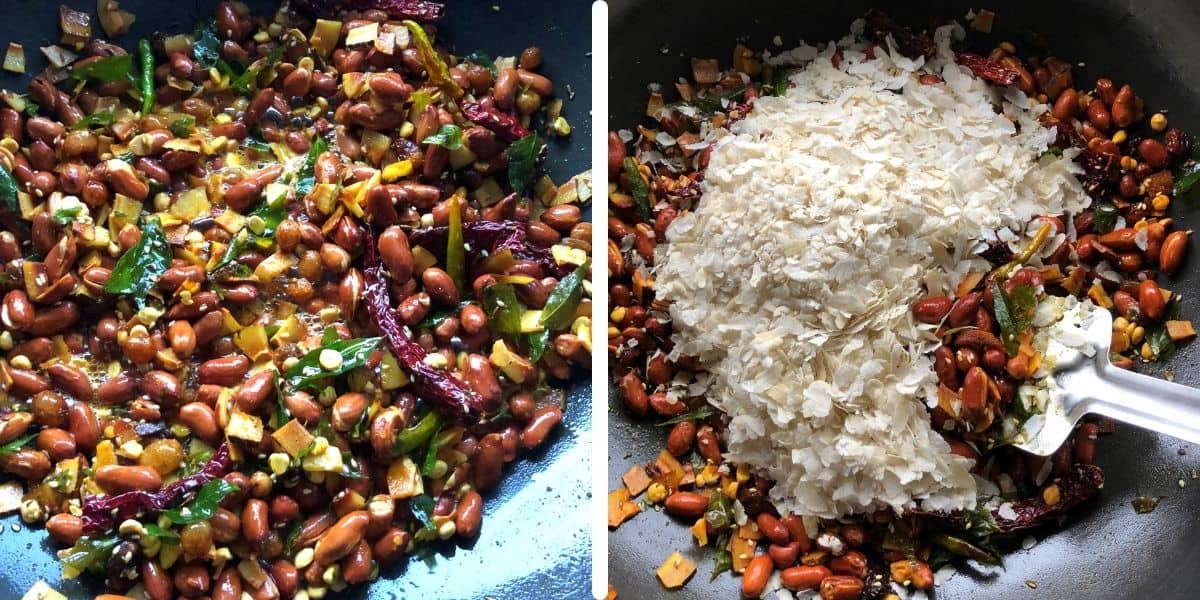
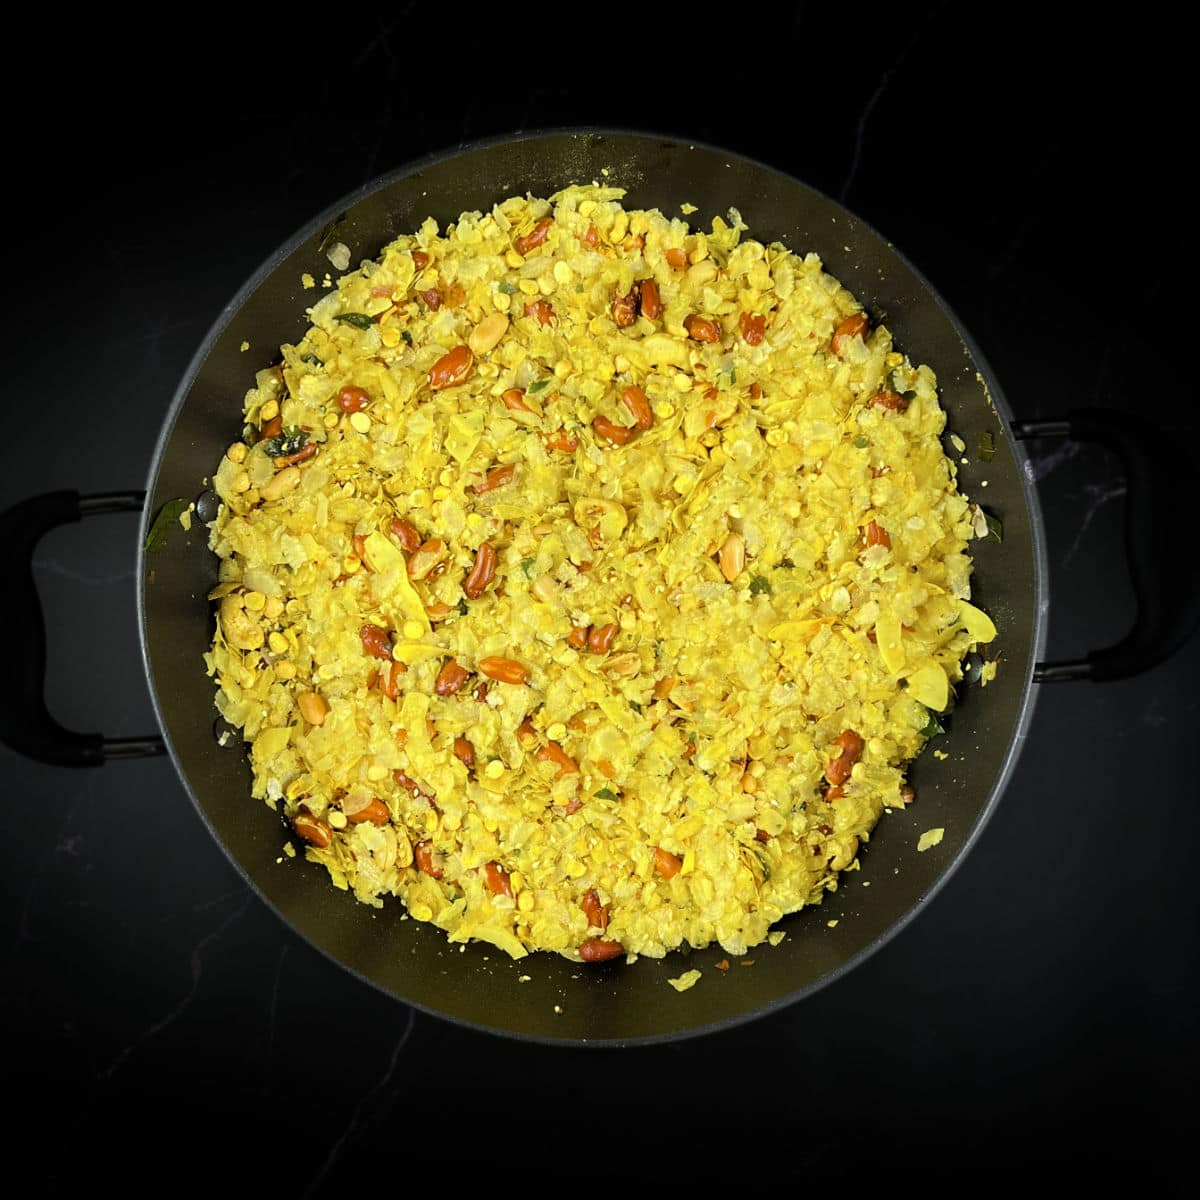
Step 5: The chivda masala is ready. Turn off the heat and add the roasted poha to the spice mixture. Combine using a wide spatula. When the mixture is still warm but cool enough to handle, mix well using your hands. Cool it completely and store it in an airtight container.
Roasting poha in the oven
For crispy poha chivda, the key step is ensuring the poha has a crispy texture when pressed between your thumb and finger. Traditionally, poha is sun-dried or dry-roasted in small stovetop batches, but a more efficient method is oven-roasting.
To do this, preheat the oven to around 210 F (100 C), spread poha evenly on a baking sheet, and bake, stirring every 10-15 minutes, until they're uniformly crispy. Monitor their crispness by cooling a few flakes and ensure they crumble easily. Once they're cool, proceed with making chivda. This oven method offers consistent results without the need for constant stovetop attention.
Expert Tips
There are different varieties of poha available, such as thick, medium, and thin flakes. For making poha chiwda, use thin flakes, also called nylon poha. Avoid using thick or medium poha, as it may not turn out as crispy.
Use the right amount of oil to saute the ingredients. Adding too much oil can make the chivda greasy, while too little may result in a dry texture.
After cooking, allow the chivda to cool down completely before storing it in an airtight container. This will help retain its crunchiness and prevent moisture buildup.
Storing poha chivda
To maintain the freshness and crunchiness of poha chivda, ensure the chivda cools completely to prevent moisture buildup. Next, transfer it to a clean, dry, and tightly sealed airtight container.
Store this container in a cool, dry place like a pantry or kitchen cabinet, avoiding direct sunlight and refrigeration. Lastly, always seal the container tightly after each use to prevent staleness due to exposure to air.
More Diwali recipes


If you tried this Poha Chivda Recipe or any other recipe on my website, please leave a ? star rating and let me know how it went in the ? comments below.
Recipe card
Poha Chivda
Equipment
Ingredients
- 500 grams thin flattened rice flakes nylon poha
- ¼ cup oil
- 1 cup peanuts (raw)
- ½ cup cashews
- ½ teaspoon hing asafoetida
- 1 teaspoon turmeric powder
- 1 teaspoon red chili powder (adjust as per taste)
- 5-6 green chili (adjust as per taste)
- 3 sprigs curry leaves
- 2 tablespoon sesame seeds til
- 1 tablespoon fennel seeds saunf
- ½ cup roasted Bengal Gram
- ½ cup dried coconut thinly sliced
- ¼ cup raisins
- 1-1½ teaspoon salt (adjust as per taste)
- 1 tablespoon sugar
Instructions
- Preheat the oven to 210 F (100 C).
- Spread the nylon poha on a wide baking sheet. Roast it in the oven for 30 minutes, until crunchy
- Take a large frying pan or kadhai and heat the oil.
- Add the peanuts and fry them on medium heat until they are crunchy. Add the cashews once the peanuts are done and saute for one more minute.
- Add asafoetida, green chili, curry leaves, red chili powder, turmeric powder, fennel seeds, sesame seeds, salt, and sugar. Saute for 2 minutes.
- Add the coconut slices, roasted Bengal gram, and raisins. Fry for one more minute.
- Turn off the heat and add the roasted poha to the spice mixture.
- Combine using a wide spatula. When the mixture is still warm but cool enough to handle, mix well using your hands.
- Cool it completely and store in an airtight container.


Comments
No Comments