
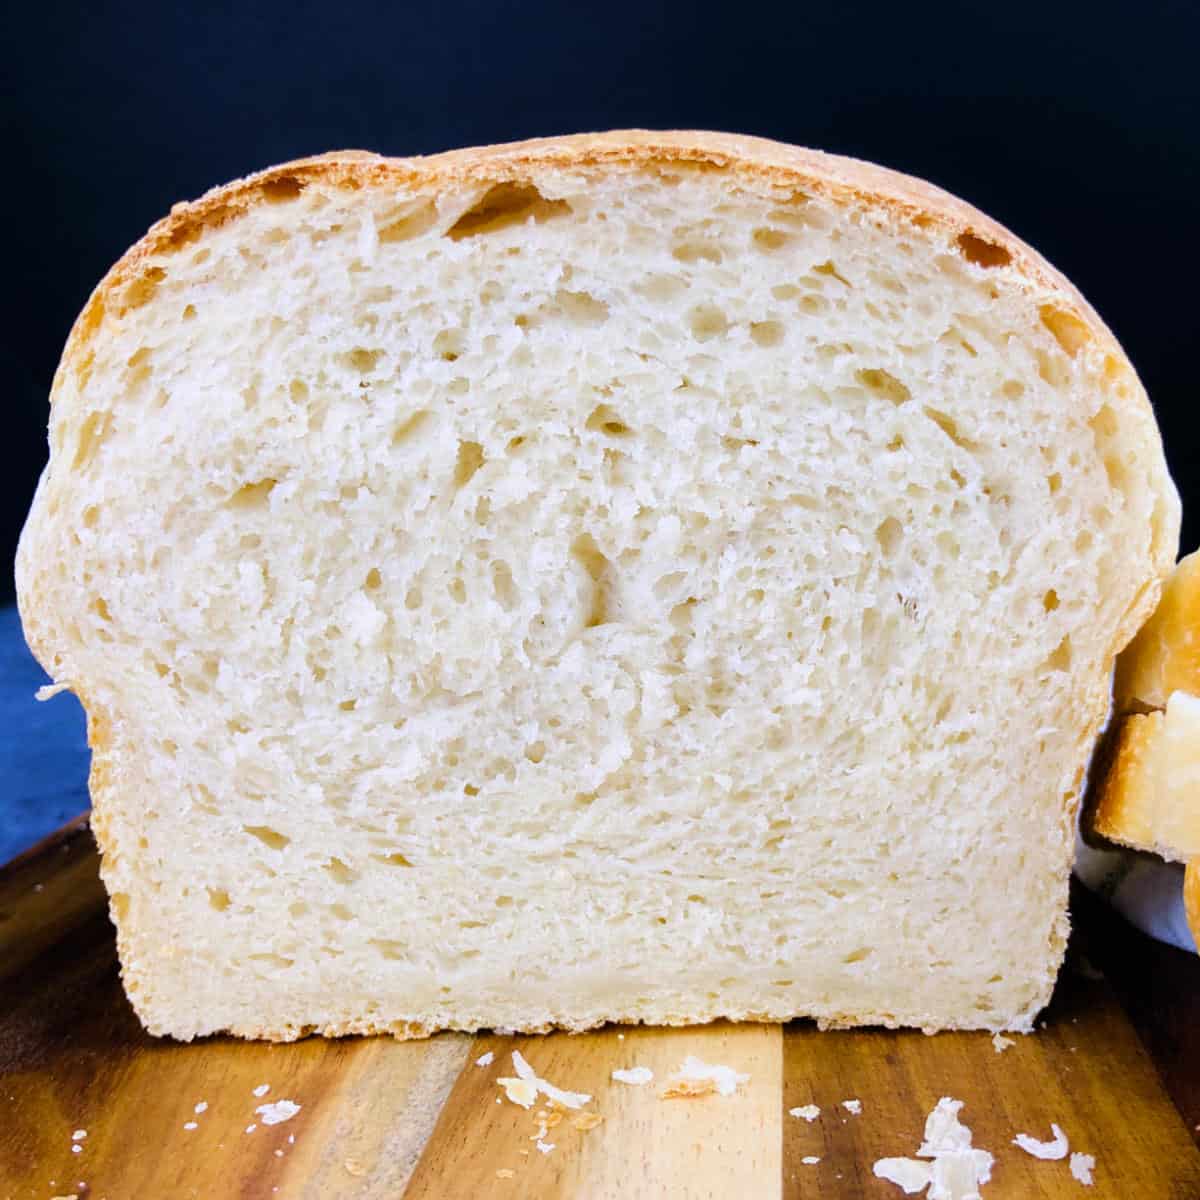
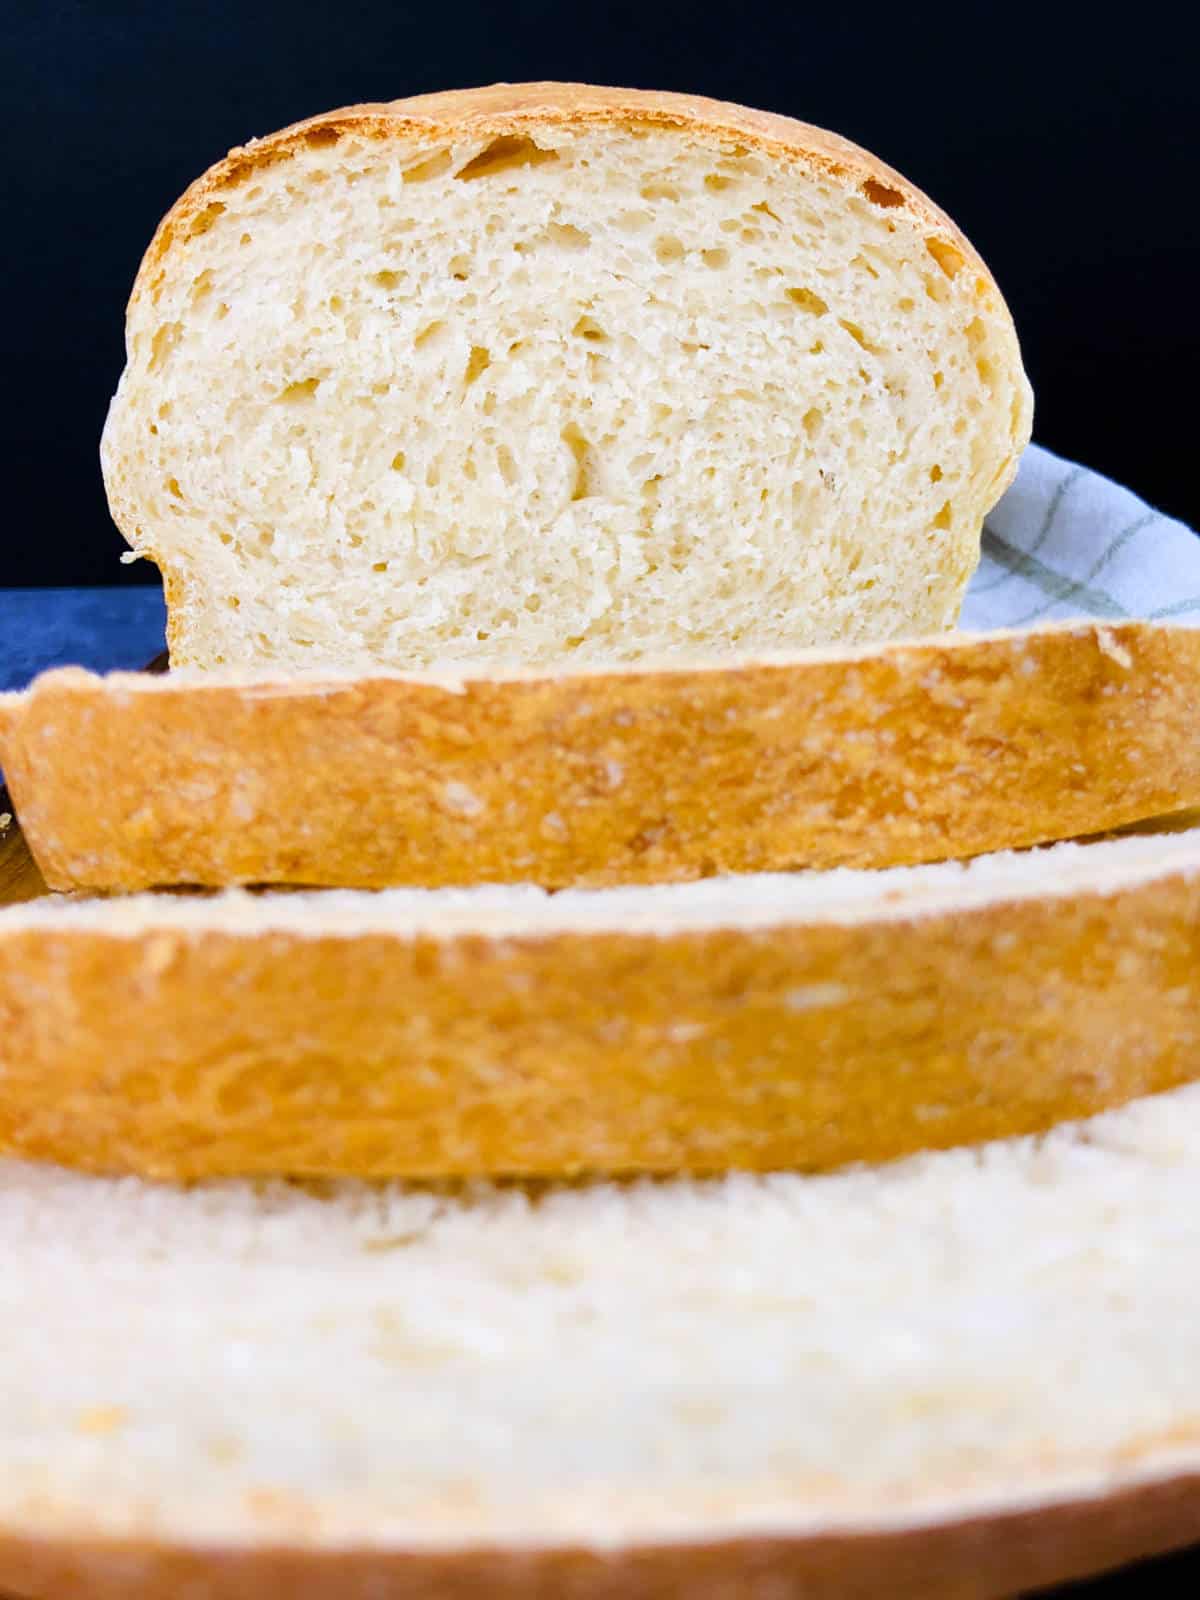
Indulge in the delectable flavors of homemade sourdough sandwich bread with this tried and tested recipe. With its soft, tender crumb and delightful crust, this sourdough sandwich bread is perfect for creating mouthwatering sandwiches or enjoying toasted slices. Made with simple ingredients, this versatile recipe adds a homemade touch to your everyday meals.
Why you will love this recipe?
- The addition of milk and butter in the recipe creates bread with a soft and tender crumb, making it perfect for sandwiches.
- The use of a sourdough starter contributes to a flavorful bread with a subtle tanginess. The inclusion of a small amount of sugar adds a hint of sweetness, enhancing the taste without overpowering it.
Ingredients

Active sourdough starter: This is the key ingredient to making sourdough sandwich bread. Make sure the sourdough starter is active and bubbly.
Flour: Make them with all-purpose flour. Bread flour may also be used, but low-protein flour works best here. Bread flour may make these loaves a bit chewier than what you would get when plain flour is used.
Milk: For the best-tasting bread, use whole milk. This will make the sandwich bread soft and fluffy. Light milk works well, too, for this recipe. I have not tried them with non-dairy milk.
See the recipe card for full information on ingredients and quantities.
Step-by-step instructions
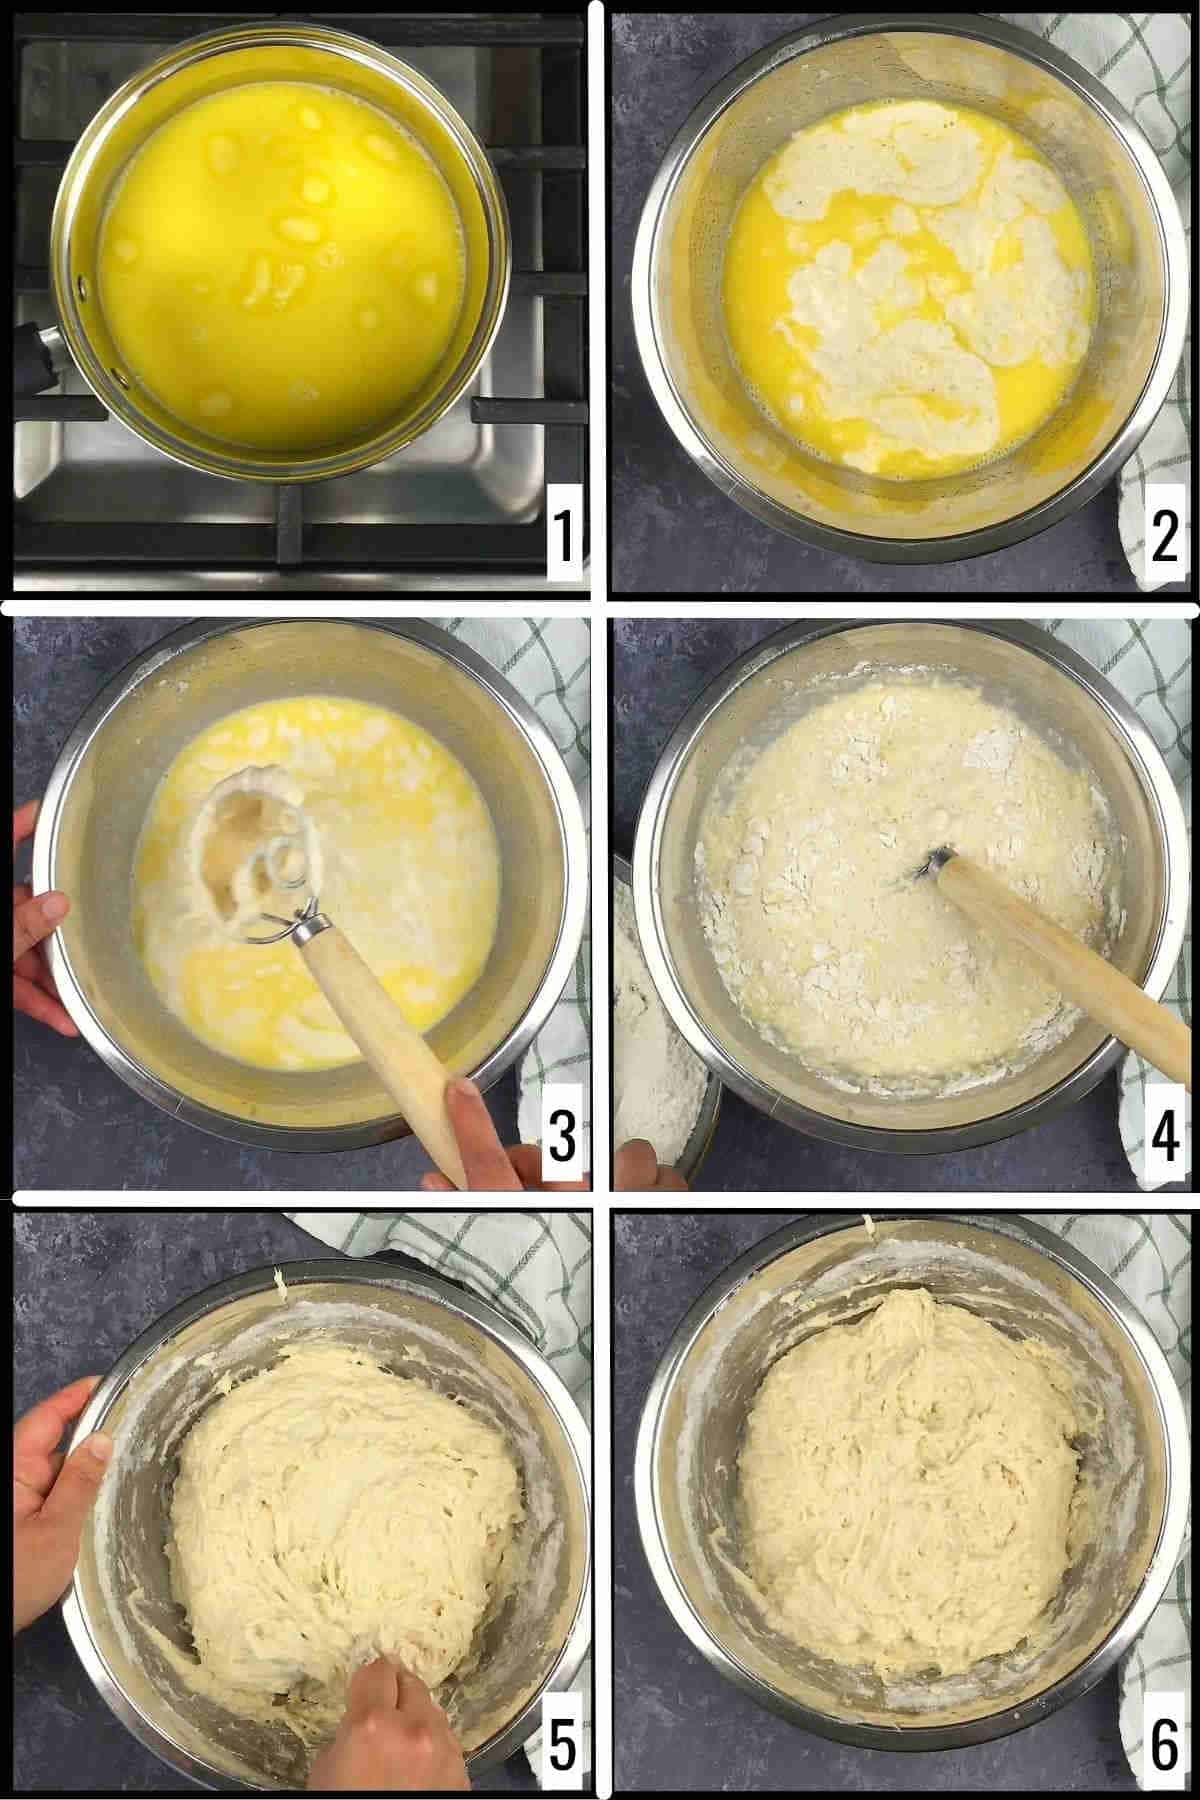
Step 1: Combine milk and butter in a saucepan and warm it up. The milk should be just lukewarm, around 90-100 F, which is sufficient to melt the butter. Don’t overheat the milk (image 1).
Step 2: Transfer the milk-butter mixture to a large mixing bowl and add the active starter, salt, and sugar. Mix well using a dough whisk or wooden spoon (images 2 and 3).
Step 3: Slowly add the flour and combine well, making sure there are no dry flour bits. Knead it gently for 4-5 minutes. Add 1-2 tablespoons of flour if needed (images 4 and 5).
Step 4: Let the dough sit at room temperature for 30 minutes (step 6).
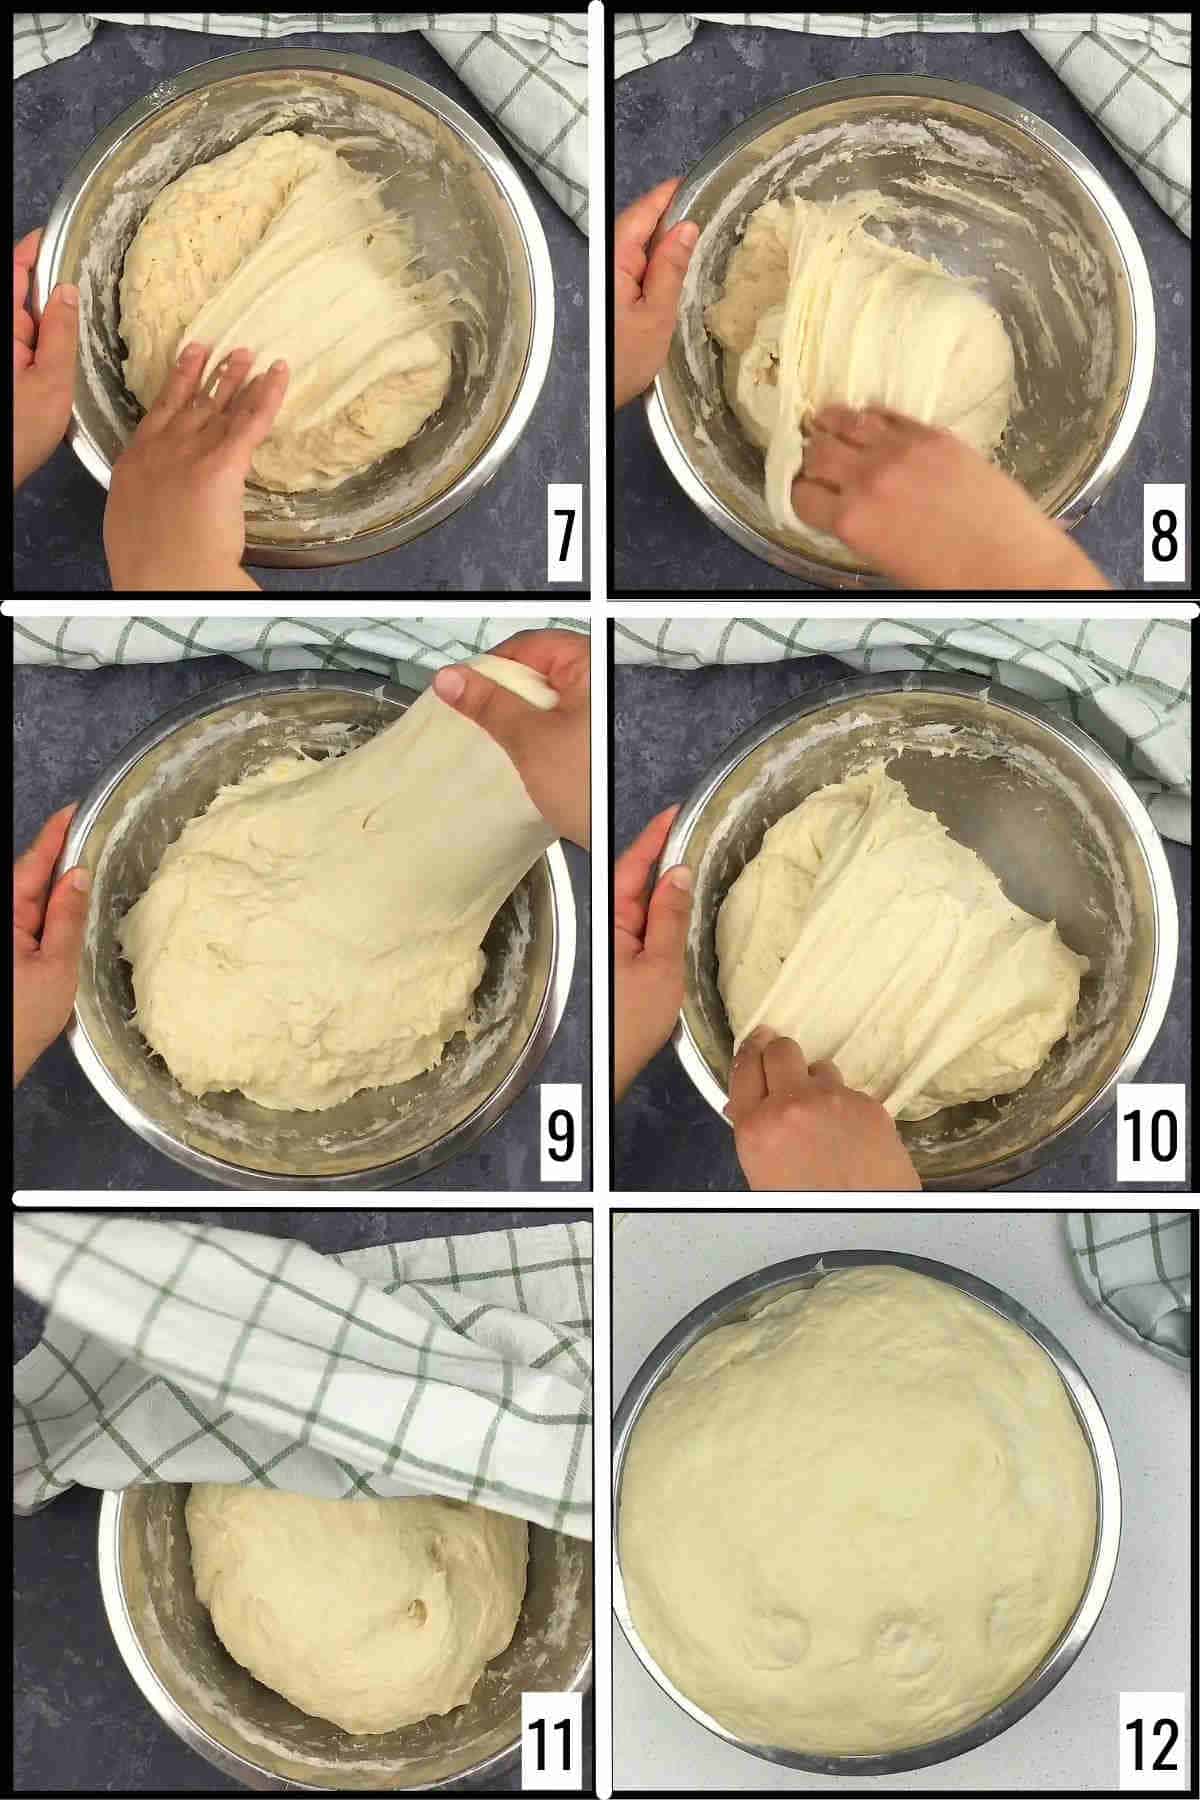
Step 5: Perform 3-4 sets of stretch and fold at an interval of 30 minutes. With wet hands, grab a portion of the dough and slowly stretch it, taking care not to break it, and fold it towards the center of the dough. Keep turning the bowl and repeat the process until all parts of the dough is covered. Carefully flip the dough and round it up. This completes one set of stretch and folds (images 7 and 8).
Step 6: Repeat this process 3-4 times at an interval of 30 minutes. The dough should develop strength and structure at the end of the stretch and fold cycle (images 9 and 10).
Step 7: Cover the dough with a tea towel or plastic wrap and let it sit for bulk rise until it is almost double and has bubbles on the top. This may take 3-4 hours, depending on the ambient temperature (images 11 and 12).

Step 8: Once the bulk fermentation is done, shape the dough. Line two 9-inch loaf pans with parchment paper or baking paper. Transfer the dough onto a lightly floured surface and divide the dough into two equal parts (image 13).
Step 9: Shape each part of the dough into a 9-inch rectangular shape taking care not to push the air out. Gently roll it to form a log and tuck the ends (images 14 and 15).
Step 10: Transfer the dough to the prepared loaf pan (image 16). Place it in the refrigerator overnight for cold fermentation. At this stage, you can choose to bake directly without placing the dough in the fridge. If you are planning to bake the sandwich bread on the same day, let them sit in a warm spot for a second proofing.
Step 11: Next morning, remove the shaped dough from the fridge and let it sit in a warm spot for 1-2 hours (until it comes to room temperature). Preheat the oven to 360 F (180 C) for 15 minutes. As an optional step, you can brush the rolls with egg wash using a pastry brush; however, I have skipped it. Bake for 25-30 minutes until the top is golden (images 17 and 18).
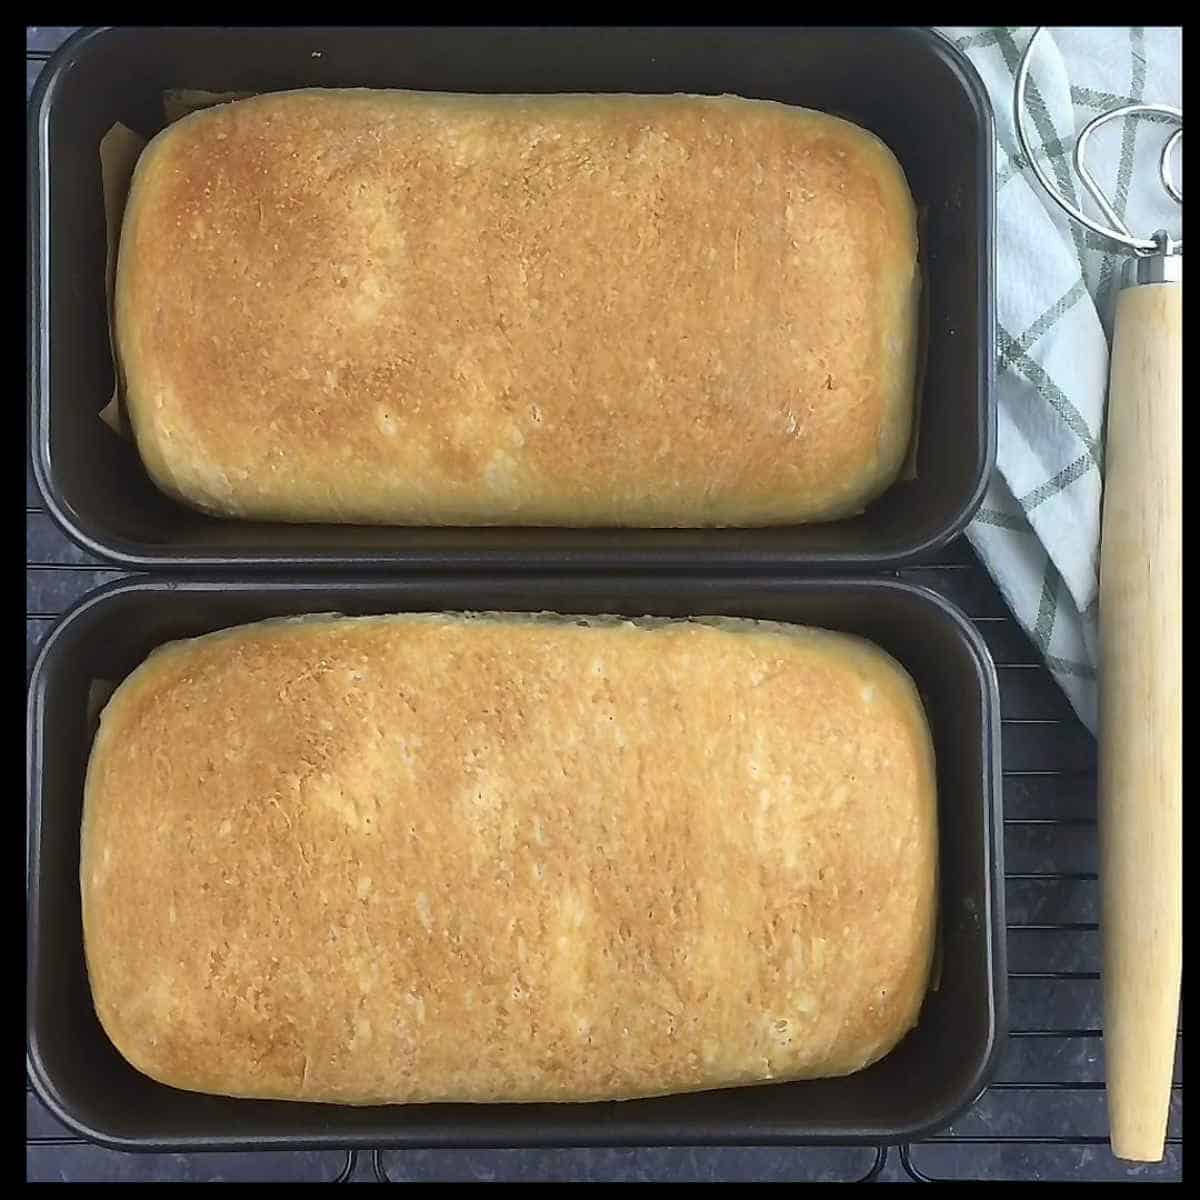
Step 12: Cool the soft sourdough sandwich loaf in the pan for 10 minutes, then transfer it to a wire rack to let them cool down slightly before serving.
Expert Tips
Make sure the milk is just lukewarm - not cold and definitely not hot. If the milk is too hot, it will kill the yeast in the starter.
Do not skip second proofing even if you choose to bake the sandwich bread on the same day. The best way to second-proof is to shape the dough and refrigerate it overnight. If you prefer not to do this, let the dough rest in a warm spot for 1-2 hours.
When shaping the rolls, aim to create proper surface tension by rolling them with your hands or against the work surface. This tension helps the bread maintain its shape and rise evenly during baking.
Variations of sandwich sourdough bread
Seeded sandwich bread: Add a variety of seeds to the dough when shaping it. See this seeded sourdough bread recipe for measurements.
Herb-infused sandwich bread: Incorporate dried or fresh herbs into the dough when shaping it to infuse the bread with aromatic flavors. Finely chop or crush the herbs before adding them to the dough for an even distribution.
Cinnamon raisin bread: Give the classic cinnamon raisin sourdough bread a twist by turning it into sandwich bread.
How to serve sourdough sandwich bread?
Sandwiches: Sourdough sandwich bread is perfect for creating a wide range of sandwiches. My favorite sandwiches to make using this bread are yogurt sandwich and curried egg sandwich. I also love to use this bread to make paneer bread roll-ups.
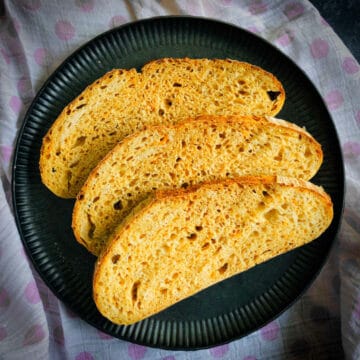
Toasted: Slice the sourdough bread and toast it until golden brown. Serve it with butter, strawberry ginger jam, or spreads like cream cheese or peanut butter for a simple and satisfying breakfast or snack.
Recipe FAQs
The crumb of sourdough sandwich bread can become dense due to various factors. Insufficient fermentation time or improper proofing can lead to a dense crumb. If the dough is not given enough time to rise and develop properly, the gluten structure may not fully develop, resulting in a denser texture.
While the traditional sourdough sandwich bread recipe is typically made by using the stretch and fold technique, using a stand mixer can offer convenience and ease. For this, use the dough hook attachment and combine the ingredients in the bowl of a stand mixer. Start the mixer on low speed to mix the ingredients together, then increase it to medium speed and knead the dough as mentioned in the recipe.
To make vegan bread, replace milk and butter with plant-based alternatives such as almond milk and vegan butter. Please note that I have not tested this recipe for vegan alternatives.
Properly storing sourdough sandwich bread involves allowing it to cool completely on a rack to prevent moisture buildup. Then, wrap it in a clean tea towel and keep it in a bread box or brown bag at room temperature, away from direct sunlight (avoid refrigeration). Consume within 2 to 3 days. To freeze, place it in a freezer-safe bag and store it for up to three months. When needed, thaw at room temperature or toast slices for a quicker thaw.
Skipping cold-proofing for sourdough dinner rolls is an option if time is limited. Cold-proofing enhances flavor and texture, but you can proceed with regular proofing and baking. Ensure not to omit the second proofing after the initial rise; place the shaped dough in a warm spot for 1-2 hours before baking. While flavor and texture may vary slightly, delicious dinner rolls can still be achieved without the cold-proofing step.

If you tried this Sourdough Sandwich Bread Recipe or any other recipe on my website, please leave a ? star rating and let me know how it went in the ? comments below.
Recipe card

Sourdough Sandwich Bread
Equipment
Ingredients
- 450 grams sourdough starter active
- 700 grams all-purpose flour
- 480 mL whole milk 2 cup
- 60 grams butter unsalted
- 3 tablespoon sugar
- 1 teaspoon salt
Instructions
Make the initial dough:
- Make sure your sourdough starter is active and bubbly.
- Combine milk and butter in a saucepan and warm it up. The milk should be just lukewarm, around 90-100 F, which is sufficient to melt the butter. Don’t overheat the milk.
- To the warm milk, add the active sourdough starter, salt, and sugar.
- Slowly add the flour and combine well making sure there are no dry flour bits. Knead it gently for 4-5 minutes. Add 1-2 tablespoon flour if needed.
- Let the dough sit at room temperature for 30 minutes.
Bulk fermentation:
- Perform 3-4 sets of stretch and fold at an interval of 30 minutes. With wet hands, grab a portion of the dough and slowly stretch it taking care not to break it, and fold it towards the center over the dough. Keep turning the bowl and repeat the process until all parts of the dough is covered. Carefully flip the dough and round it up. This completes one set of stretch and fold.
- Repeat this process 3-4 times at an interval of 30 minutes. The dough should develop strength and structure at the end of the stretch and fold cycle.
- Let the dough sit for bulk fermentation until it is almost double and has bubbles on the top. This may take 3-4 hours depending on the ambient temperature.
Shaping and second proof:
- Once the bulk fermentation is done, shape the dough. Line two loaf tins with parchment paper or baking paper.
- Dust the bench or work surface lightly with the flour and flip the dough onto it. Divide the dough into two equal parts.
- Shape each part of the dough into a 9-inch rectangle taking care not to push the air out. Gently roll it to form a log and place it in the prepared loaf pan.
- Place it in the refrigerator overnight for cold fermentation. At this stage, you can choose to bake directly without placing the dough in the fridge.
- If you are planning to bake the sandwich bread on the same day, let them sit in a warm spot for second proofing.
Bake sourdough sandwich bread:
- Next morning, remove the shaped dough from the fridge and let it sit in a warm spot for 1-2 hours (until it comes to room temperature).
- Preheat the oven to 360 F (180 C) for 15 minutes.
- Bake for 25-30 minutes until the top is golden.
- Cool it in the pan for 10 minutes, then transfer to a wire rack to let them cool down slightly before serving.


Comments
No Comments