
Learn how to make your own sourdough starter from scratch with this detailed recipe. With just two ingredients and some patience, you can create a naturally occurring yeast and bacteria culture that will give your sourdough bread its signature tangy flavor and chewy texture.

Sourdough bread has been rising in popularity. It has a tangy flavor and chewy texture distinct from commercial bread. At the core of sourdough is the starter, a natural yeast and bacteria blend, leavening the dough. Making a San Francisco sourdough starter involves two ingredients and patience, a simple yet rewarding process.

Ingredients
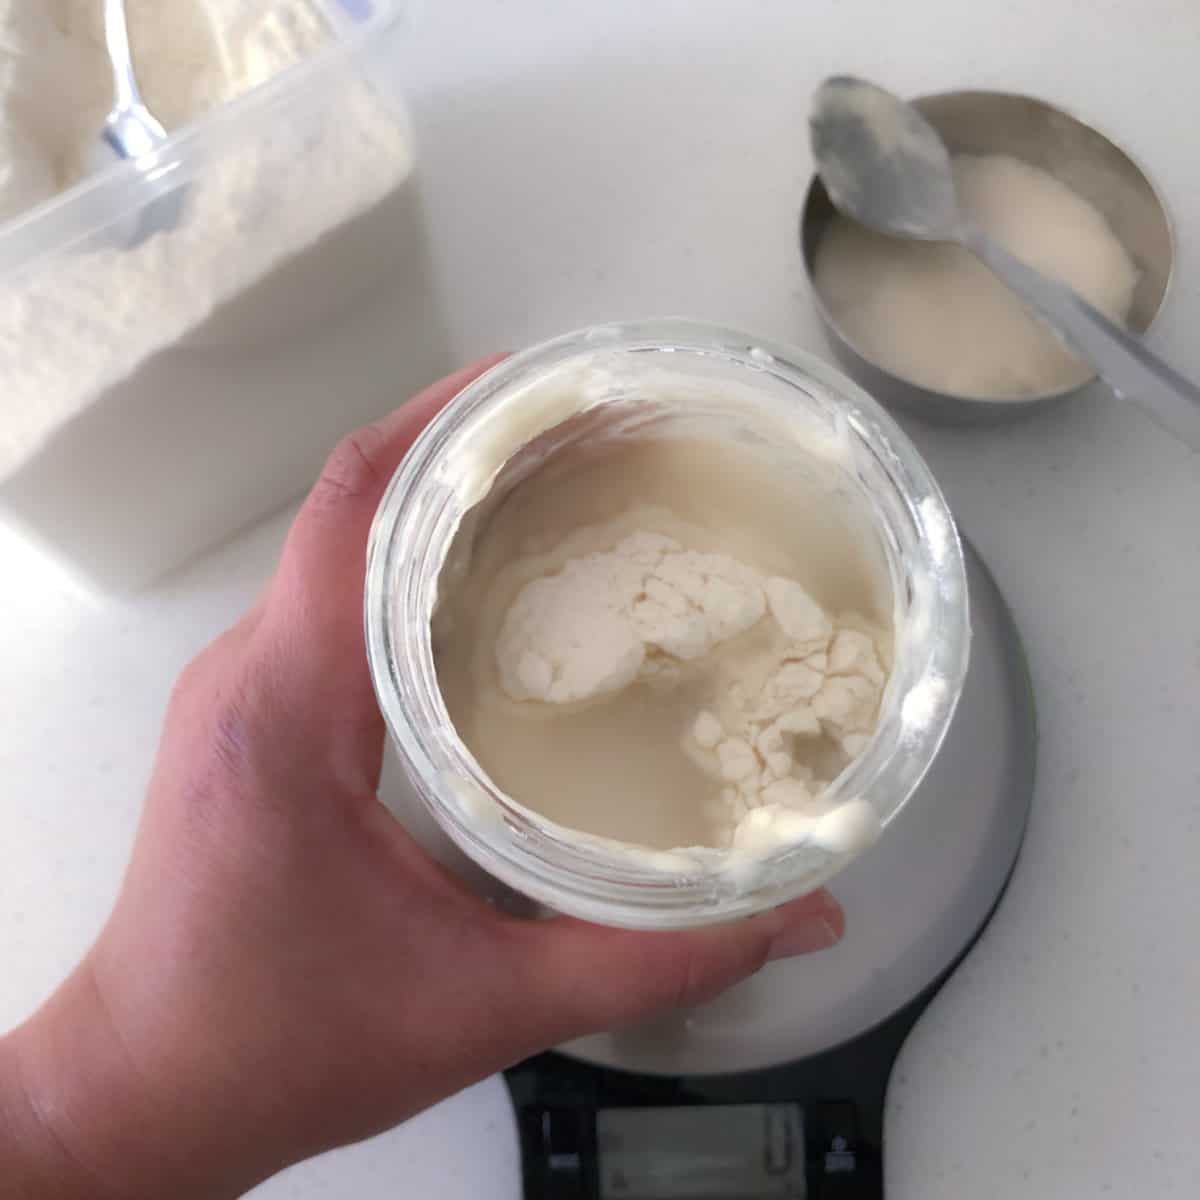
You need only two ingredients to make a healthy sourdough starter - flour and water. For this starter recipe, I have used bread flour. It is essential to use filtered water. See the tips section below for more details.
Step-by-step instructions to make a sourdough starter from scratch


Expert tips to make sourdough starter
While fresh, unbleached flour is essential, avoid self-raising or bleached options, as they can disrupt fermentation.
Choose a warm location for your sourdough starter, such as a sunny window, near a heating vent, on the refrigerator, or in an oven with the light on. You can also use a bread-proofing box for consistency.
Opt for filtered or bottled water to make sourdough starter. If filtered water is unavailable, use boiled and cooled water.
Opt for a clear, wide-mouthed glass or food-grade plastic jar for easy stirring, feeding, and cleaning of your sourdough starter. Weigh the jar to track starter quantity and facilitate proper maintenance of the starter. You can also make a sourdough starter using atta (Indian whole wheat flour/chapati flour).
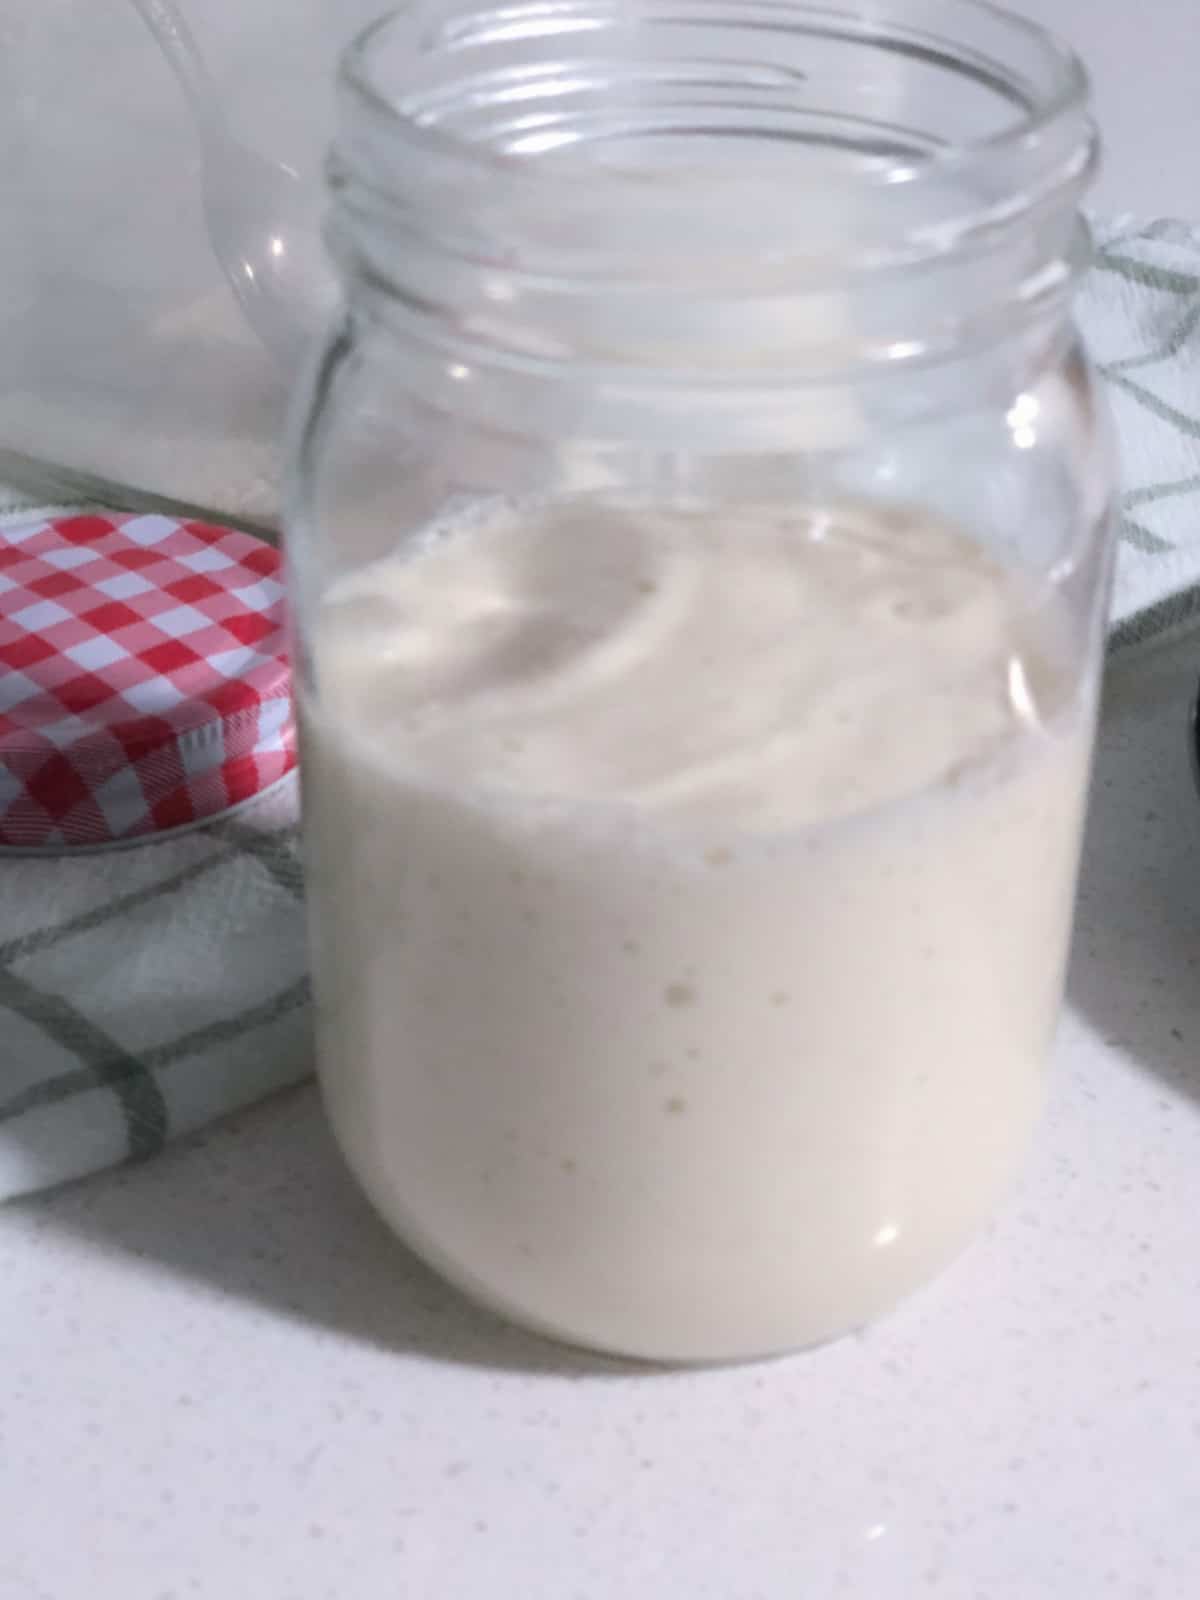
Look for abundant bubbles and a slight, tangy smell. Perform a float test by dropping a teaspoon of starter into the water; if it floats, it's likely ready. However, a starter not passing the float test can still yield good results. Additionally, check for a doubled volume, a strong sign that your starter is ready for baking after 10-15 days.
Recipe FAQs and Troubleshooting
Increase feedings and ensure a warm environment for bacterial and yeast growth to revive a non-bubbly starter. New starters may take time to become active. Stick to discard and feed cycles, stirring in between.
If your starter develops black spots, has a pink tinge, or is furry, you will have to throw it away and start again. Clean the jar thoroughly before starting a new starter. You may also consider changing the flour.
Expect an initial unpleasant smell during the first days as wild yeast is captured. Continue the discard and feed cycle; as the starter matures, it transitions to a fruity, yeasty aroma with a hint of astringency. Occasionally, a hungry, mature starter may emit a scent resembling nail polish remover; remedy this with more frequent feeding. A normal, healthy starter should eventually have a yeasty or slightly vinegary fragrance.
This is called hooch and happens if the starter is hungry. You can choose to throw it away or stir it back in - it does not make any difference to the starter. Just feed the starter right away. I prefer to stir the hooch back into it as this adds more sourness to the bread.
If the starter is placed in a very warm place, it eats up all the food quickly, turning it very watery or liquidy. If this happens, you must place the starter in a less warm spot. Continue to discard and feed, and move the starter to a slightly cooler spot to fix this issue.
While it is essential to feed the starter regularly, the starter will not die if you miss a feeding cycle. But feed it immediately once you remember and continue with the regular feeding cycle. While making a new starter, I prefer to set a reminder on my phone to feed the starter on time. But I can assure you by experience that mild negligence will not kill your starter. Once the starter is well established and goes into the fridge, it only needs to be fed once a week.
If you tried this Sourdough Starter Recipe or any other recipe on my website, please leave a ? star rating and let me know how it went in the ? comments below.
Recipe card
How to make sourdough starter
Equipment
Ingredients
- 300 grams bread flour
- 300 grams filtered water
Instructions
DAY 1:
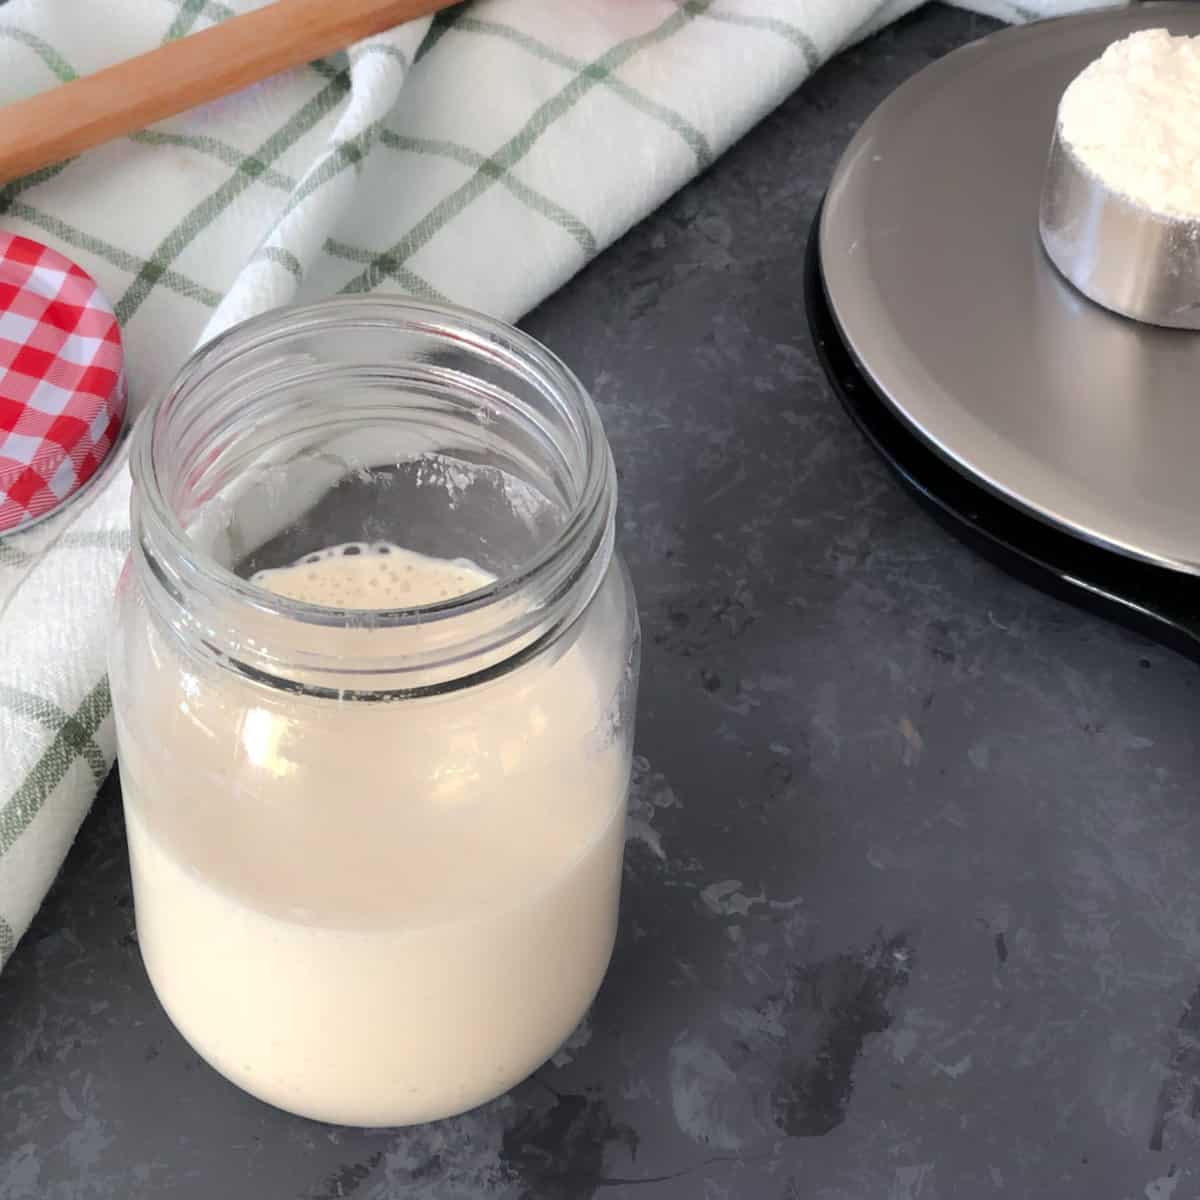
- Pour 100 grams of flour and 100 grams of water into a jar. Mix well making sure there are no bits of dry flour.
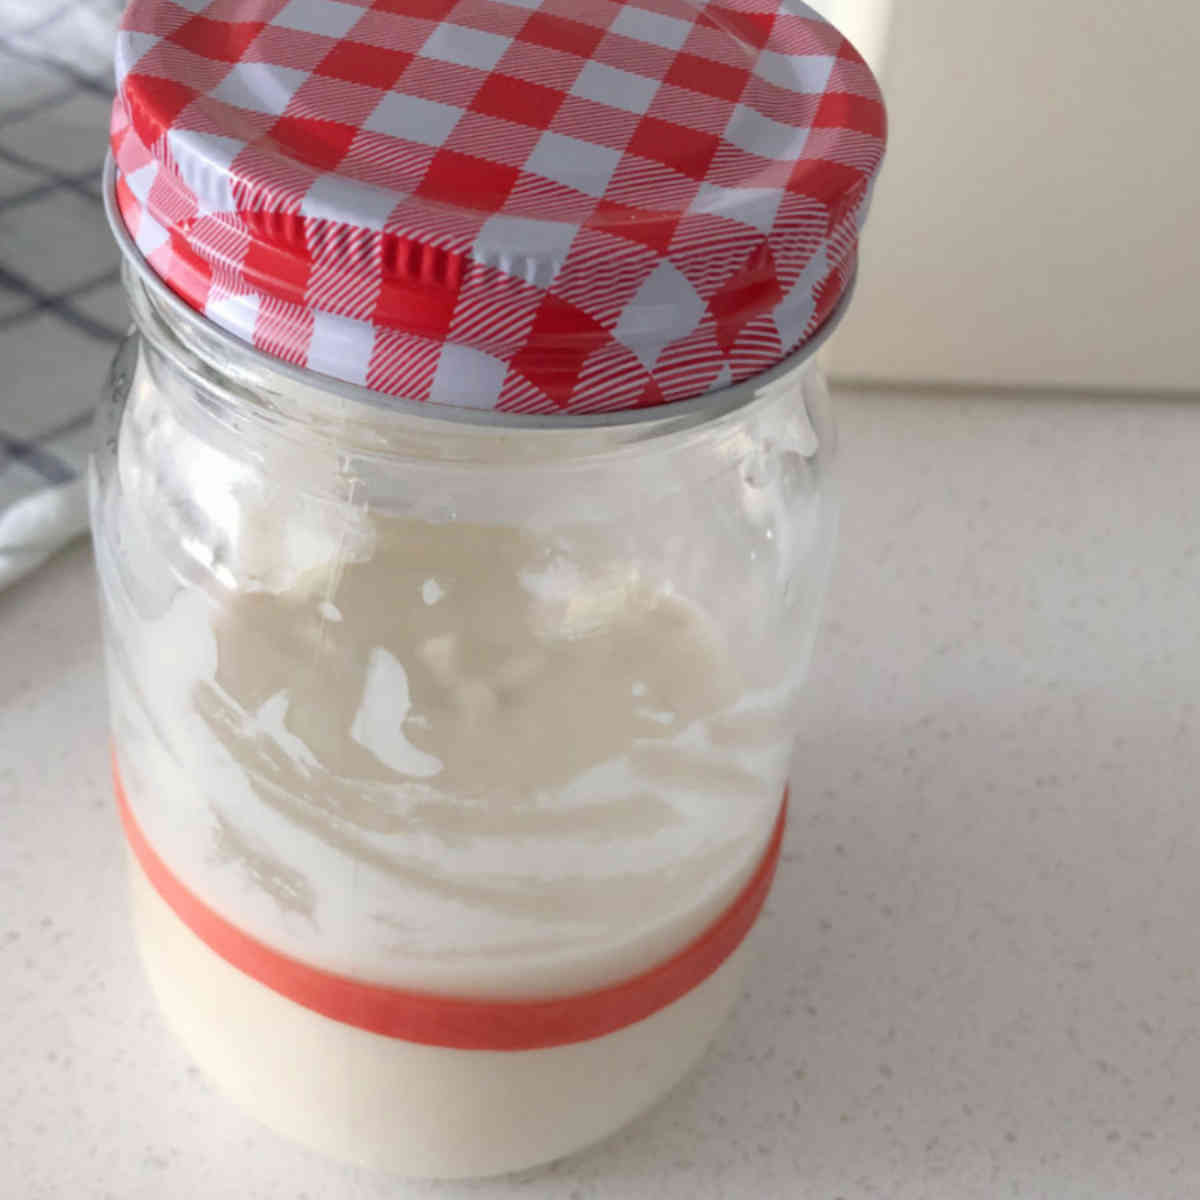
- Pop the lid loosely and let the jar sit in a warm spot away from direct sunlight for 24 hours.
DAY 2:
- Remove 100 grams of the starter from the jar and discard it.
- Add 50 grams of flour and 50 grams of water to the jar. Stir well to make sure there are no dry bits of flour. Place it back in the warm spot for the next 24 hours.
DAY 3:
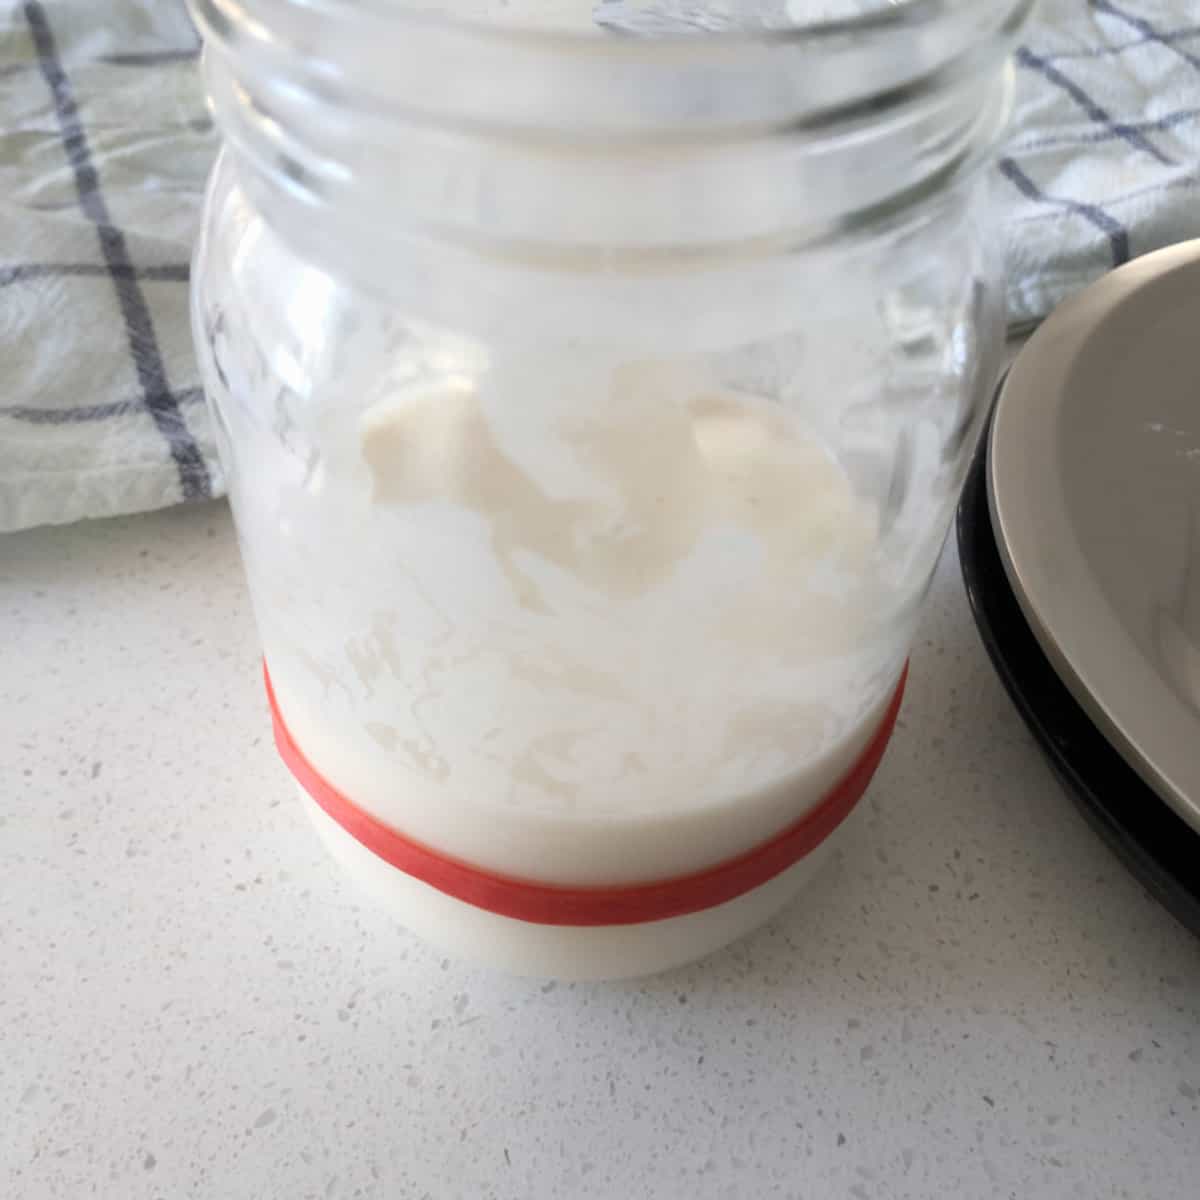
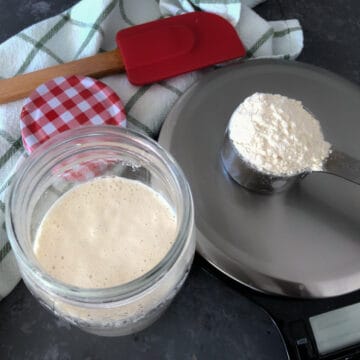
- You will start to notice some bubbles on the top. This means that the yeast and bacterial activities have begun in the starter.
- Remove 100 grams of the starter from the jar and discard it.
- Add 50 grams of flour and 50 grams of water to the jar. Stir well to make sure there are no dry bits of flour. Place it back in the warm spot for the next 24 hours.
DAY 4:
- From day 4, you will need to feed your starter twice a day, 10 to 12 hours apart. Note the timing of your feed so that it is easy to track the next feeding time.
- In the morning, remove 100 grams of the starter from the jar and discard it.
- Add 50 grams of flour and 50 grams of water to the jar. Stir well to make sure there are no dry bits of flour. Place it back in the warm spot for the next 10-12 hours.
- After 10-12 hours, remove 100 grams of the starter from the jar and discard it.
- Add 50 grams of flour and 50 grams of water to the jar. Stir well to make sure there are no dry bits of flour. Place it back in the warm spot until the next day.
DAY 5:
- You will notice a lot of activity in your starter and it will start to rise with every feed. If it does not, give it a day or two more to mature.
- In the morning, remove 100 grams of the starter from the jar and discard it.
- Add 50 grams of flour and 50 grams of water to the jar. Stir well to make sure there are no dry bits of flour. Place it back in the warm spot for the next 10-12 hours.
- After 10-12 hours, remove 100 grams of the starter from the jar and discard it.
- Add 50 grams of flour and 50 grams of water to the jar. Stir well to make sure there are no dry bits of flour. Place it back in the warm spot until the next day.
DAY 6:
- Your starter is getting mature with every feed. Some starters are good to go by 6 or 7 days, while some need a few more days to mature and be ready to bake.
- In the morning, remove 100 grams of the starter from the jar and discard it.
- Add 50 grams of flour and 50 grams of water to the jar. Stir well to make sure there are no dry bits of flour. Place it back in the warm spot for the next 10-12 hours.
- After 10-12 hours, remove 100 grams of the starter from the jar and discard it.
- Add 50 grams of flour and 50 grams of water to the jar. Stir well to make sure there are no dry bits of flour. Place it back in the warm spot until the next day.
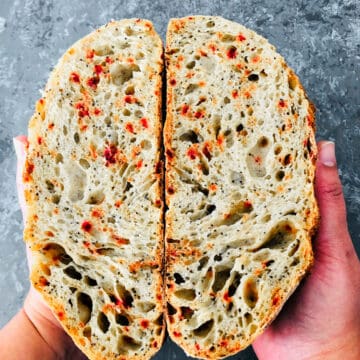
DAY 7:
- Your starter should be bubbly, active, and doubling every 6-8 hours after feeding. By day 7, your starter should be ready to bake; however, it will take a few more days to fully mature. If you are not planning to bake with it straight away, put it in the refrigerator and maintain it with weekly feeds.

Comments
No Comments