
Making a sourdough atta starter is a fun and rewarding project for any home baker. Atta flour is a type of whole wheat flour commonly used to make Indian dishes like roti and paratha.
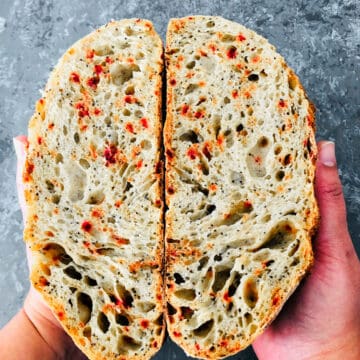
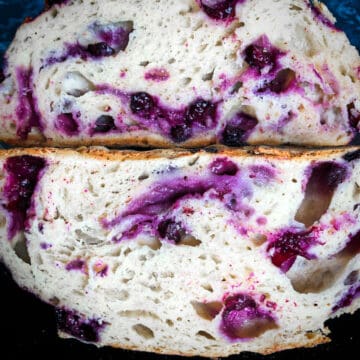
When combined with water and allowed to ferment, atta flour can become a thriving sourdough starter that you can use to make all kinds of delicious bread and baked goods. This starter is great for making 100% whole wheat atta sourdough bread.
Ingredients
You only need two ingredients to make a healthy sourdough starter - flour and water. For this starter recipe, I have used atta flour. It is important to use filtered water to make a sourdough starter.
Atta sourdough starter step-by-step instructions
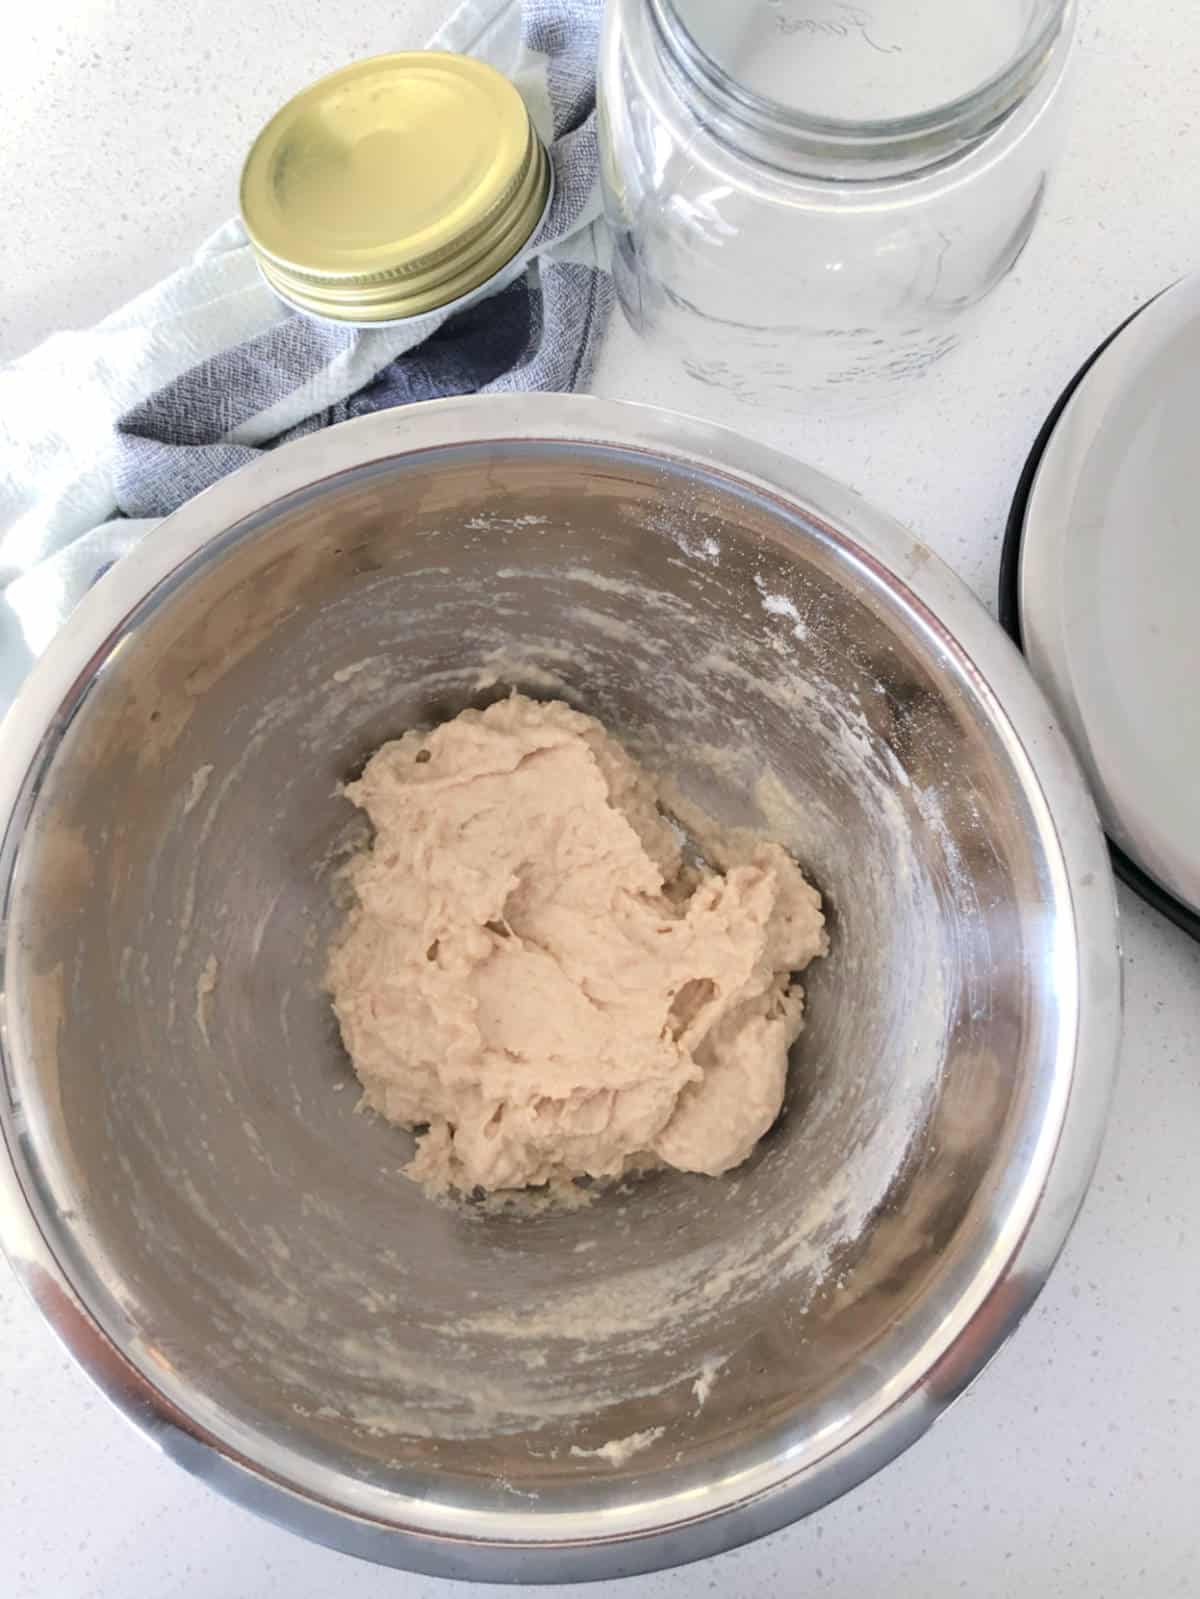
DAY 1: Use a kitchen scale and weigh out 100 grams of atta flour (whole wheat flour), water each, and place them in a clean translucent jar. Mix well and cover loosely with the lid. Let it sit on the counter at room temperature for 24 hours in a warm spot.
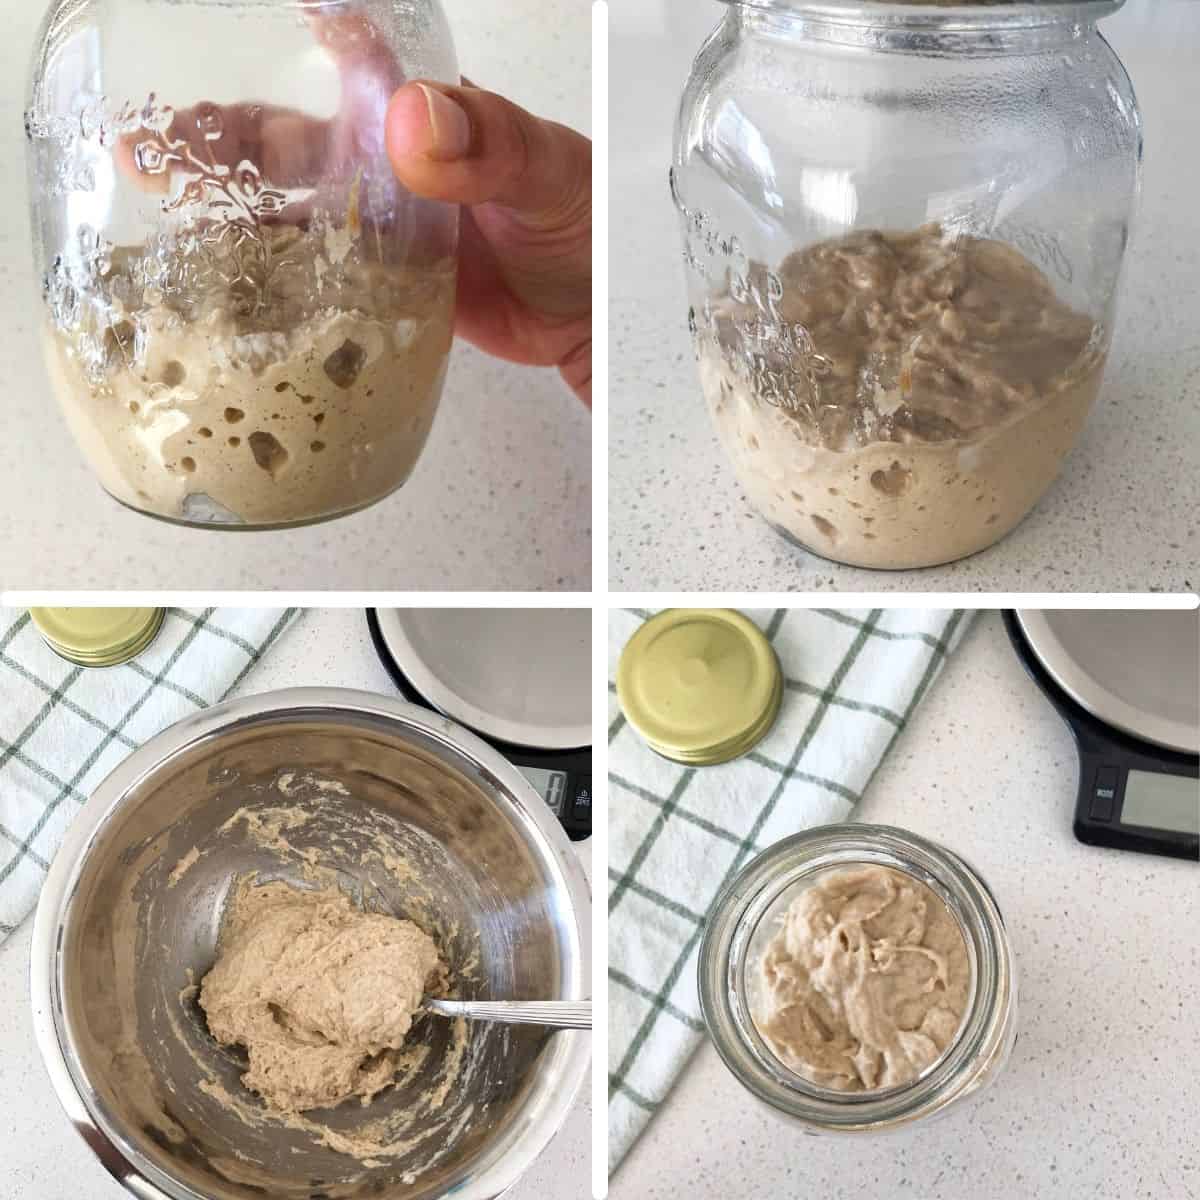
DAY 2: You will notice some activity in the starter. Discard 100 grams of the starter, and add 50 grams of water and 50 grams of flour. Mix well and cover loosely. Let it sit on the counter for 24 hours in a warm place.
DAY 3: Discard 100 grams of starter and feed with 50 grams of flour and 50 grams of water. Let it ferment for 24 hours.
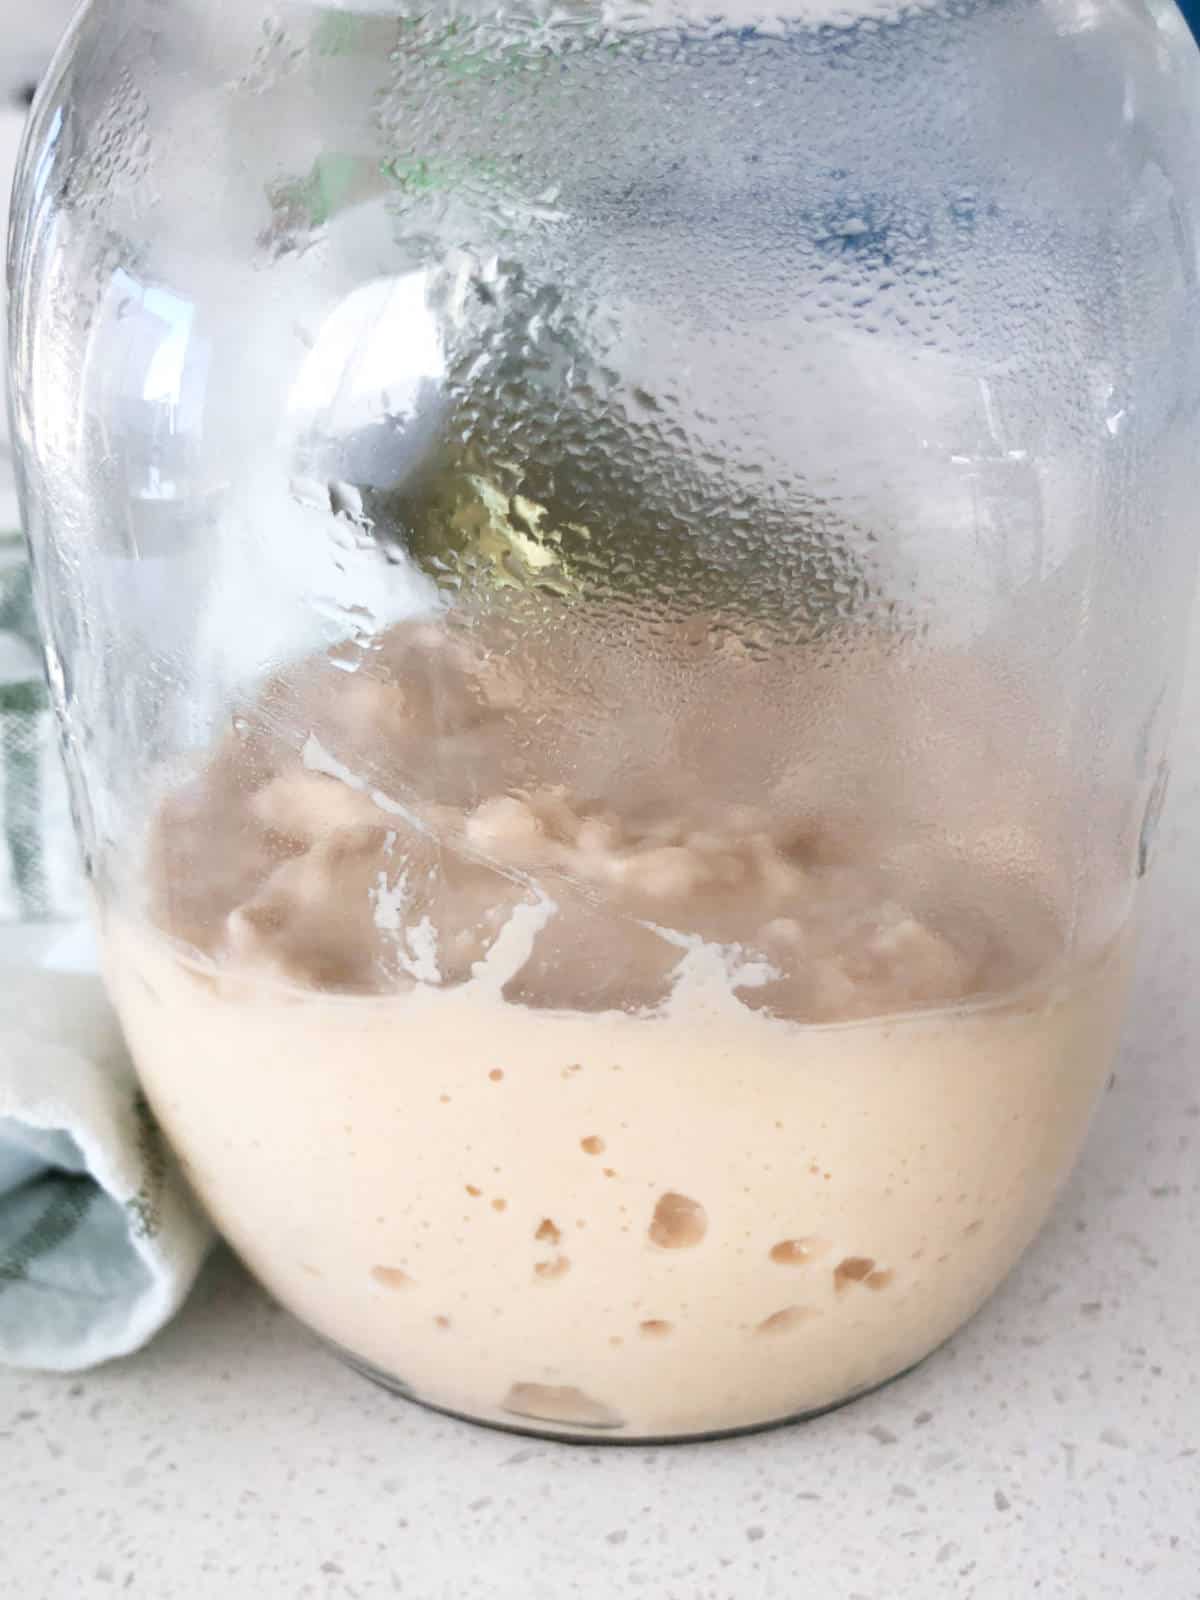
DAY 4 (Feed 1): The starter is very active. Continue the feed and discard cycle.
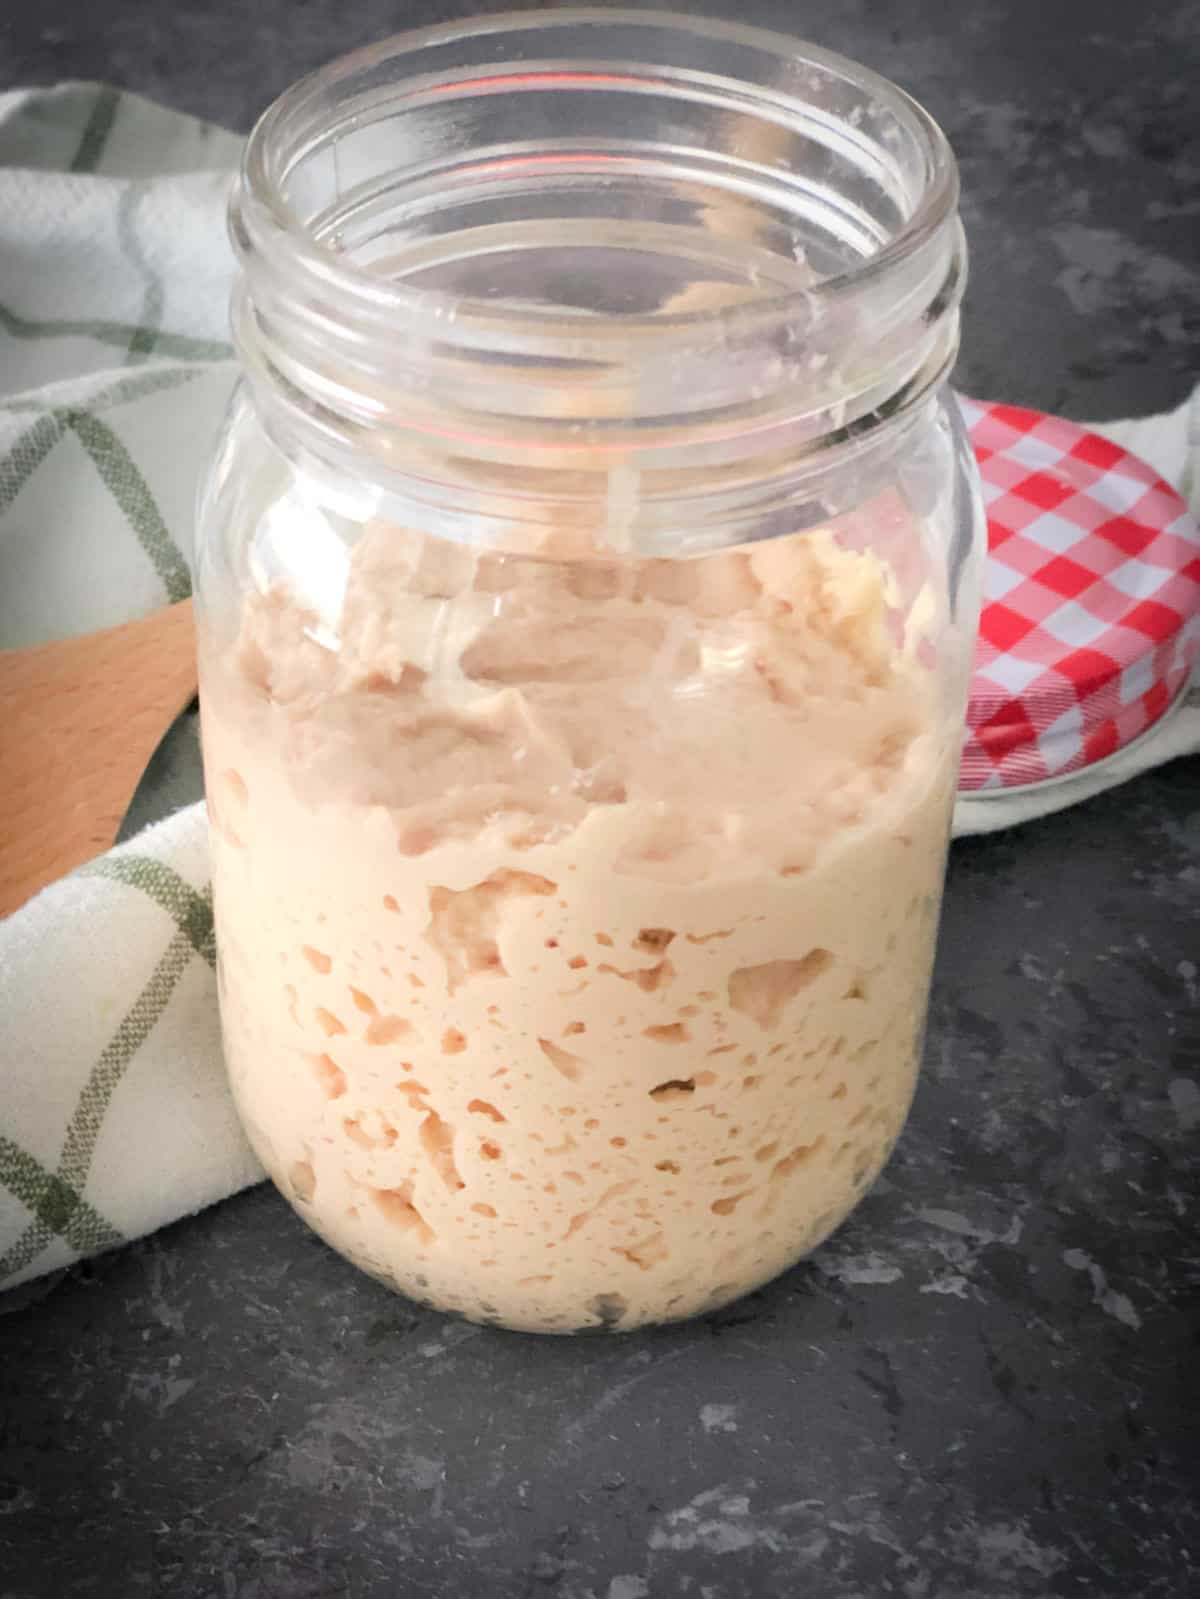
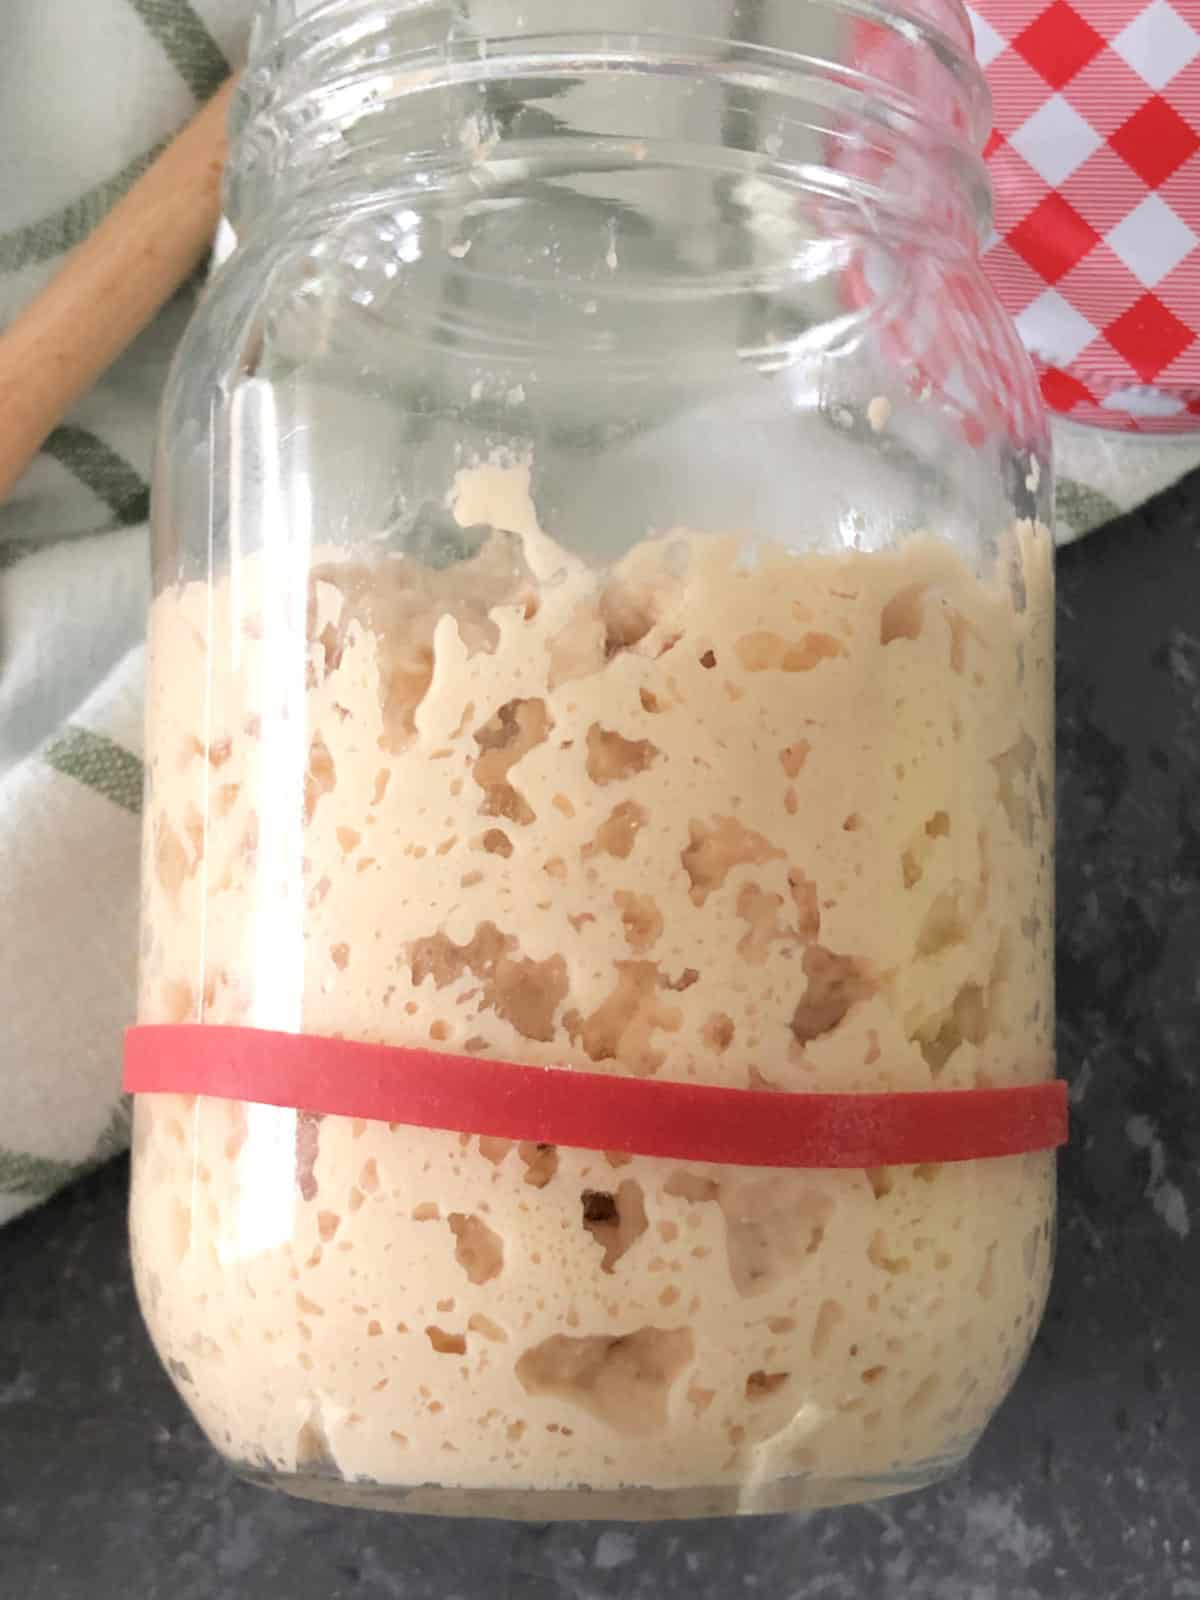
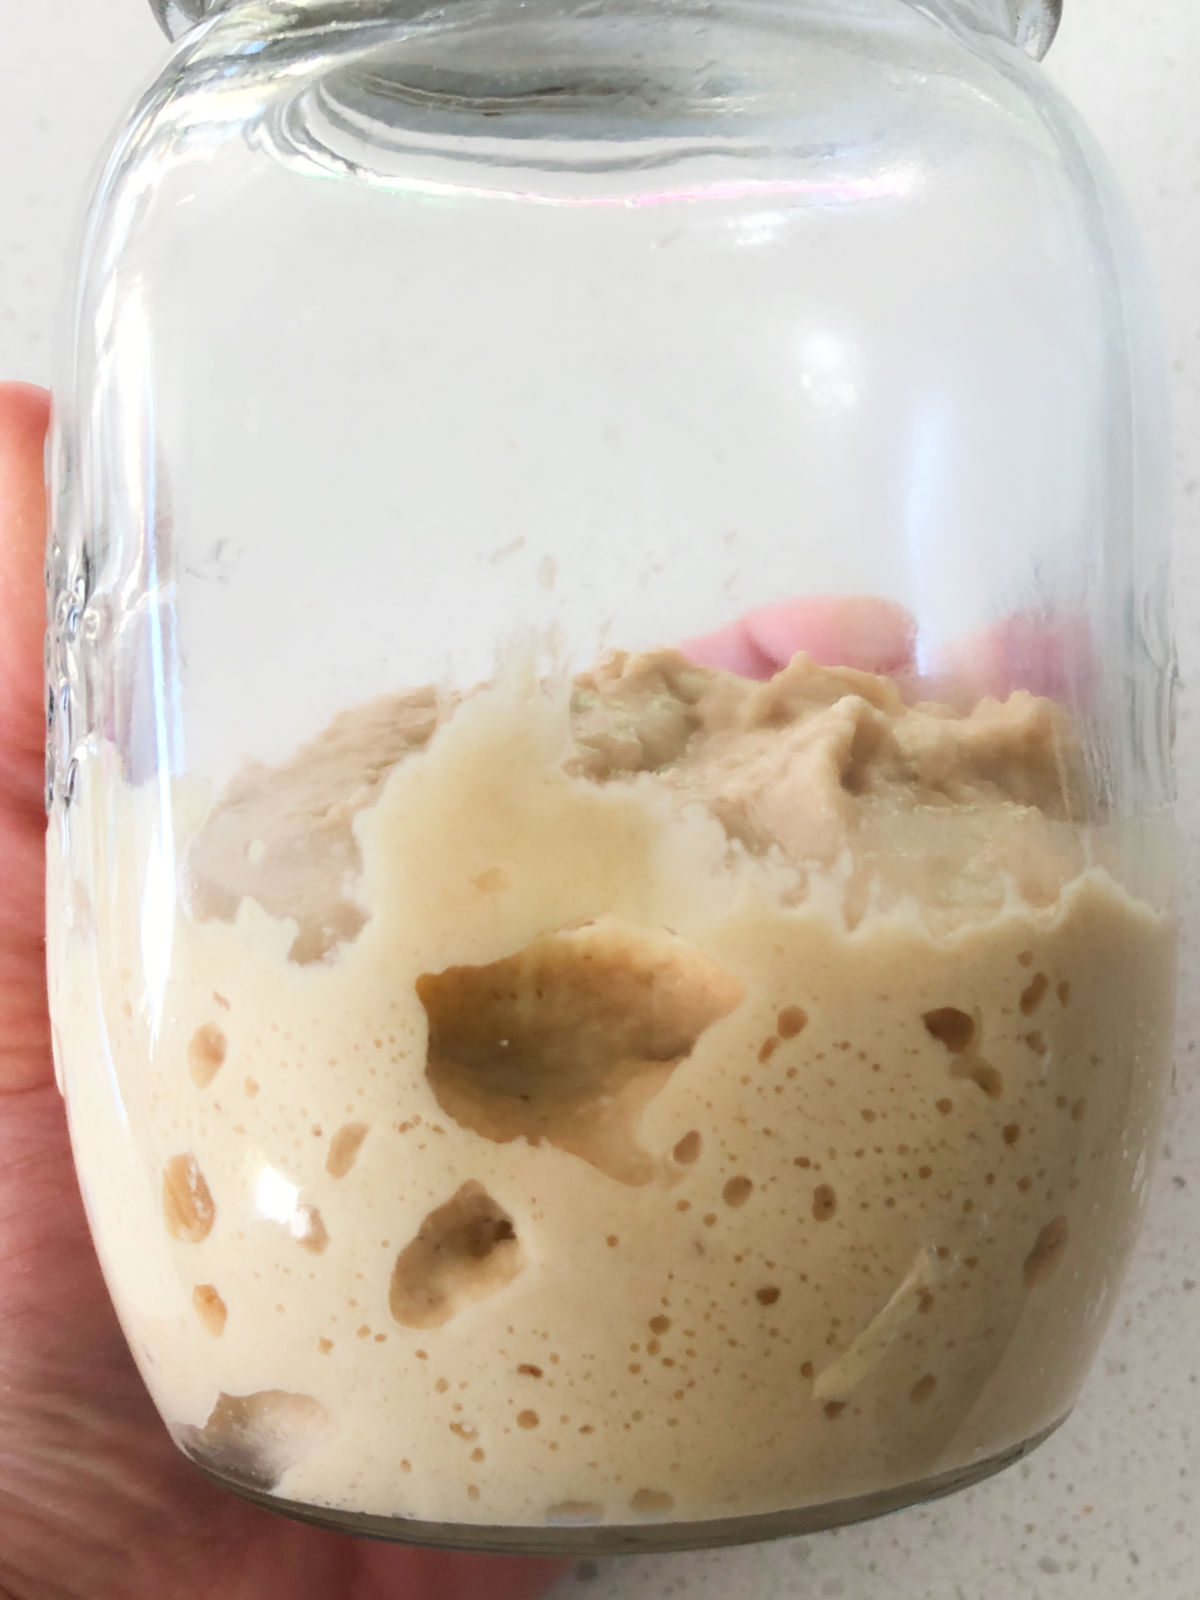
DAY 4 (Feed 2): There is a good rise in the starter. We will begin the feeding process with the starter twice a day for the next few days. Tie a rubber band to the mason jar to note how much the starter has risen.
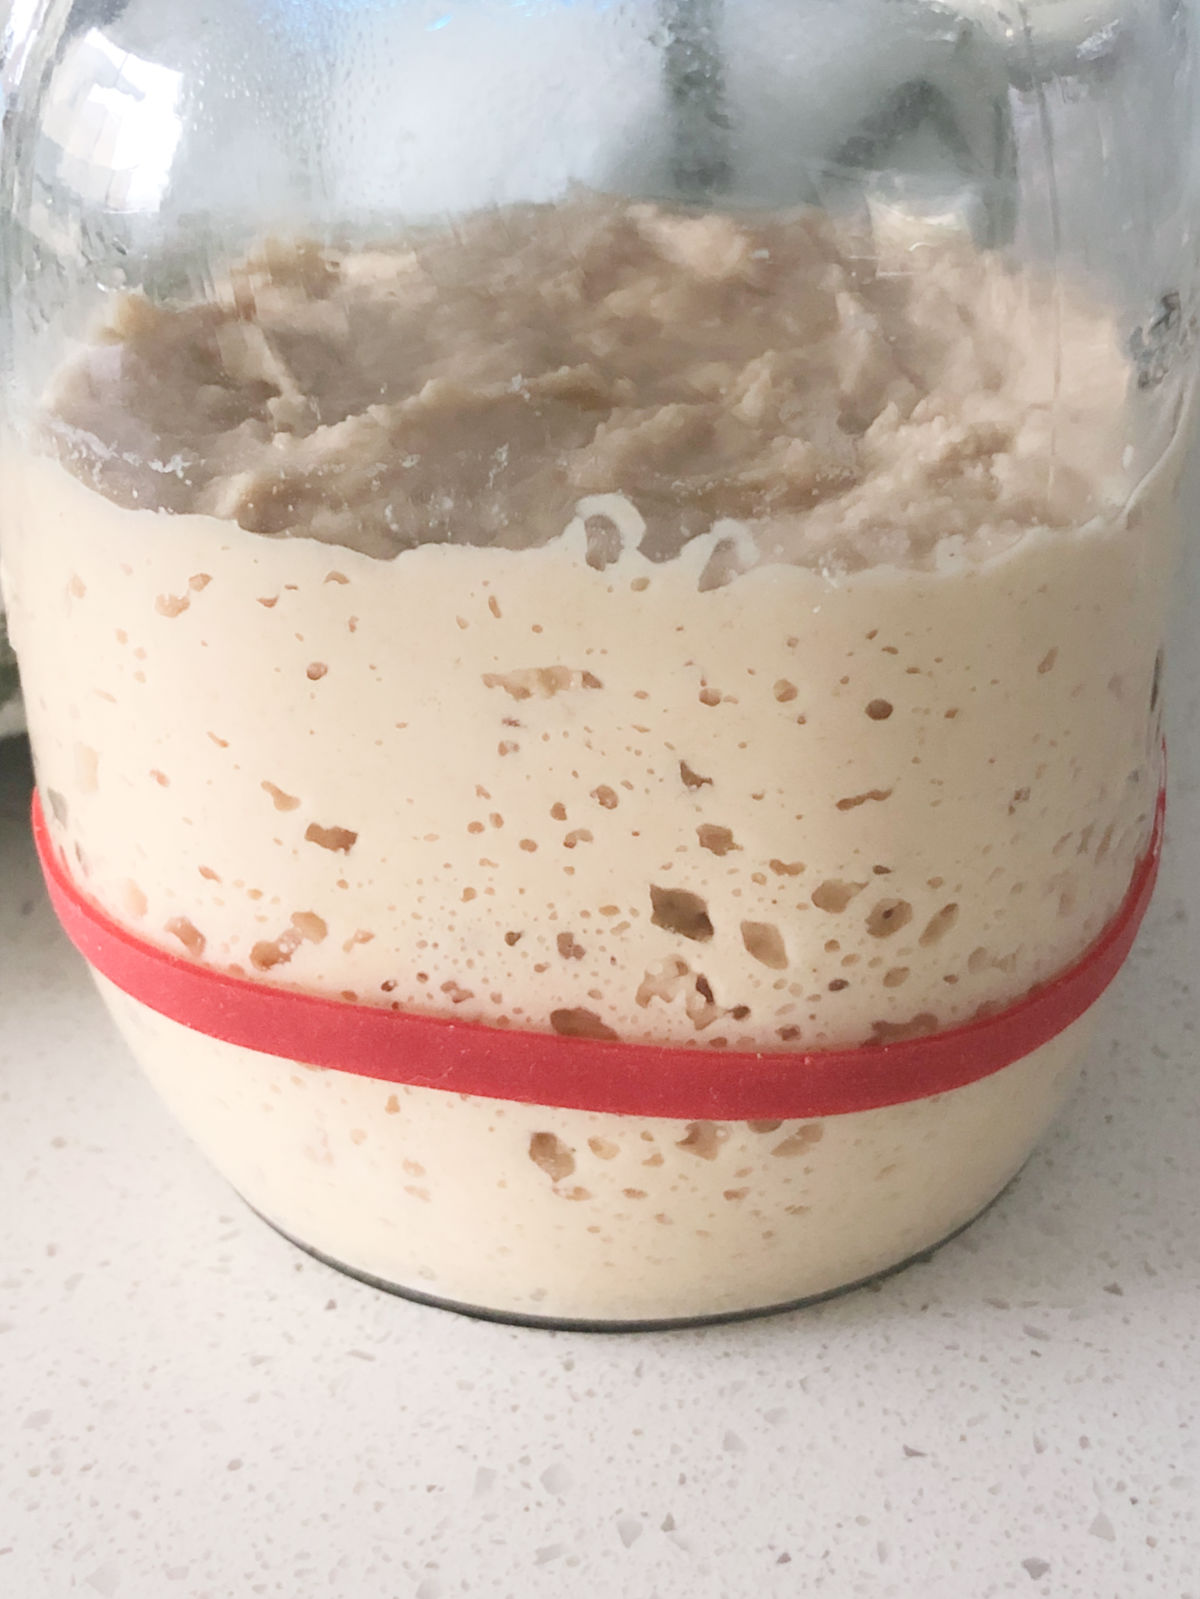
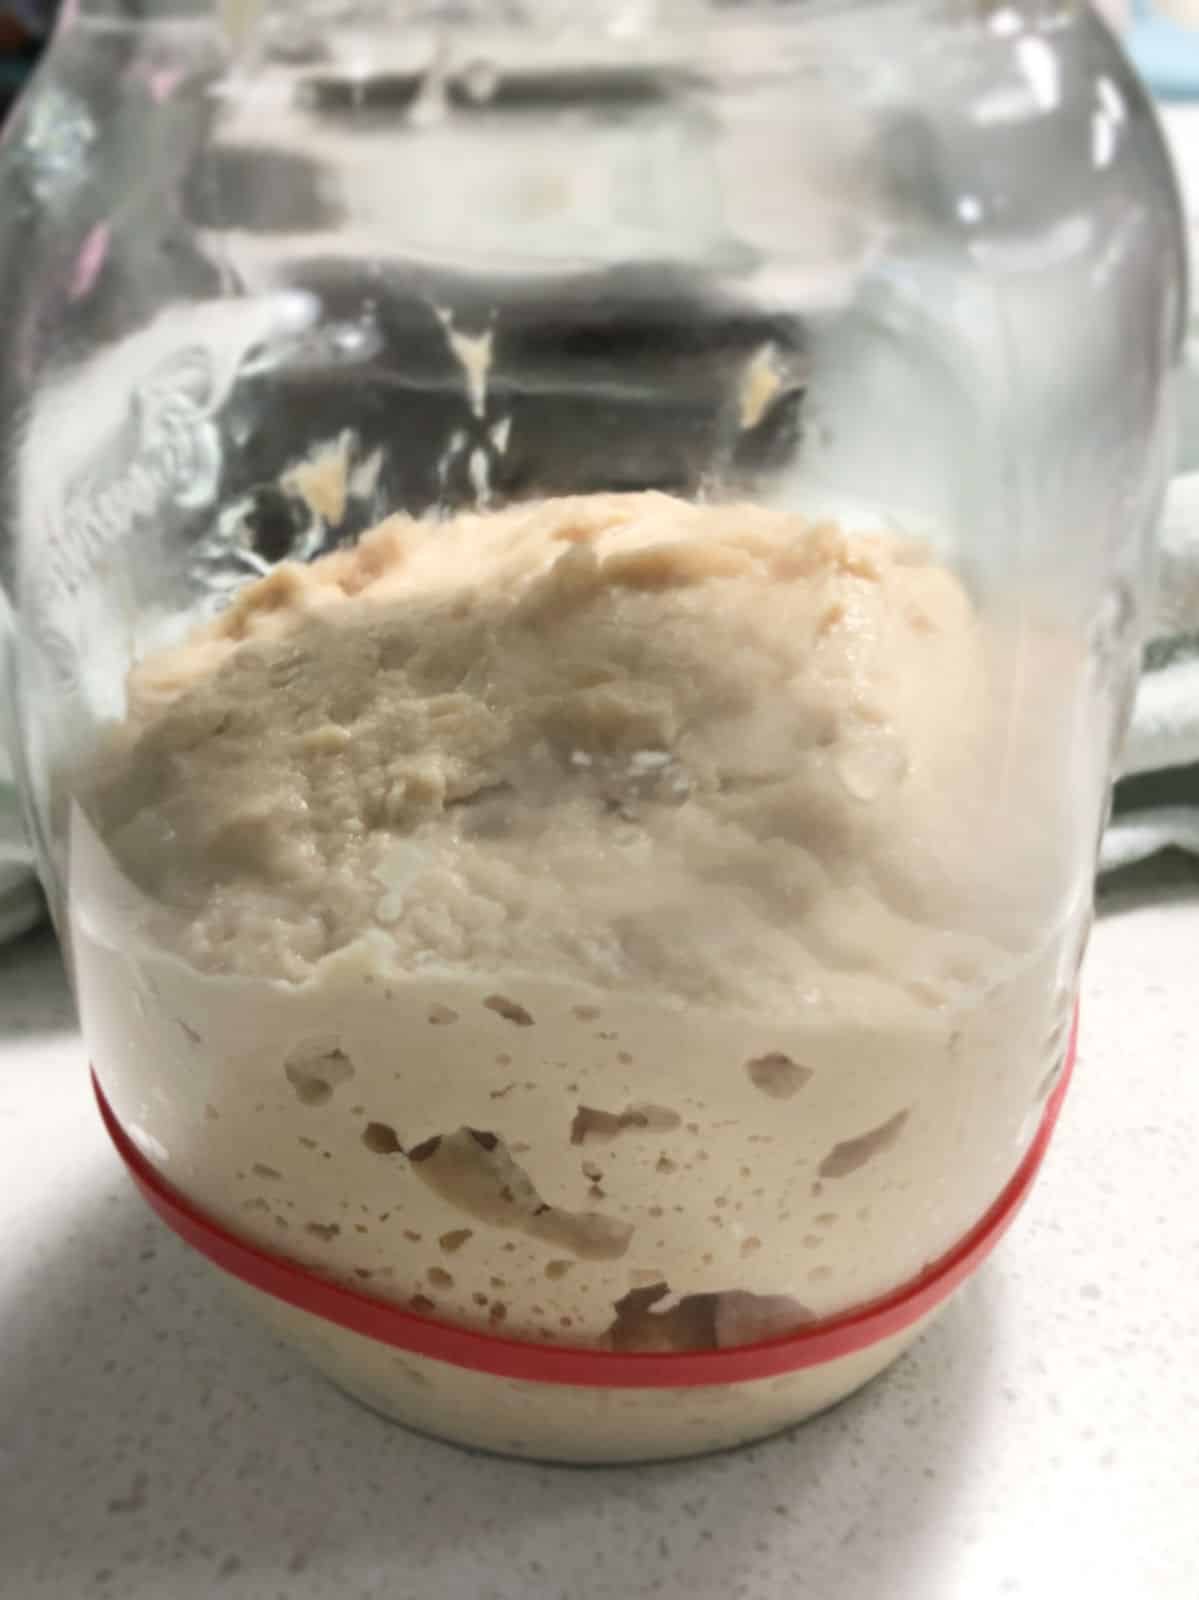
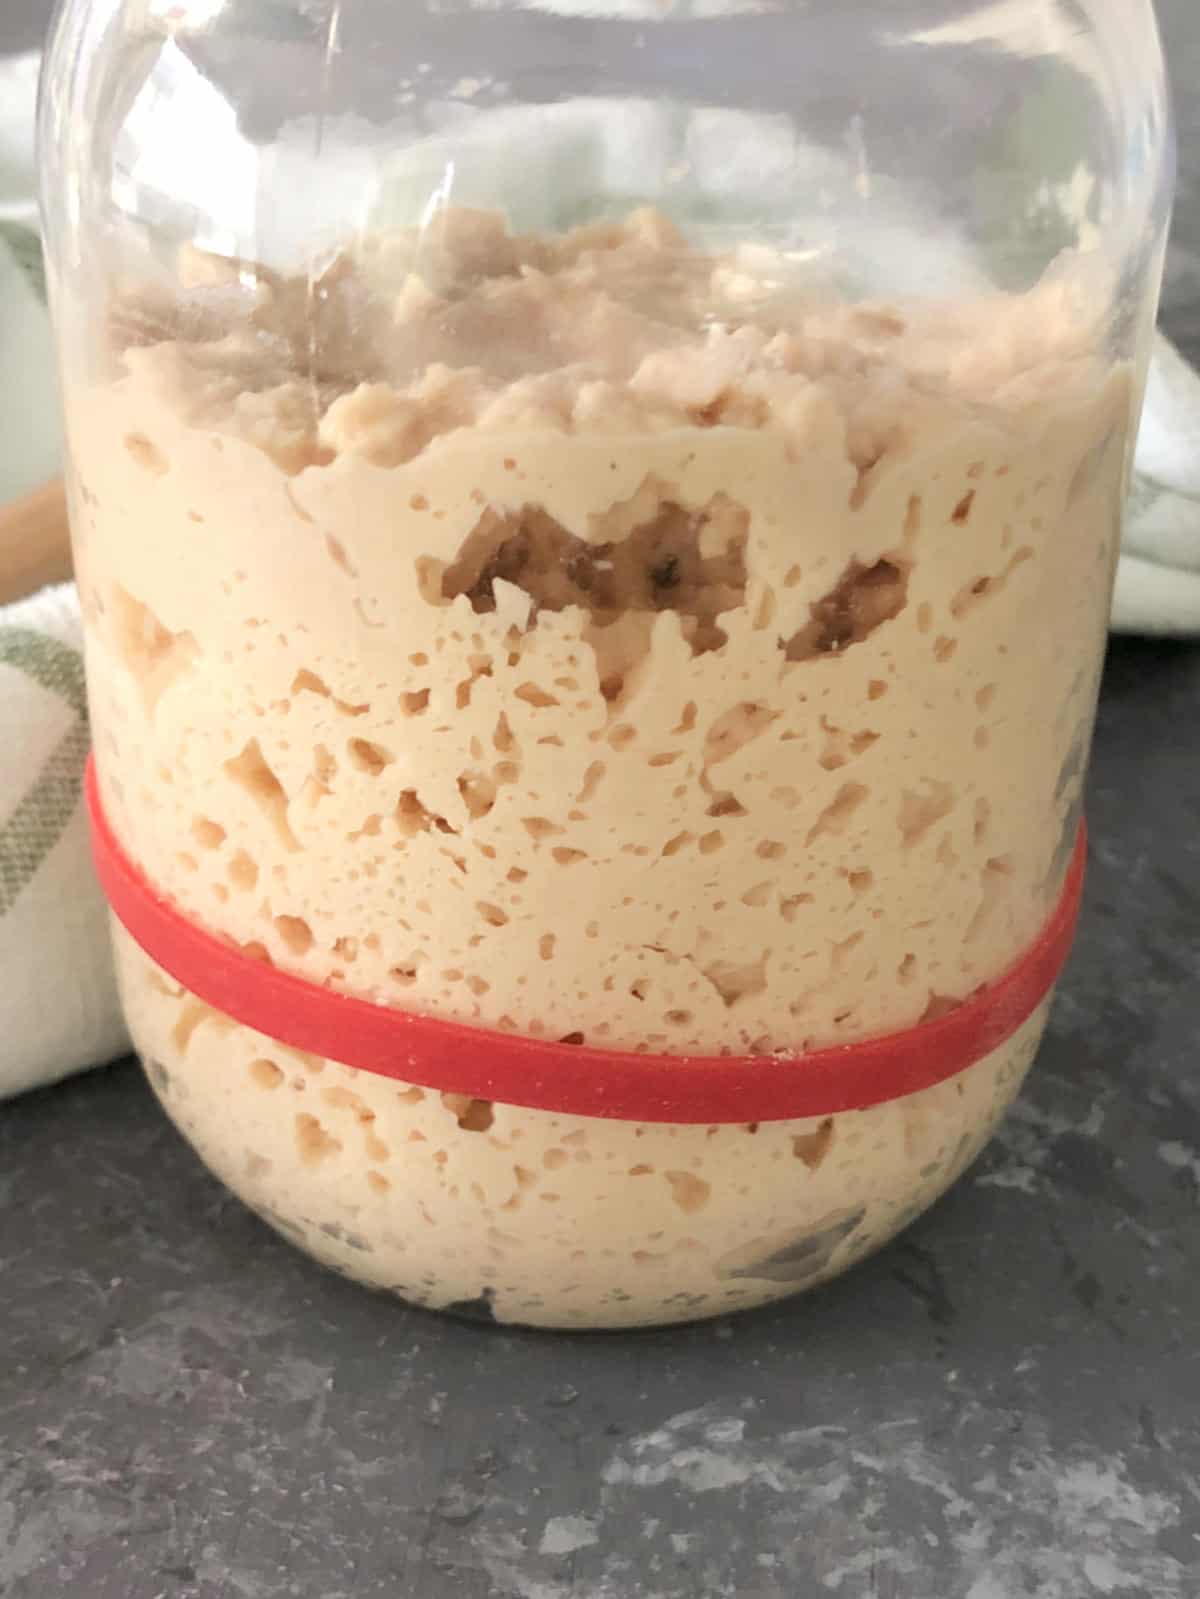
DAY 5-7: My starter doubled overnight on day 5. Continue the discard and feed cycle for a couple of days until the starter is fully mature and ripe.
Expert tips to make atta sourdough starter
Opt for filtered or bottled water to make sourdough starter. If filtered water is unavailable, use boiled and cooled water.
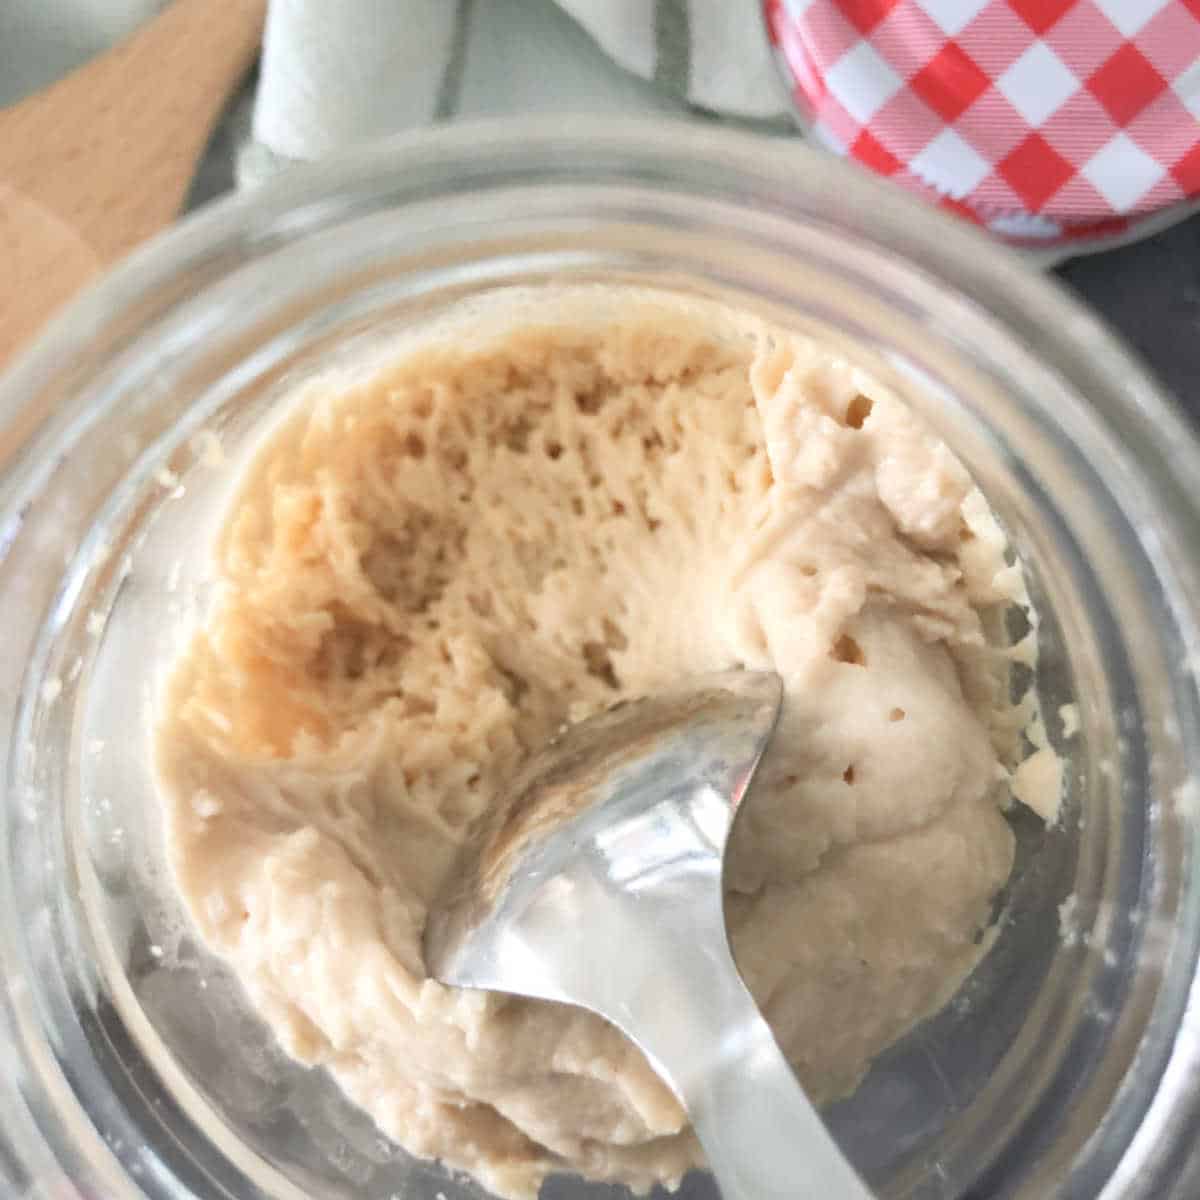
Atta absorbs a lot of water. As a result, the sourdough atta starter will look relatively less hydrated, and you will have a stiff levain.
My atta starter was ready by day 6. However, the time taken for the starter to mature may vary depending on the ambient temperature. While I prefer to wait for 4-5 days before using the bread flour starter discard, I have used the atta starter discard from day 2.
The maintenance of the atta starter is the same as a regular all-purpose flour or white flour starter. Click here to see how to maintain a sourdough starter. You can prepare the atta starter for baking in the same way you prepare the starter made with regular flour.
Recipe FAQs
As such, an atta starter can be made and maintained similarly to a bread flour starter. However, atta flour absorbs more water than regular flour, so you may need to adjust the amount of water in your starter to achieve the right consistency.
This recipe uses atta flour exclusively to make the atta starter. However, you can use a combination of 1:1 atta flour and bread flour.
I have seen that the sourdough atta starter takes less time to become active when compared to the bread flour starter. However, it is important to remember that the time it takes for a starter to become active can vary depending on factors such as temperature and humidity. Generally, it can take anywhere from 5 to 10 days for an atta sourdough starter to become active.
If you tried this Atta Sourdough Starter Recipe or any other recipe on my website, please leave a ? star rating and let me know how it went in the ? comments below.
Recipe card

Atta Sourdough Starter
Equipment
Ingredients
- 350 grams atta chapati flour or Indian whole wheat flour
- 350 grams filtered water
Instructions
DAY 1:
- Pour 100 grams of atta and 100 grams of water into a jar. Mix well making sure there are no bits of dry flour. The mixture will be slightly less hydrated. Add 1-2 tablespoons of water if required.
- Pop the lid loosely and let the jar sit in a warm spot away from direct sunlight for 24 hours.
DAY 2:
- You will begin to notice some bubbles by day 2 as the atta flour ferments quickly.
- Remove 100 grams of the starter from the jar and discard it.
- Add 50 grams of atta and 50 grams of water to the remaining starter. Mix well to make sure there are no dry bits of flour. Place it back in the warm spot for the next 24 hours.
DAY 3:
- There are more bubbles and a small rise in the starter.
- Add 50 grams of atta and 50 grams of water to the remaining starter. Stir well to make sure there are no dry bits of flour. Place it back in the warm spot for the next 24 hours.
DAY 4:
- From day 4, you will need to feed your starter twice a day, 10 to 12 hours apart. Note the timing of your feed so that it is easy to track the next feeding time.
- In the morning, remove 100 grams of the starter from the jar and discard it.
- Add 50 grams of atta and 50 grams of water to the remaining starter. Stir well to make sure there are no dry bits of flour. Place it back in the warm spot for the next 10-12 hours.
- After 10-12 hours, remove 100 grams of the starter from the jar and discard it.
- Add 50 grams of atta and 50 grams of water into the jar. Stir well to make sure there are no dry bits of flour. Place it back in the warm spot until the next day.
DAY 5:
- You will notice a lot of activity in your starter and it will start to rise with every feed. If it does not, give it a day or two more to mature.
- In the morning, remove 100 grams of the starter from the jar and discard it.
- Add 50 grams of atta and 50 grams of water to the remaining starter. Stir well to make sure there are no dry bits of flour. Place it back in the warm spot for the next 10-12 hours.
- After 10-12 hours, remove 100 grams of the starter from the jar and discard it.
- Add 50 grams of atta and 50 grams of water into the jar. Stir well to make sure there are no dry bits of flour. Place it back in the warm spot until the next day.
DAY 6:
- Your starter is getting mature with every feed. Some starters are good to go by 6 or 7 days, while some need a few more days to mature and be ready to bake.
- In the morning, remove 100 grams of the starter from the jar and discard it.
- Add 50 grams of atta and 50 grams of water into the jar. Stir well to make sure there are no dry bits of flour. Place it back in the warm spot for the next 10-12 hours.
- After 10-12 hours, remove 100 grams of the starter from the jar and discard it.
- Add 50 grams of atta and 50 grams of water into the jar. Stir well to make sure there are no dry bits of flour. Place it back in the warm spot until the next day.
DAY 7:
- Your starter should be bubbly, active, and doubling every 6-8 hours after feeding. By day 7, your starter should be ready to bake; however, it will take a few more days to fully mature. If you are not planning to bake with it straight away, put it in the refrigerator and maintain it with weekly feeds.

Cheryl says
I'm excited that my starter is working! I've done one feeding, and just want to confirm that I keep discarding and feeding every 10-12 hours for the next few days. It has almost doubled in the last 8 hours or so since I fed it this morning.
Shilpa Kerur says
Hi Cheryl, That's so exciting! I suggest you continue the feed cycle at least for a few days so that the starter is ripe and matured before you begin baking breads. I'd love to hear how the breads turned out 🙂
- Shilpa
Veda berde says
I have a query, i have started making starter today it 6th day i have used atta and water in equal ratio .
My starter does show some bubble but i dont see any rise in it ,as i fed flour and water it becomes runne if i i fold &stretch it does string but i dont see its texture like to one your starter look
Could you help me on this ?
Shilpa Kerur says
Hi Veda,
It's completely normal to see some variability in the behavior of a starter, especially during the initial stages. The fact that you're seeing bubbles is a positive sign, indicating that fermentation is taking place. However, it's also common for starters to take some time to mature fully, and during this process, you may notice variations in texture and activity.
If the starter is placed in a very warm place, it eats up all the food quickly, turning it very watery or liquidy. If this happens, you must place the starter in a less warm spot. Continue to discard and feed, and move the starter to a slightly cooler spot to fix this issue.
I have jotted all troubleshooting tips here: https://easyindiancookbook.com/how-to-make-sourdough-starter/
I hope this helps and I'd love to hear back from you when the starter is ready and you begin baking.
- Shilpa