
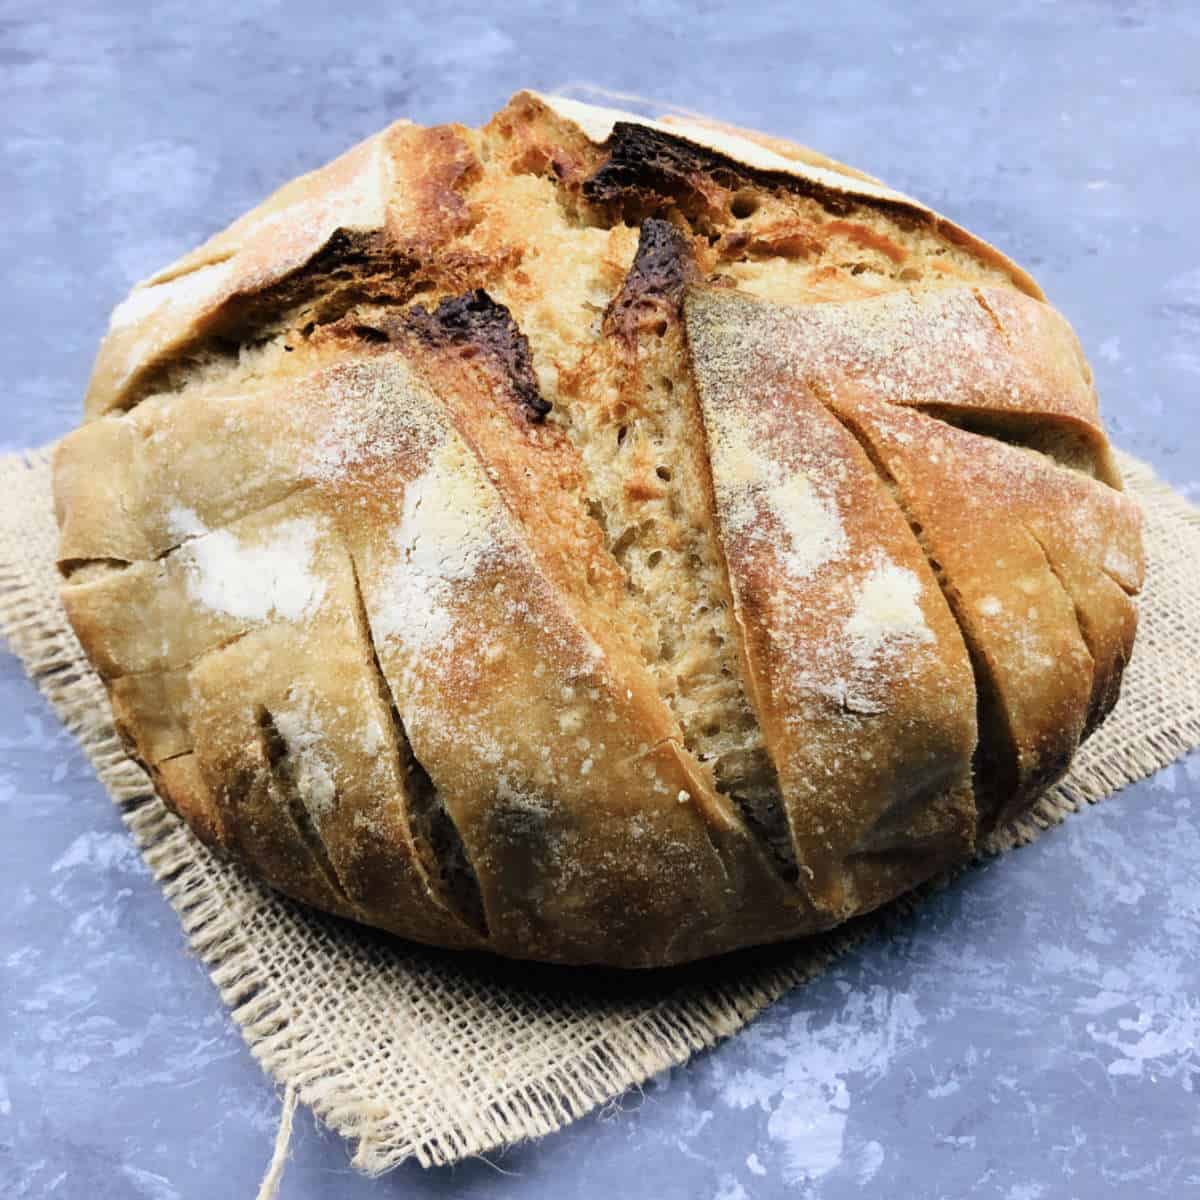
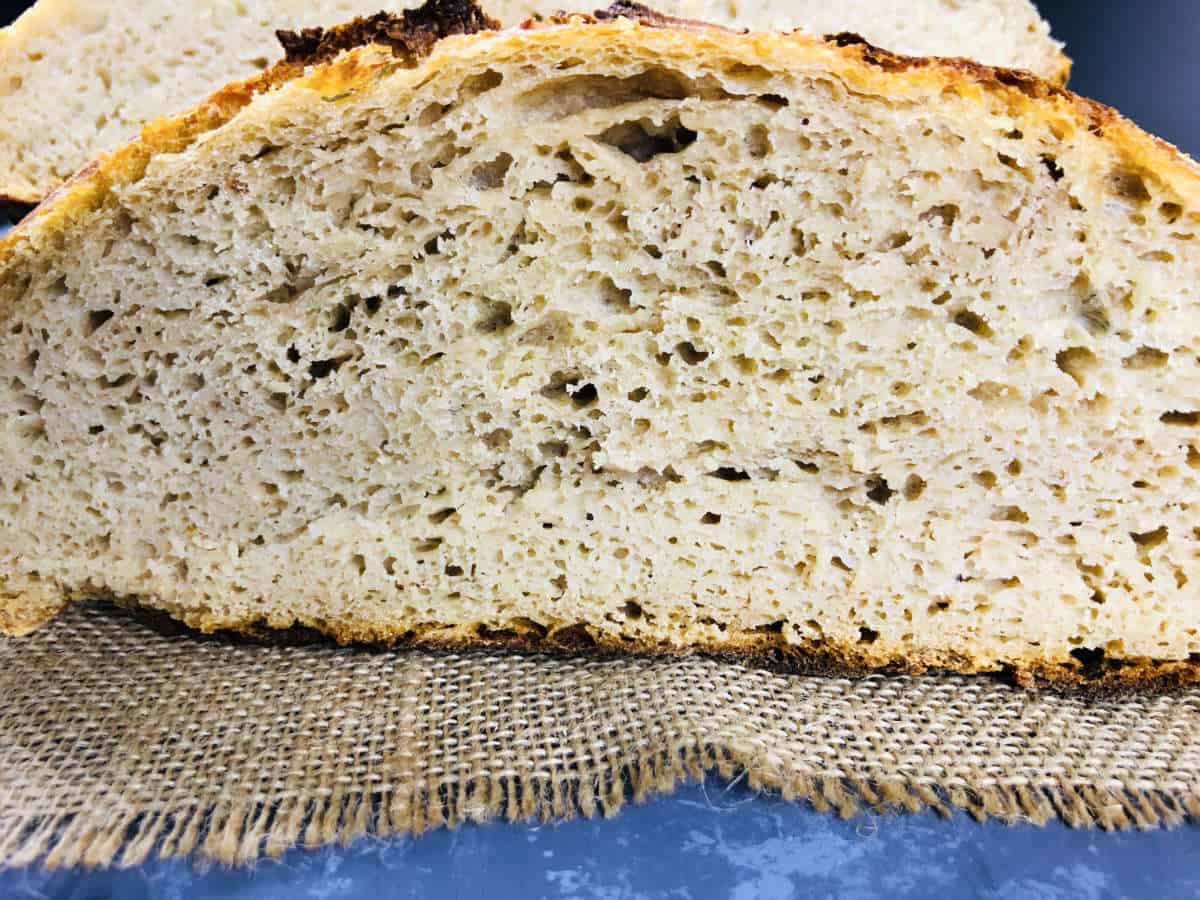
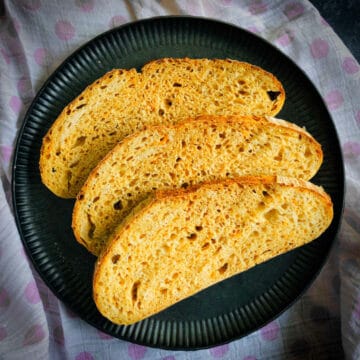
Atta sourdough bread or whole wheat sourdough bread is made with the goodness of whole wheat atta flour. This whole wheat sourdough bread has a perfect balance of flavor and taste, with a nice tang, good rise, and an exceptional crumb. A sourdough starter with atta or sourdough starter with bread flour can be used to make this bread.

Why you will love this recipe?
- The combination of atta flour and sourdough fermentation creates a unique and delightful flavor profile. The tangy taste of the sourdough starter adds depth and complexity to the bread.
- Despite being 100% wheat flour bread, it achieves a good rise. The prolonged autolyze helps strengthen the dough and makes it easier to work with.
Ingredients
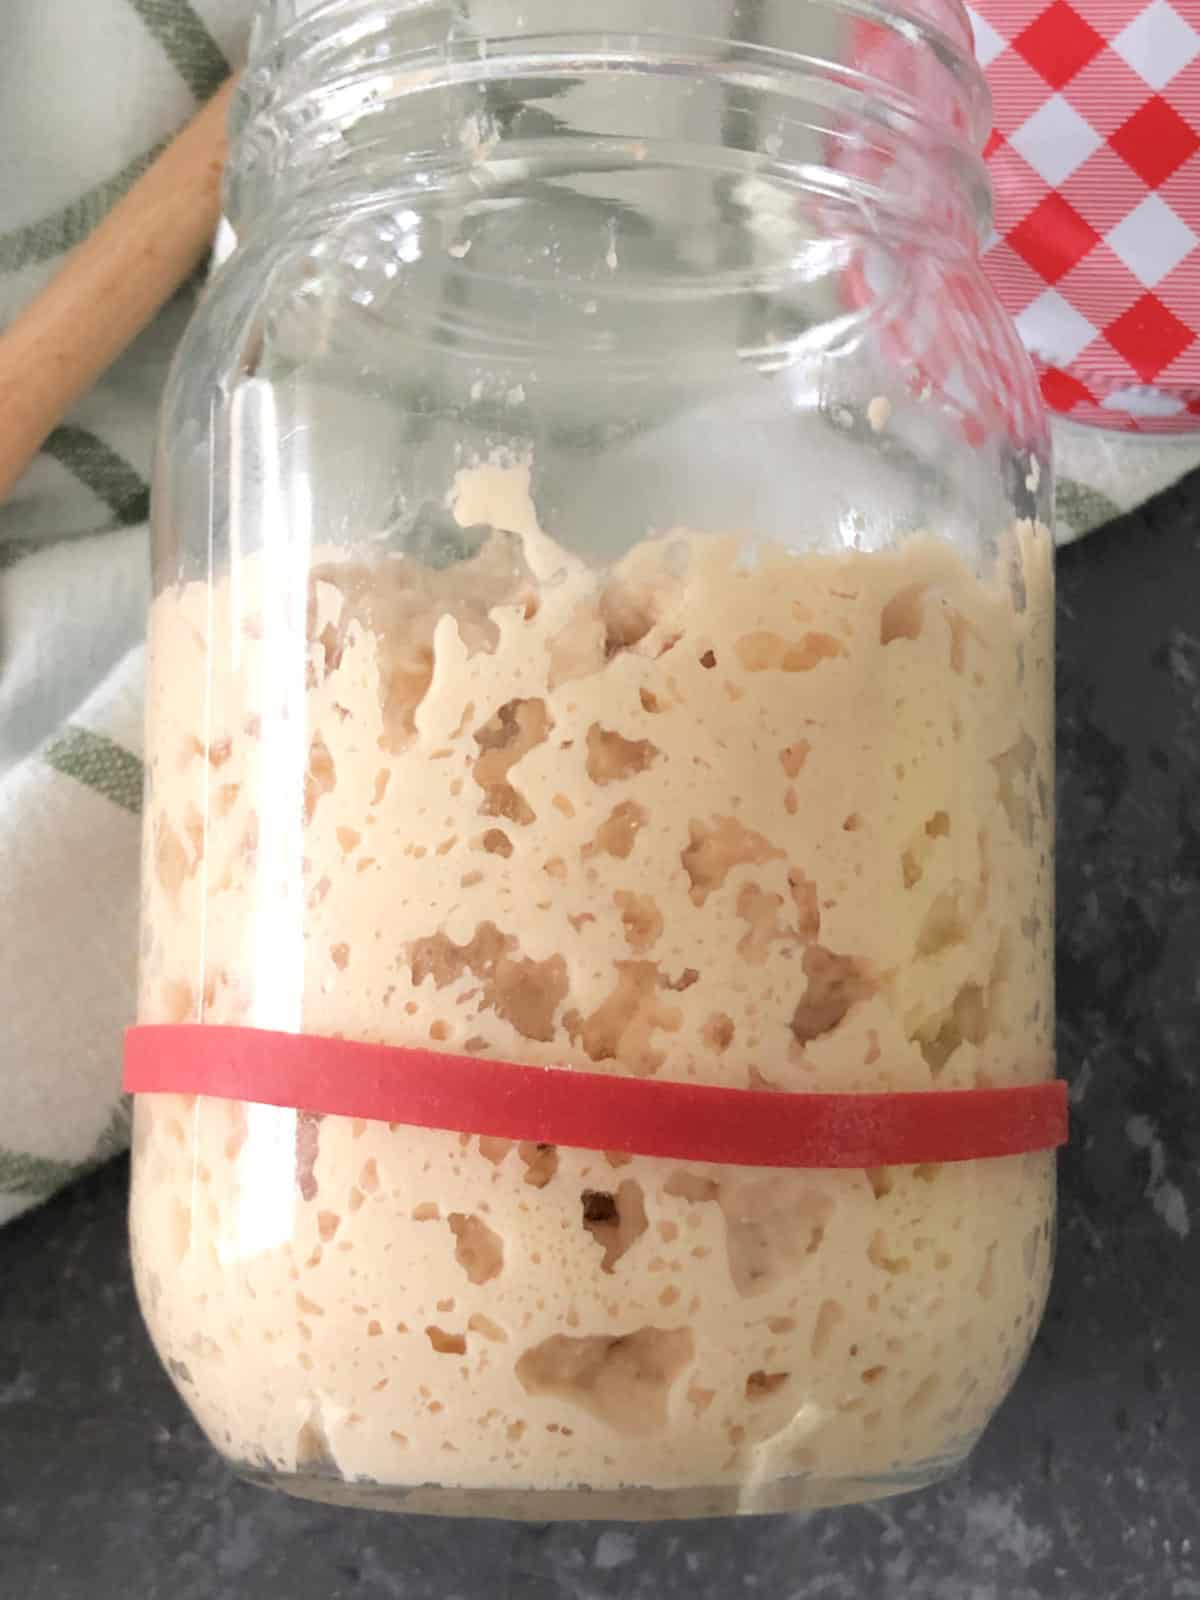
Sourdough atta starter: I am using a sourdough atta starter (whole wheat starter) for this whole wheat sourdough recipe. However, a regular bread flour starter can also be used. Make sure the sourdough starter is active and ready for baking.
Flour: I am using atta flour in this recipe. It is also popularly known as chapati flour or Indian whole wheat flour.
Water and salt: Use filtered water to make sourdough bread.
Variations
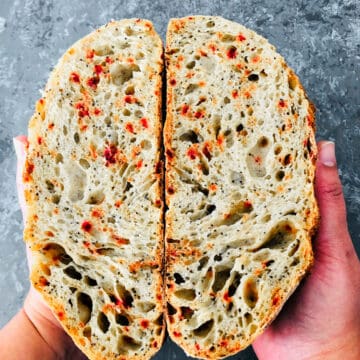
Add seeds or nuts: Incorporate additional flavors and textures by adding seeds or nuts to the dough. My favorite addition is sesame seeds, sunflower seeds, or chopped almonds.
Use spices or herbs: Spices like cumin, fennel seeds, or turmeric enhance the flavor. You can also add fresh or dried herbs like rosemary or basil for an aromatic note to your bread.
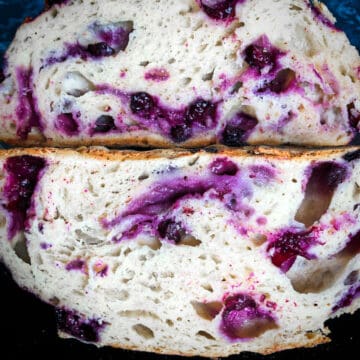
Include dried fruits: For a touch of natural sweetness, you can add dried fruits such as raisins, cranberries, or chopped dates to the dough. Soak the dried fruits beforehand to ensure they stay moist during baking.
Step-by-step instructions to make whole wheat sourdough bread
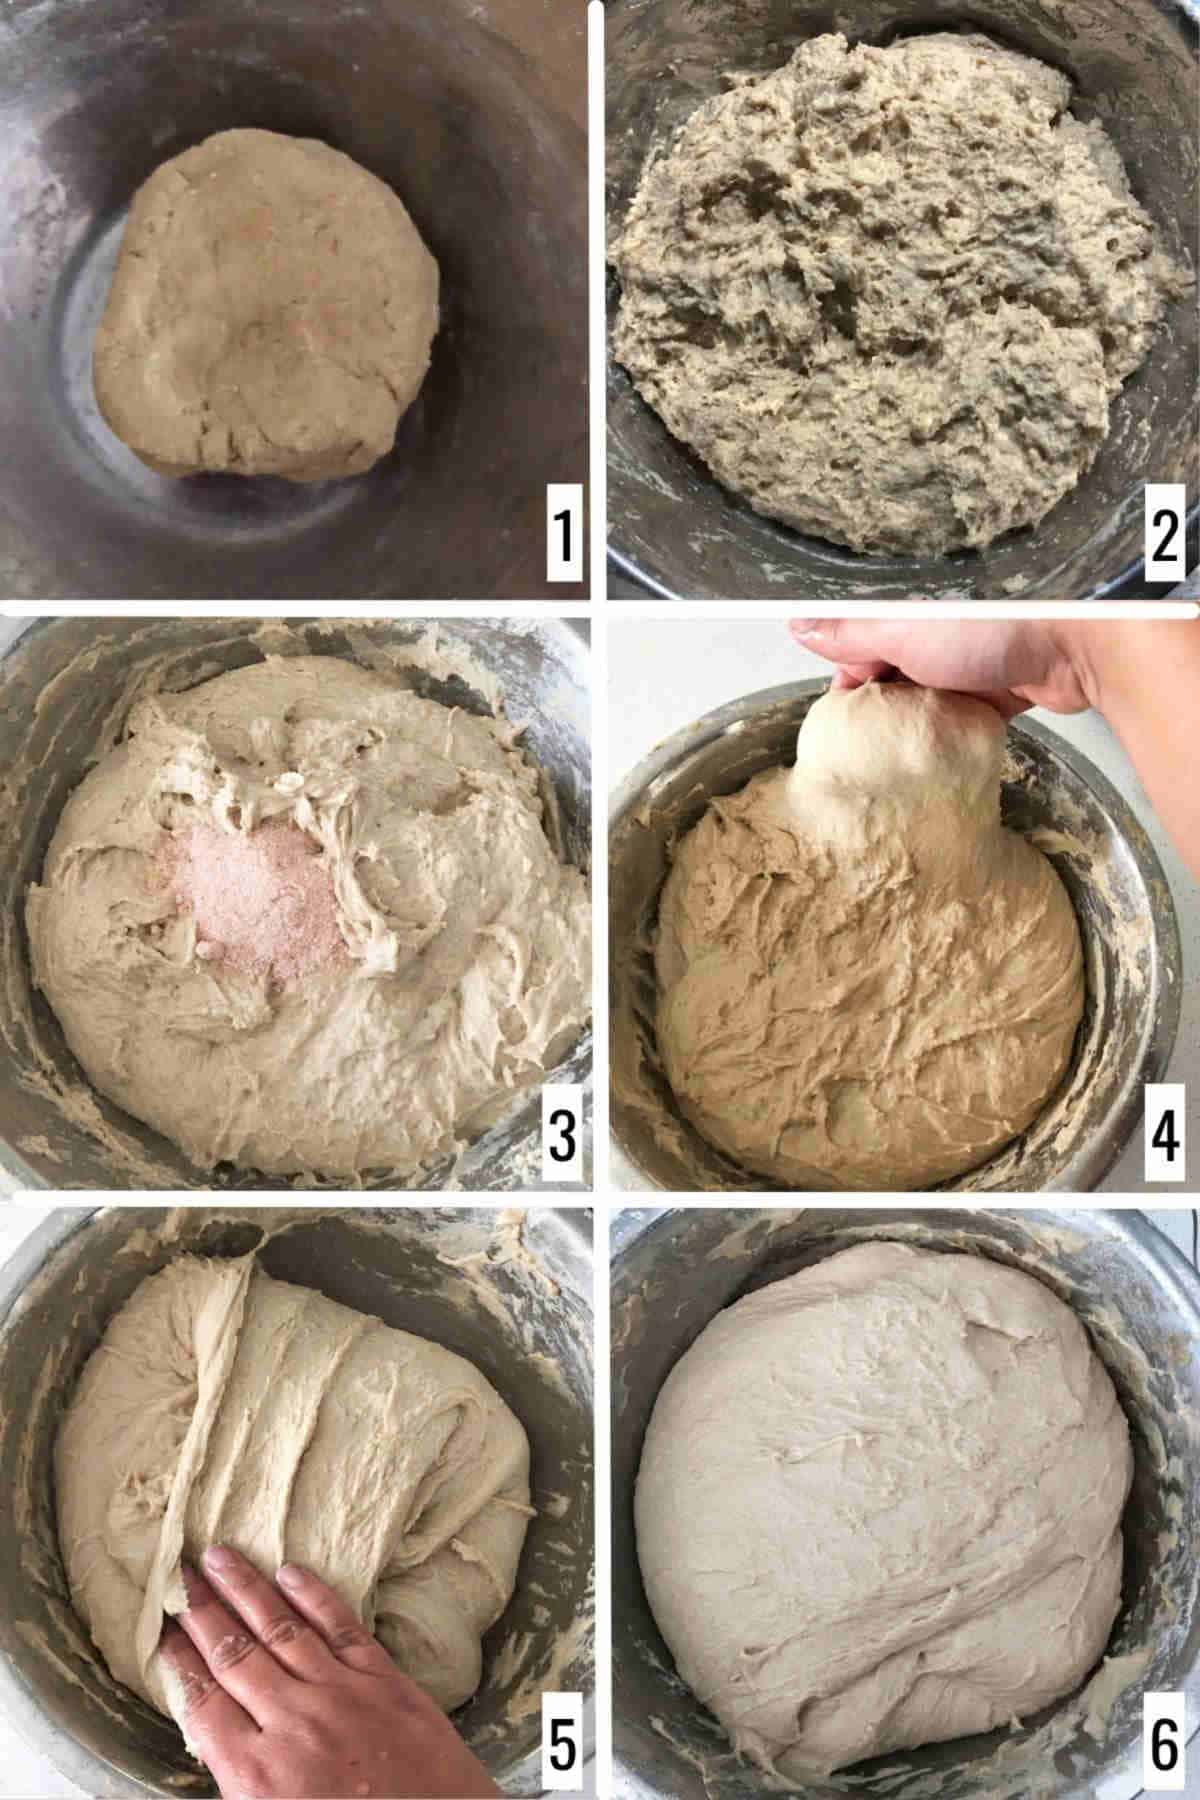
Step 1: Combine the ingredients needed to activate the starter and keep it in a warm spot (image 1).
Step 2: In a separate large bowl, combine the atta and water to begin autolysis. Keep it in a warm place (image 2).
Step 3: Next morning, combine the active sourdough starter and salt with the autolyzed bread dough (image 3). Since the active starter will be stiff, break it into small bits and pinch it into the dough making sure the starter is incorporated into the dough.
Step 4: Perform the first set of stretch and fold (images 4 and 5). Flip the dough, cover it, and let it rest until the next cycle (image 6).
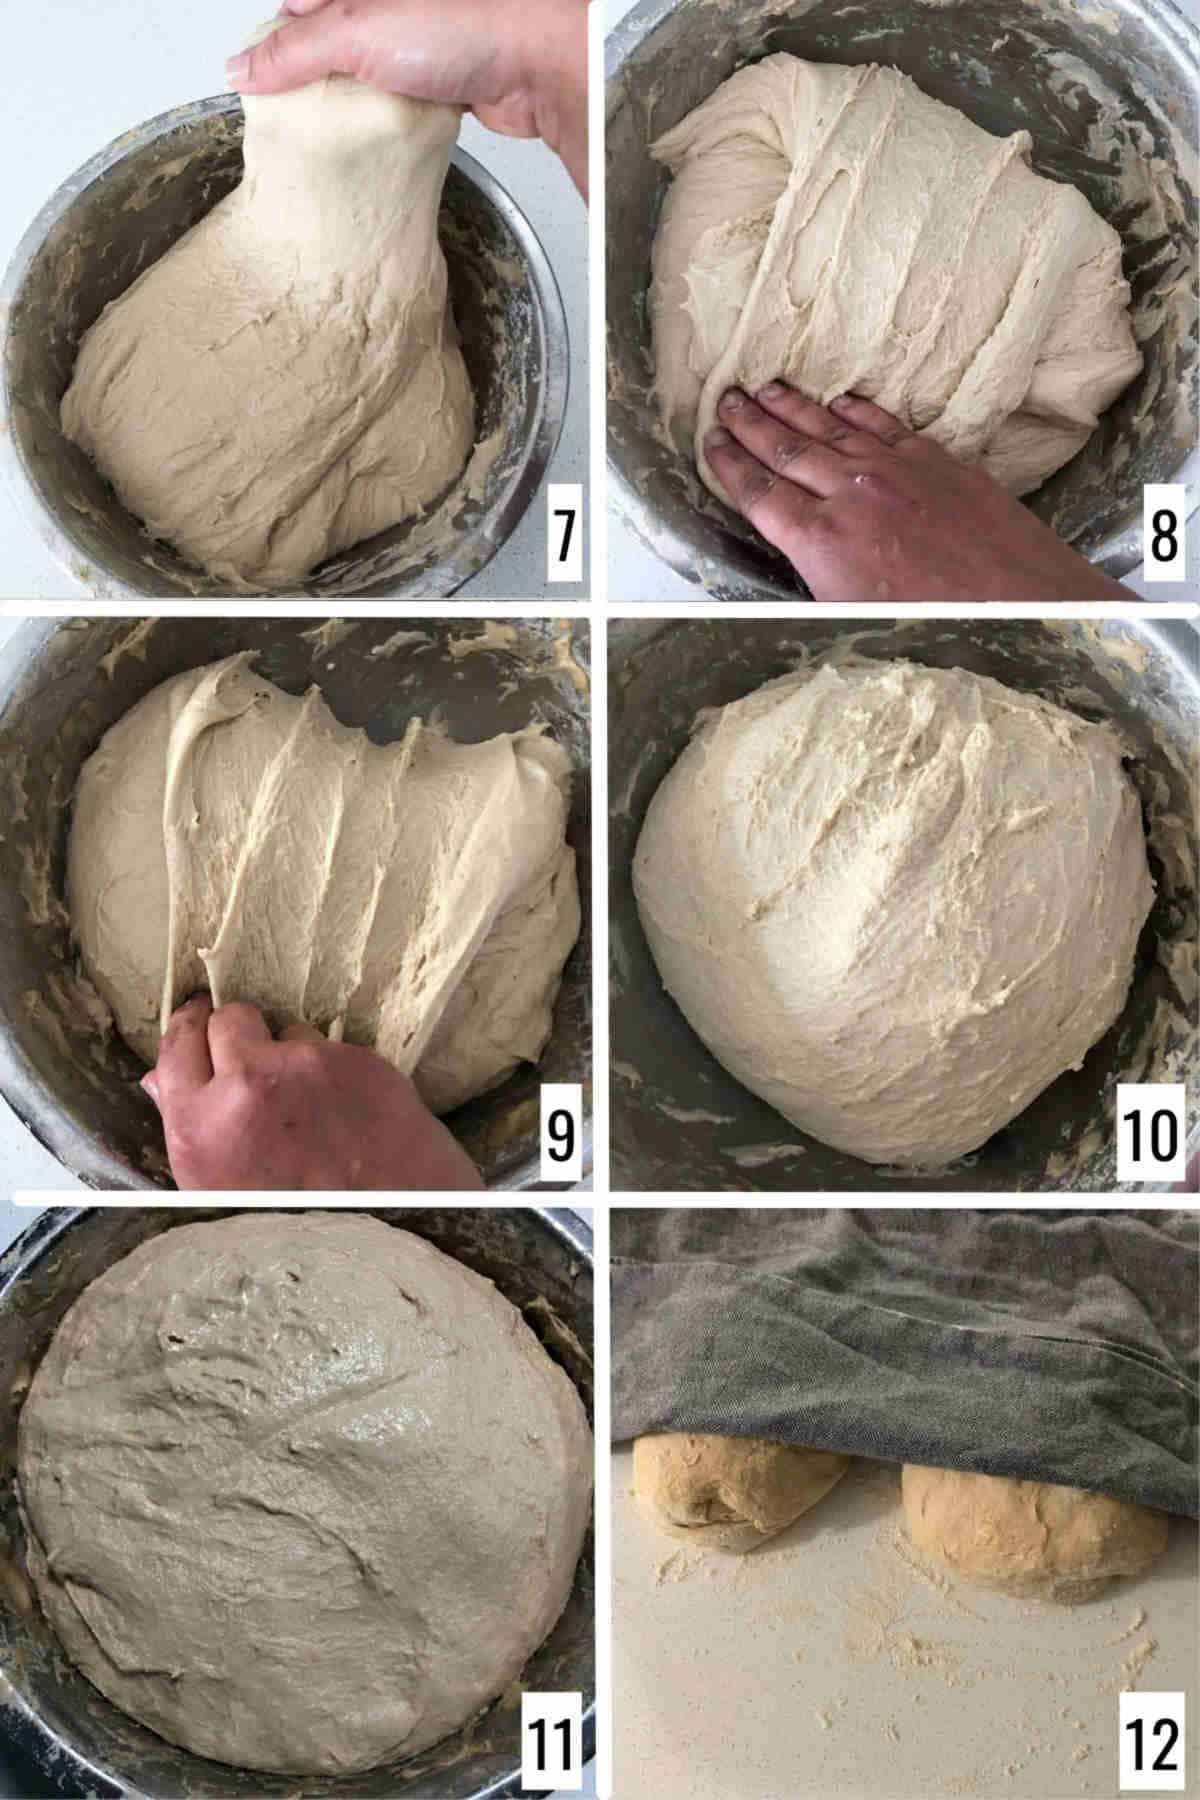
Step 5: Continue to stretch and fold until the dough develops strength (images 7, 8, and 9).
Step 6: Let the dough sit for bulk fermentation or first rise. The dough rises and is almost doubled after bulk fermentation (images 10 and 11).
Step 7: Transfer the dough to a floured work surface and divide it into two. Shape them into two balls and let the dough rest on the bench for 15 minutes. Keep them covered using a damp towel (image 12).
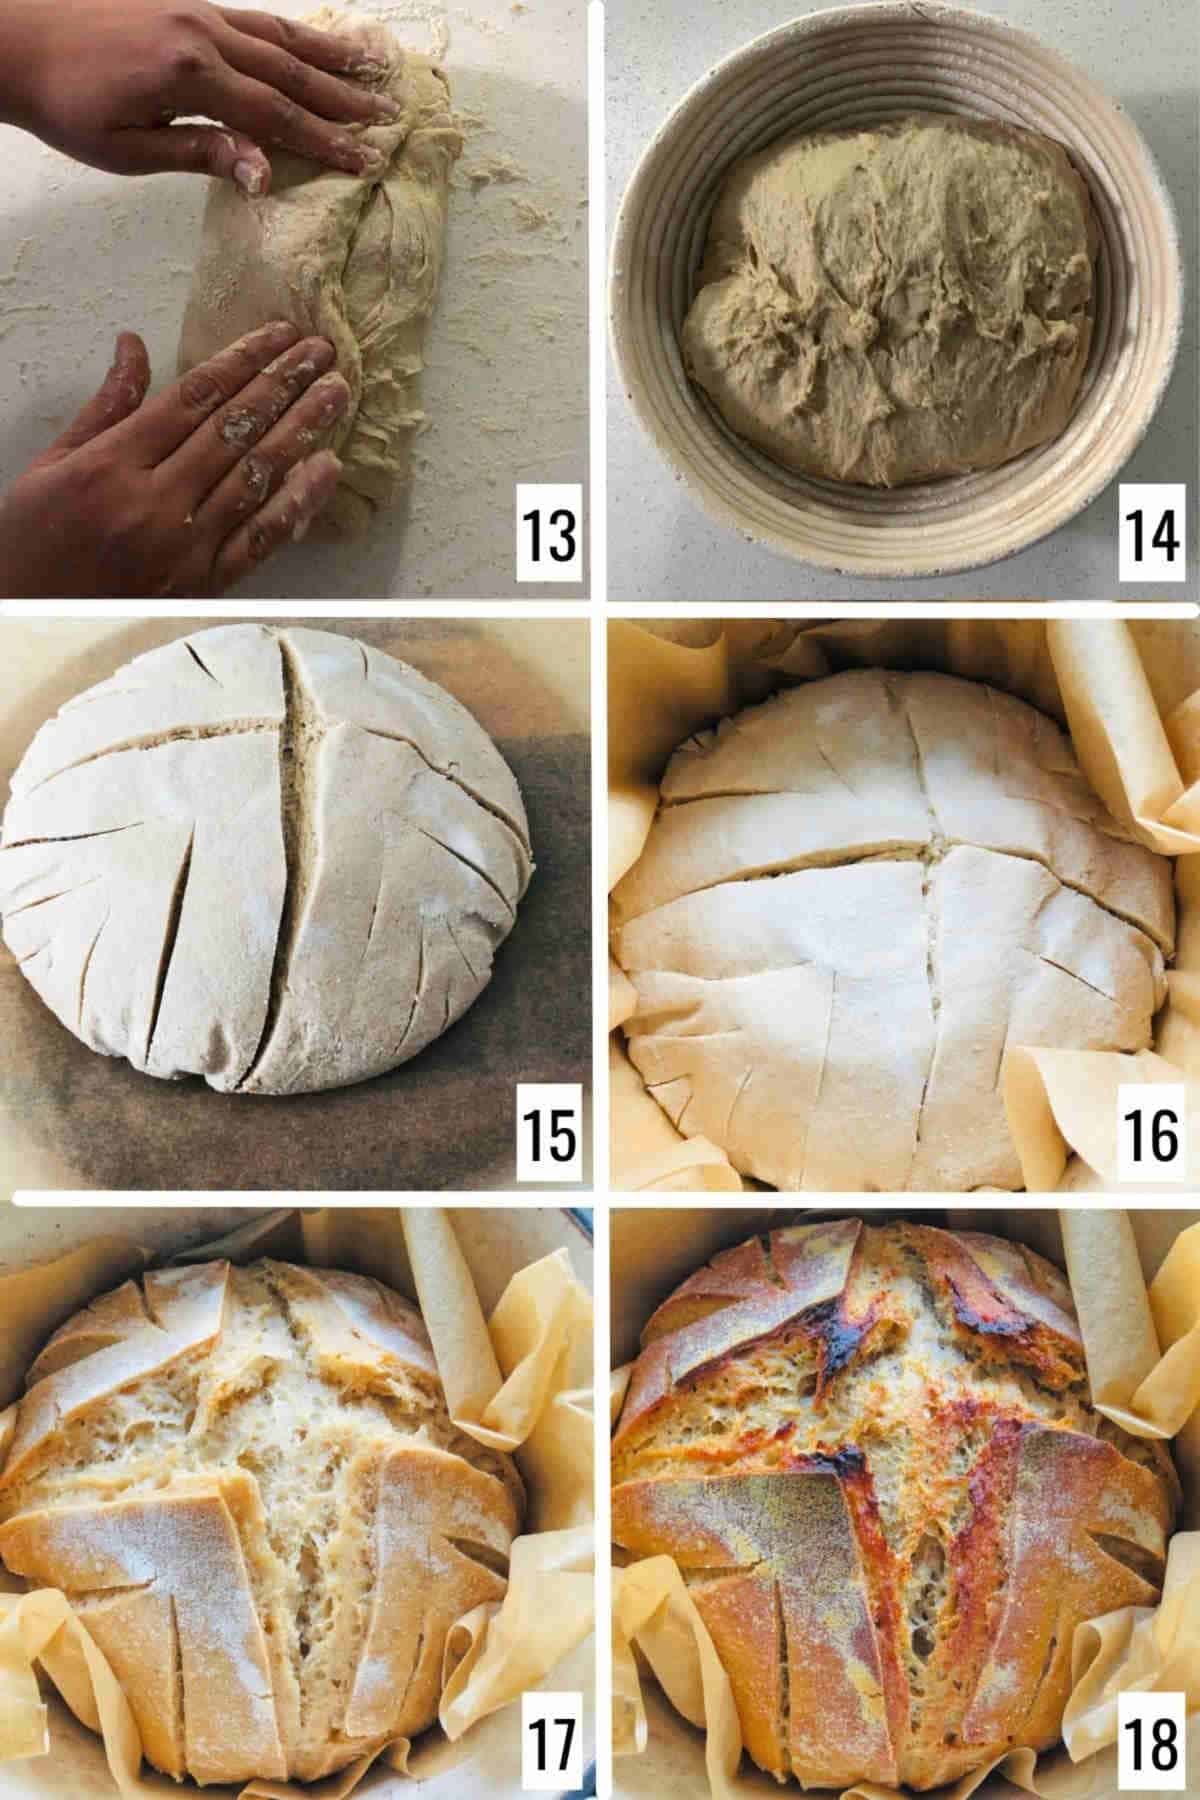
Step 8: Using a bench knife or bench scraper, pick one side of the dough and fold it to the center. Pick the other side and fold it to the center (image 13). Now hold the dough gently and tuck it to form a log. Place the round loaf in a well-dusted banneton with the seam side up. Cover the dough loosely using a tea towel or plastic bag. Let it sit in the refrigerator for cold fermentation for a second rise (image 14).
Step 9: The next day, place the Dutch oven in the oven and preheat it. Once the oven is preheated, take the dough out of the fridge and remove the plastic bag. Flip onto a piece of parchment paper and score the cold dough using a sharp knife or razor blade once the oven is preheated (image 15).
Step 10: Place in the preheated Dutch oven. Bake with the lid on for 25 minutes, then bake without the lid for another 15 minutes (images 16 and 17).
Step 11: Let the sourdough wheat bread cure in the turned-off oven for 10-15 minutes (image 18). Transfer it to a wire rack and let the whole wheat loaf cool completely before slicing.
Expert Tips
If you are not comfortable making 100% atta bread, start by mixing 20% atta along with the bread flour. Slowly increase the amount of atta.
The activated starter is very stiff, almost like a chapati dough consistency. To combine it with the dough, pinch it into the dough using your fingers.
Recipe FAQs
Wheat sourdough bread differs from regular bread in that it is made with whole wheat flour instead of refined white flour. It also undergoes fermentation with a sourdough starter, which contributes to its unique flavor, texture, and improved digestibility.
Yes, you can experiment with a combination of whole wheat and all-purpose flour to achieve a balance of flavor and texture. Adjust the hydration accordingly, as all-purpose flour absorbs less water than whole wheat flour.
To keep the atta sourdough bread fresh, store it in a paper bag or bread box at room temperature for up to 3-4 days.
Yes, you can freeze wheat sourdough bread. Slice it before freezing, and place parchment paper between the slices to prevent sticking. Place in an airtight container and freeze for up to 3 months. Thaw individual slices or the whole loaf as needed.
Atta or chakki atta is a type of flour made using whole grains of wheat. This whole wheat flour is used to make Indian flatbreads like roti, chapati, or paratha. It is popularly known as chapati flour outside of India. Atta is ground slightly coarse when compared to whole wheat flour that is available in supermarkets in the US.
If you tried this Atta Sourdough Bread / Whole Wheat Sourdough Bread Recipe or any other recipe on my website, please leave a ? star rating and let me know how it went in the ? comments below.
Recipe card

Atta Sourdough Bread (Whole Wheat Sourdough Bread)
Equipment
- Bread lame or razor blade to score the dough
Ingredients
For starter activation:
- 40 grams atta sourdough starter
- 80 grams atta
- 55 grams filter water
Instructions
DAY 1: 8 PM
- In a small bowl, combine the ingredients to activate the starter. This is going to be of stiff dough consistency.
- In a separate large bowl, combine the atta for the dough with 900 grams of water. Mix well making sure there are no dry bits of the flour.
- Cover and place both bowls in a warm spot overnight.
DAY 2: Morning
- Break the stiff activated starter onto the dough.
- Combine the starter well into the dough. Add the remaining 50 grams of water and incorporate the starter into the dough. Pinch the starter and dough with your fingers and work into the dough to help the starter mix completely.
- Once the starter is completely incorporated, add salt. Mix the salt well into the dough. The whole process should take 8-10 minutes.
- Perform three to four sets of stretch and fold at an interval of 30 minutes. With wet hands, grab a portion of the dough, slowly stretch it taking care not to break it, and fold it towards the center over the dough. Keep turning the bowl and repeat the process until all parts of the dough are covered. Carefully flip the dough and round it up. This completes one set of stretch and fold. Repeat this process six times at an interval of 30 minutes.
- Let the dough sit for bulk fermentation until it is almost double and has bubbles on the top.
DAY 2: Evening
- Take the dough from the bowl onto a benchtop dusted with flour.
- Divide into two parts. Bring the dough together gently to form a round mass. Cover and let it rest on the bench for 30 minutes.
- Dust the banneton/tea towel well with rice flour.
- Shape the dough. Divide the dough into two. Shape them into two balls and let them rest on the bench for 15 minutes.
- Pick one side of the dough and fold it to the center. Pick the other side and fold it to the center. Now hold the dough gently and tuck it to form a log. Carefully place the dough seam-side up on the banneton. Repeat with the 2nd part of the dough.
- Cover the dough loosely and place it in the refrigerator overnight for cold fermentation.
DAY 3: Morning
- Place the Dutch oven in the oven and preheat at 450 F (230 C) for 45 minutes
- Take the dough out of the fridge once the oven is preheated. Score the dough using a blade or sharp knife.
- Place in the Dutch oven and close the lid. Bake for 20 minutes.
- Take the lid off the Dutch oven and bake for 20 minutes.
- Turn off the oven and let the bread sit in the oven for 15 minutes for curing.
- Cool completely, slice, and serve.

Disha says
Although I skipped a few steps and altered the measurements a little bit, this is by far my best whole wheat sourdough bread.
Thanks for the recipe