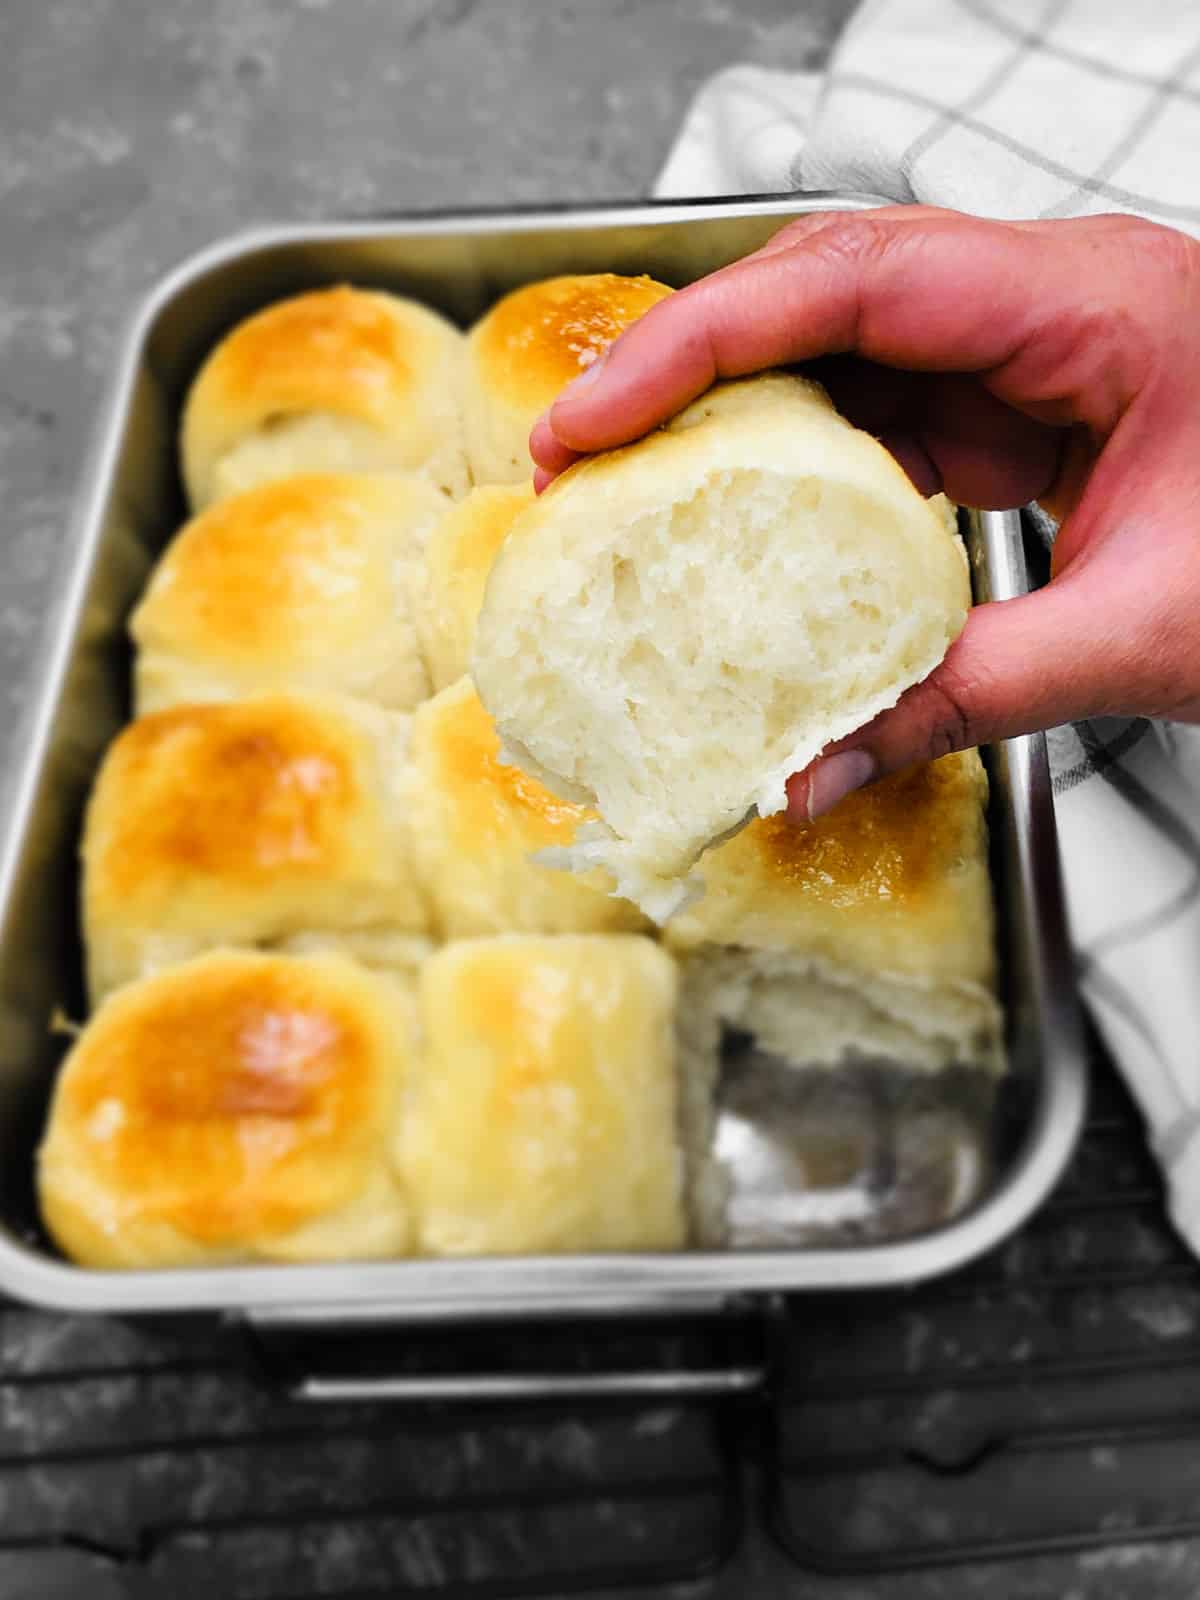
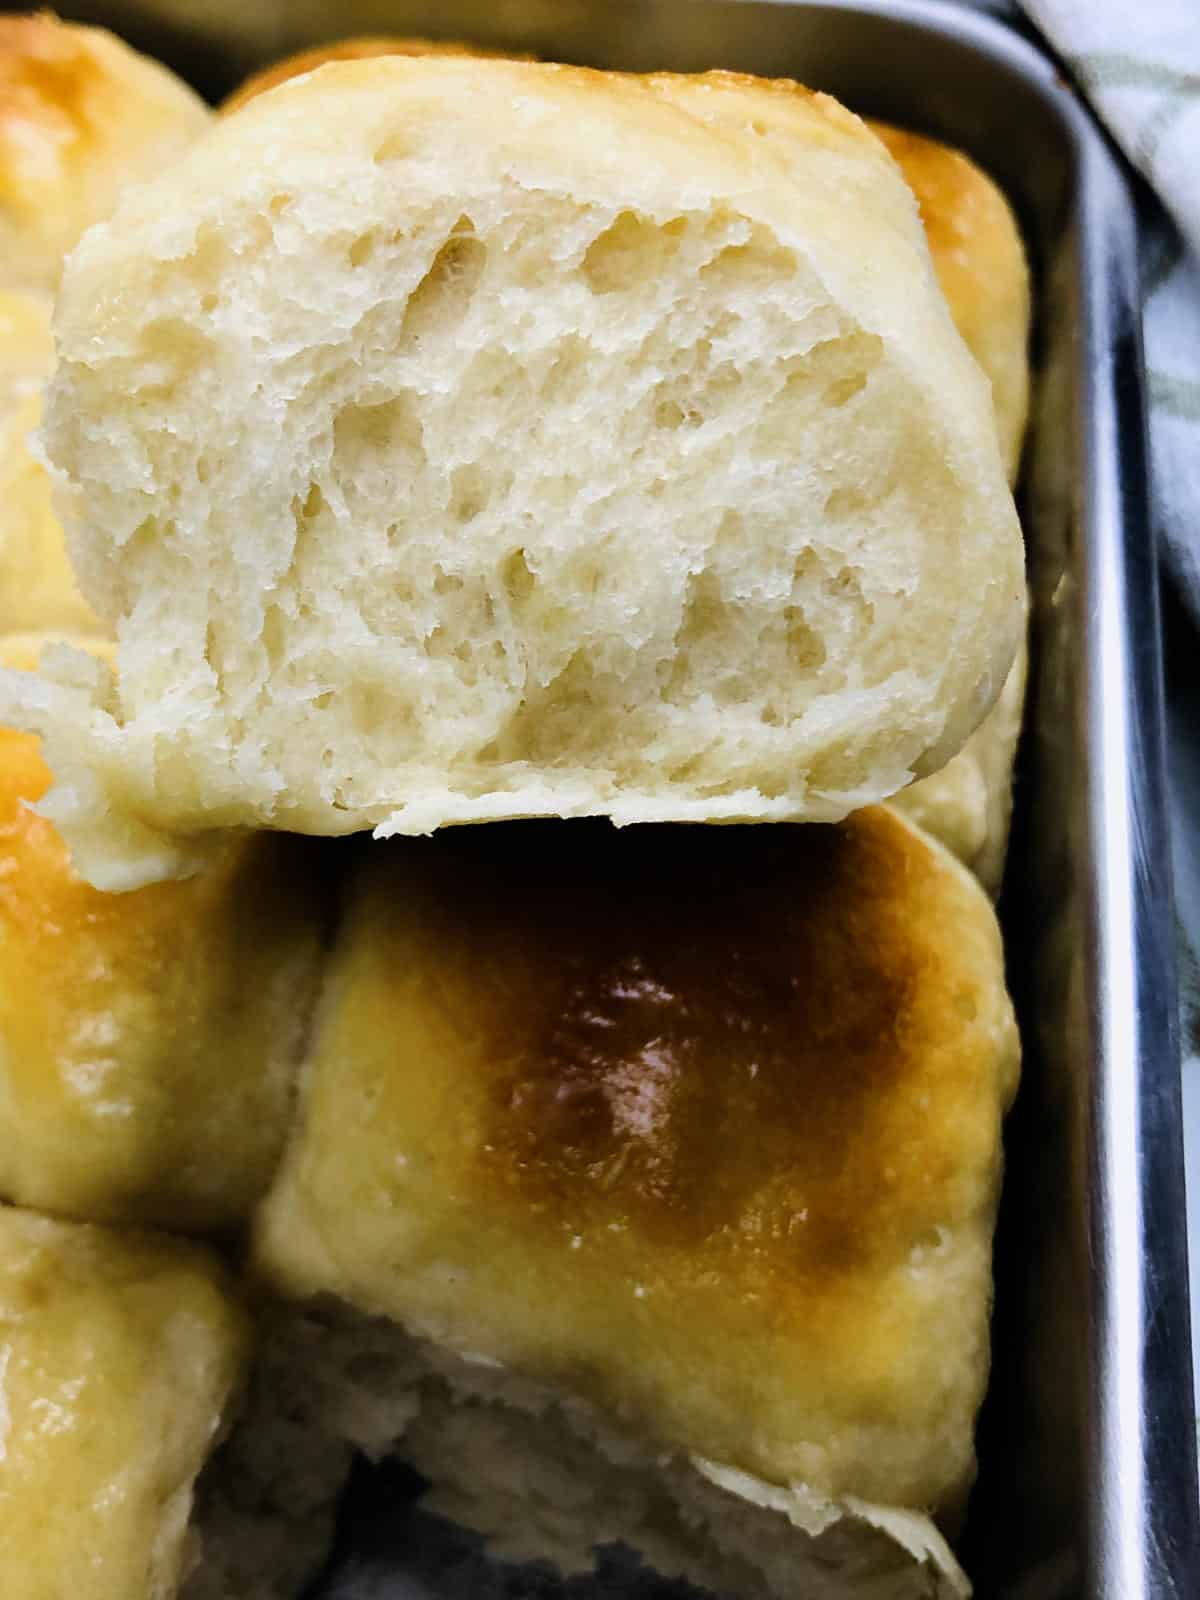
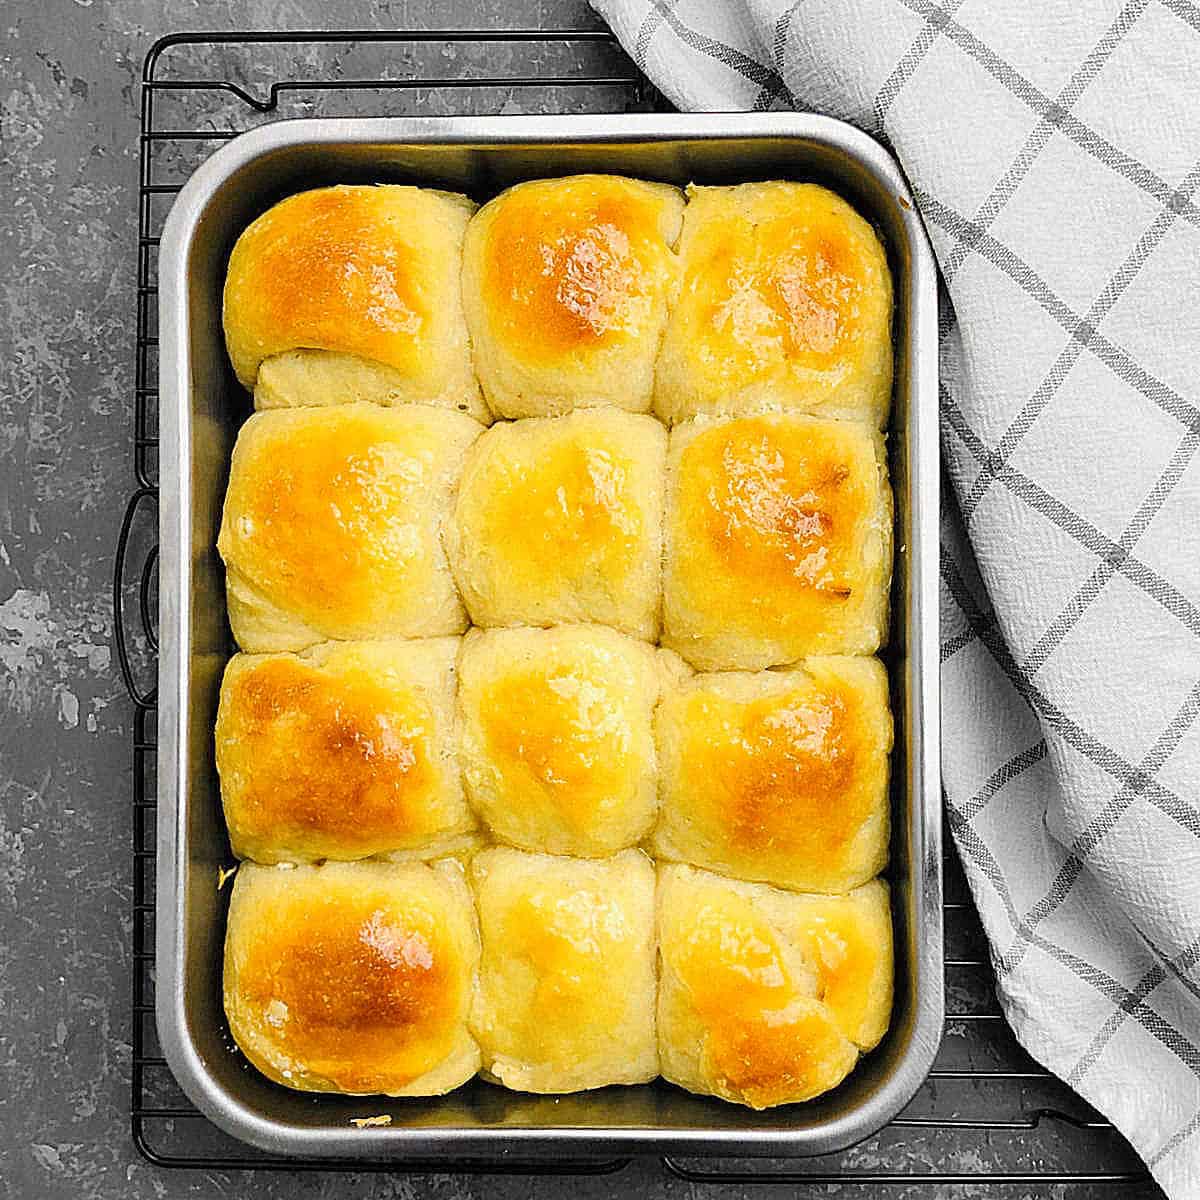
Enjoy the freshness of homemade sourdough dinner rolls with my tried and tested recipe. These sourdough bread rolls feature a soft crust, a tender and light interior, and a distinct tanginess from the sourdough starter.
Enjoy them as a side for soups, stews, or holiday feasts. From their soft and inviting texture to their delightful aroma, they are sure to be a hit at your dinner table.
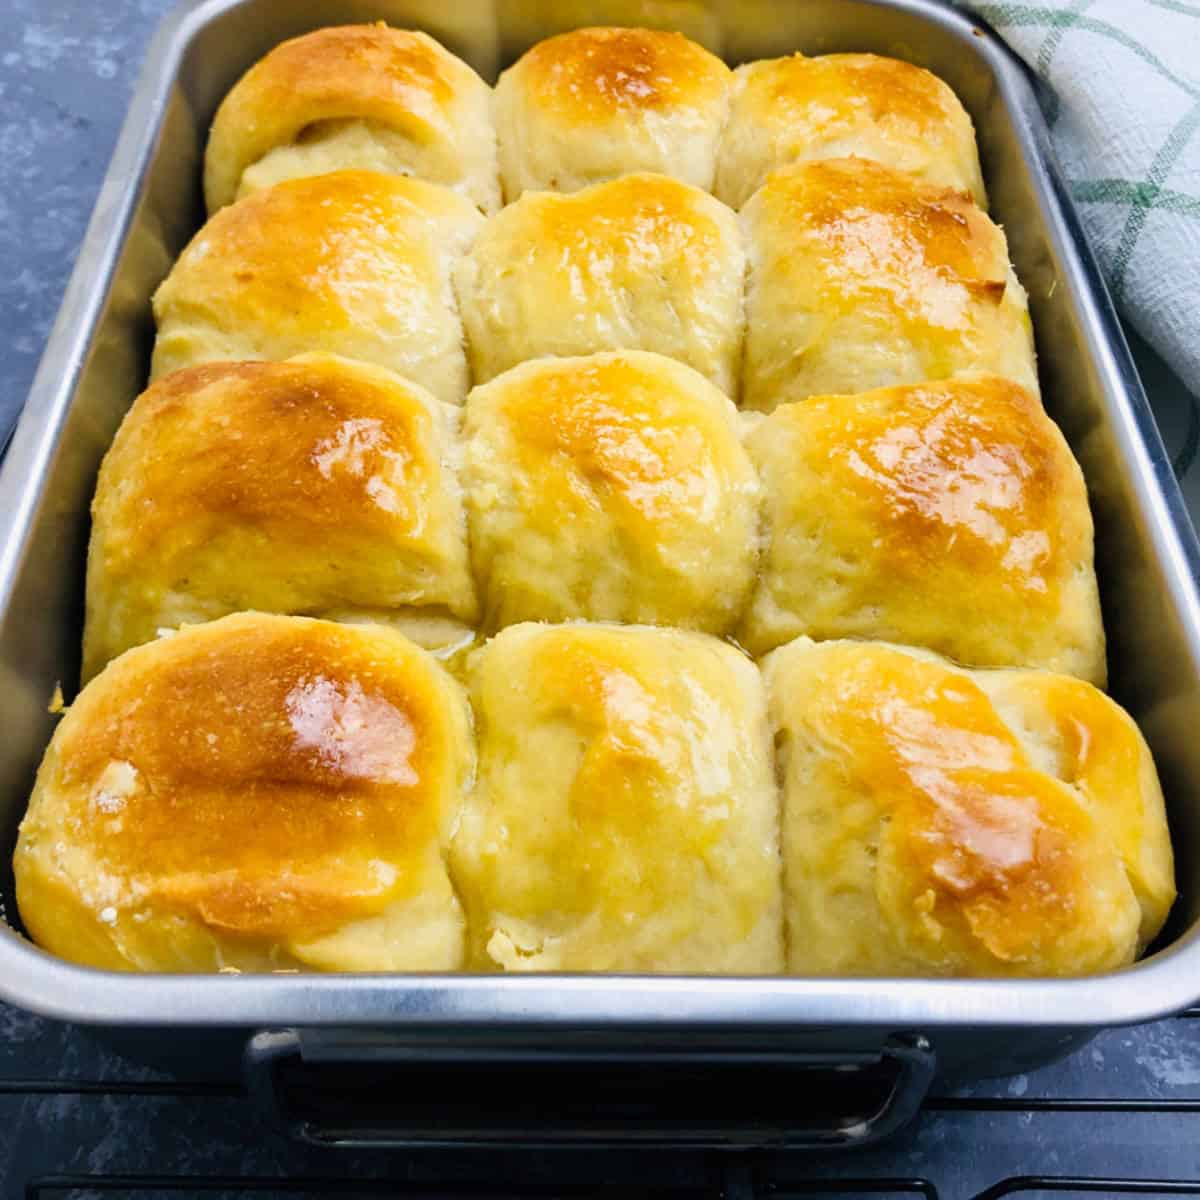
Why you will love this recipe?
- My sourdough rolls recipe here has been tried and tested to ensure that you will enjoy the most delicious dinner rolls. They have a delightful tangy flavor and a soft and fluffy texture.
- The tanginess sets them apart from regular dinner rolls and adds a delightful twist to your meal.
- Sourdough bread rolls have a soft and fluffy texture that is highly desirable.
Ingredients
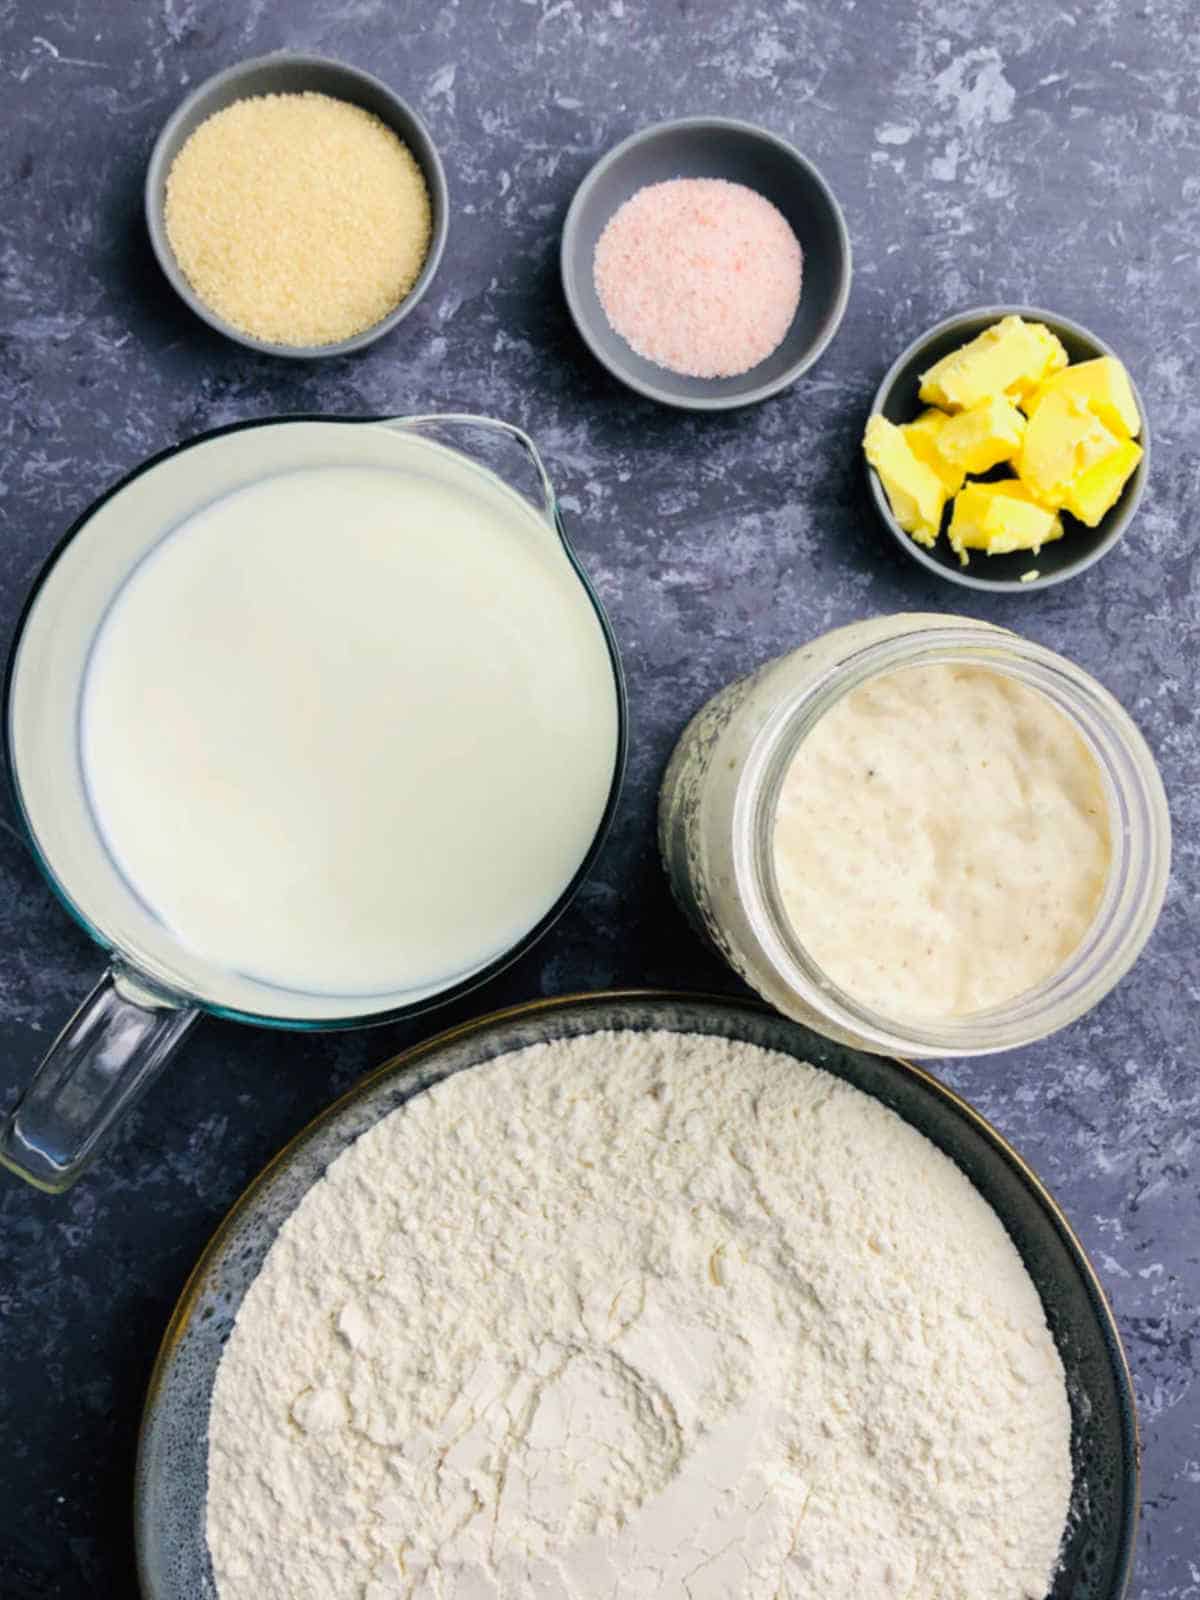
To get perfectly soft dinner rolls, it is important that the dough has a good amount of fat in it. The rich dough will give you soft and light dinner rolls.
Active sourdough starter: This is the key ingredient to making sourdough bread rolls. Make sure the sourdough starter is active and bubbly.
Flour: Make them with all-purpose flour. Bread flour may also be used, but low-protein flour works best here. Bread flour may make these rolls a bit chewier than what you would get when plain flour is used.
Butter: Butter not only adds a great flavor to them, but it also makes dinner rolls soft.
See the recipe card for full information on ingredients and quantities.
Step-by-step instructions
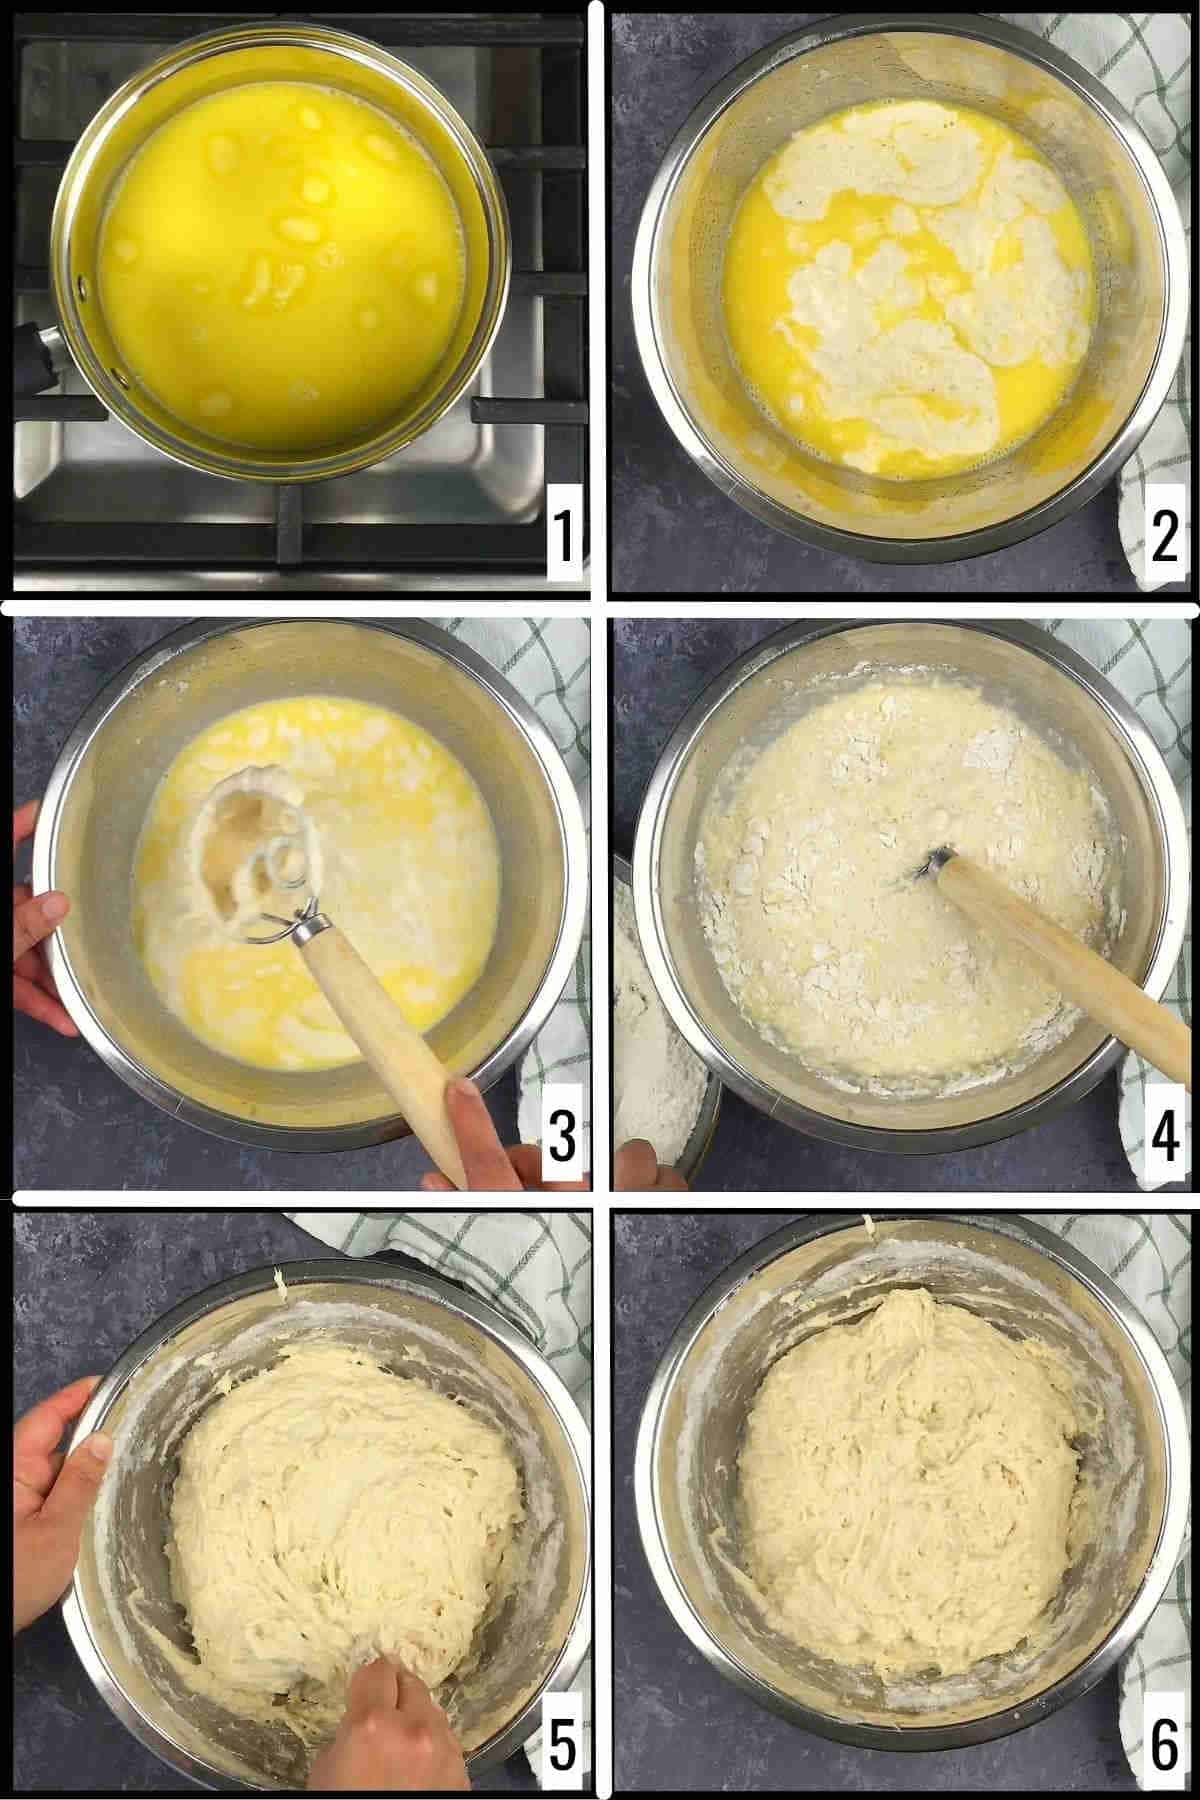
Step 1: Combine milk and butter in a saucepan and warm it up. The milk should be just lukewarm, around 90-100 F, which is sufficient to melt the butter. Don’t overheat the milk (image 1).
Step 2: Transfer the milk-butter mixture to a large mixing bowl and add the active sourdough starter, salt, and sugar. Mix well using a dough whisk or wooden spoon (images 2 and 3).
Step 3: Slowly add the flour and combine well, making sure there are no dry flour bits. Knead it gently for 4-5 minutes. Add 1-2 tablespoons of flour if needed (images 4 and 5). Let the dough sit at room temperature for 30 minutes (image 6).
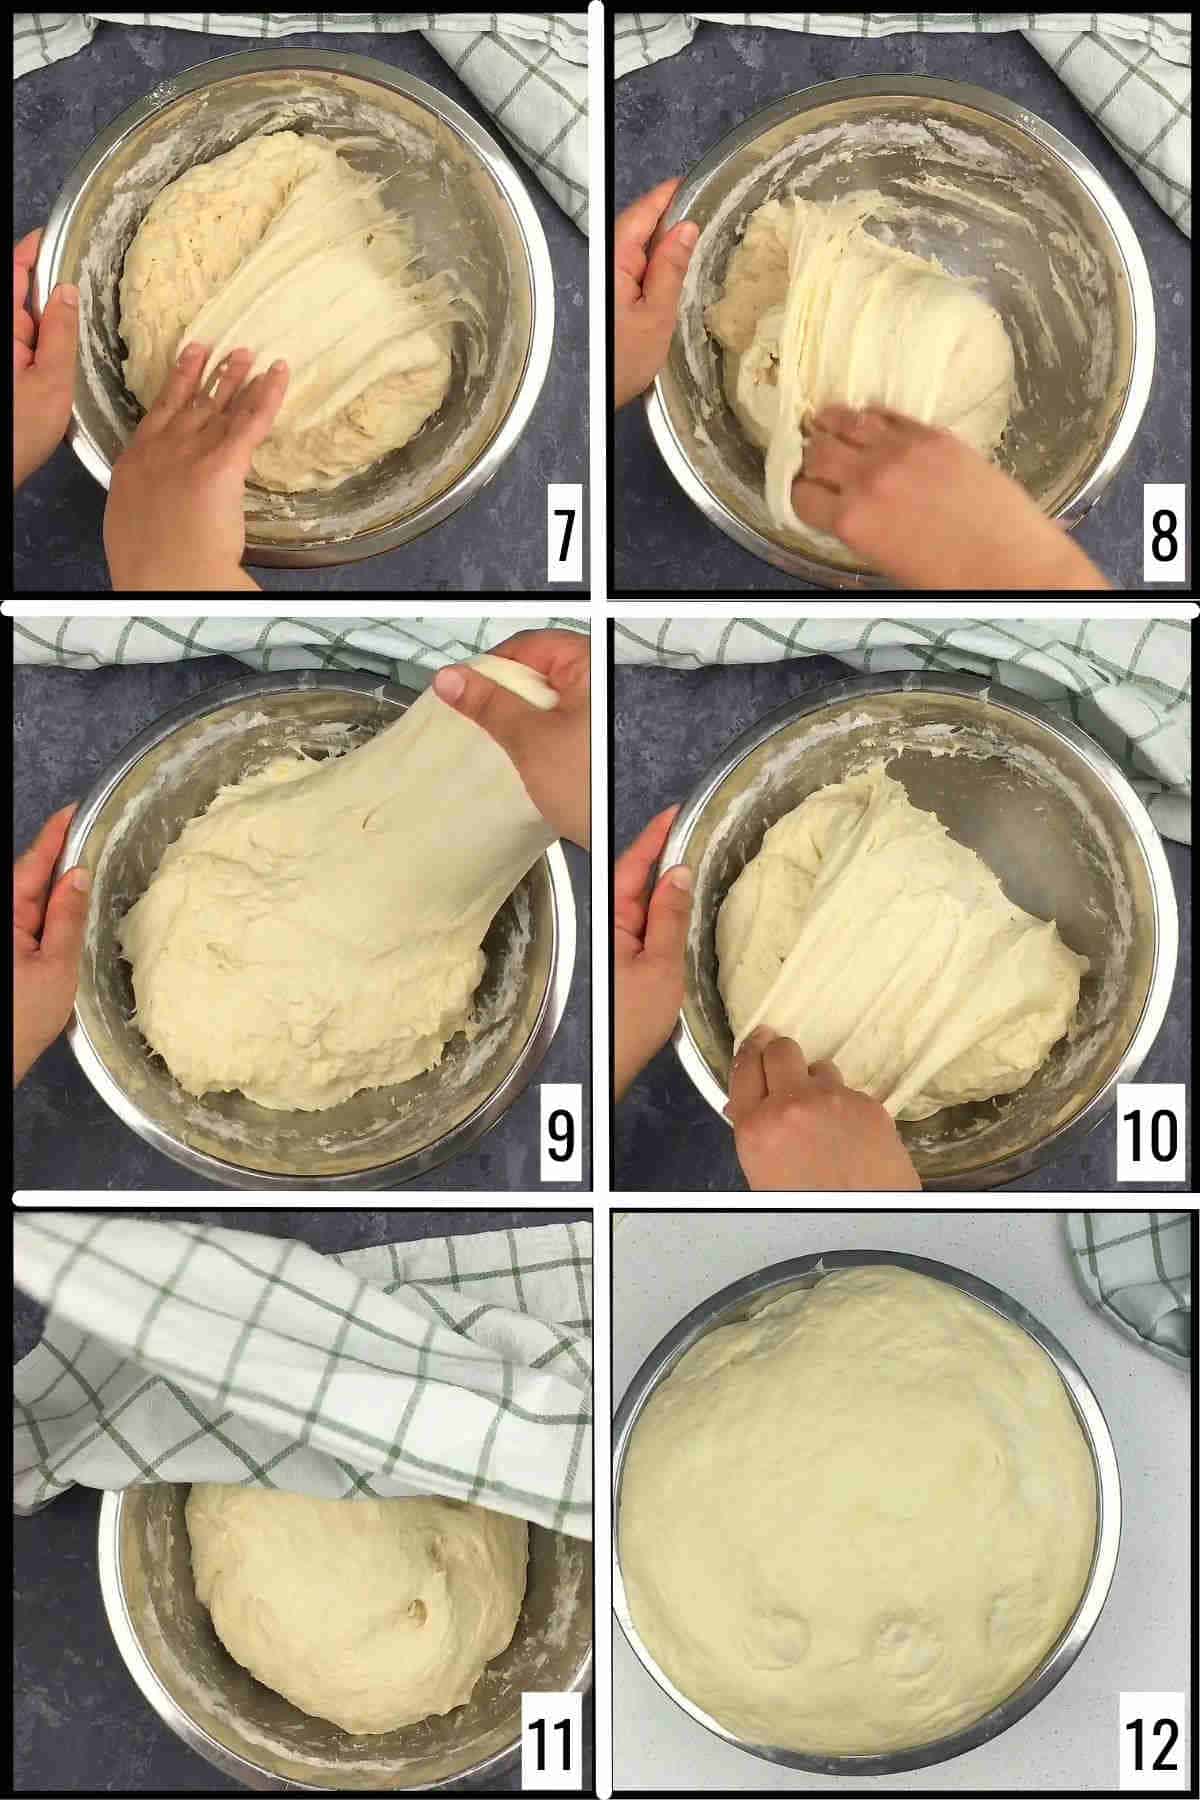
Step 5: Perform 3-4 sets of stretch and fold at an interval of 30 minutes. With wet hands, grab a portion of the dough and slowly stretch it, taking care not to break it, and fold it towards the center of the dough. Keep turning the bowl and repeat the process until all parts of the dough are covered. Carefully flip the dough and round it up. This completes one set of stretches and folds (images 7 and 8).
Step 6: Repeat this process 3-4 times at an interval of 30 minutes. The dough should develop strength and structure at the end of the stretch and fold cycle (images 9 and 10).
Step 7: Cover the dough with a tea towel and let it sit for bulk fermentation until it is almost double and has bubbles on the top. Depending on the ambient temperature, this may take 3-4 hours (images 11 and 12).
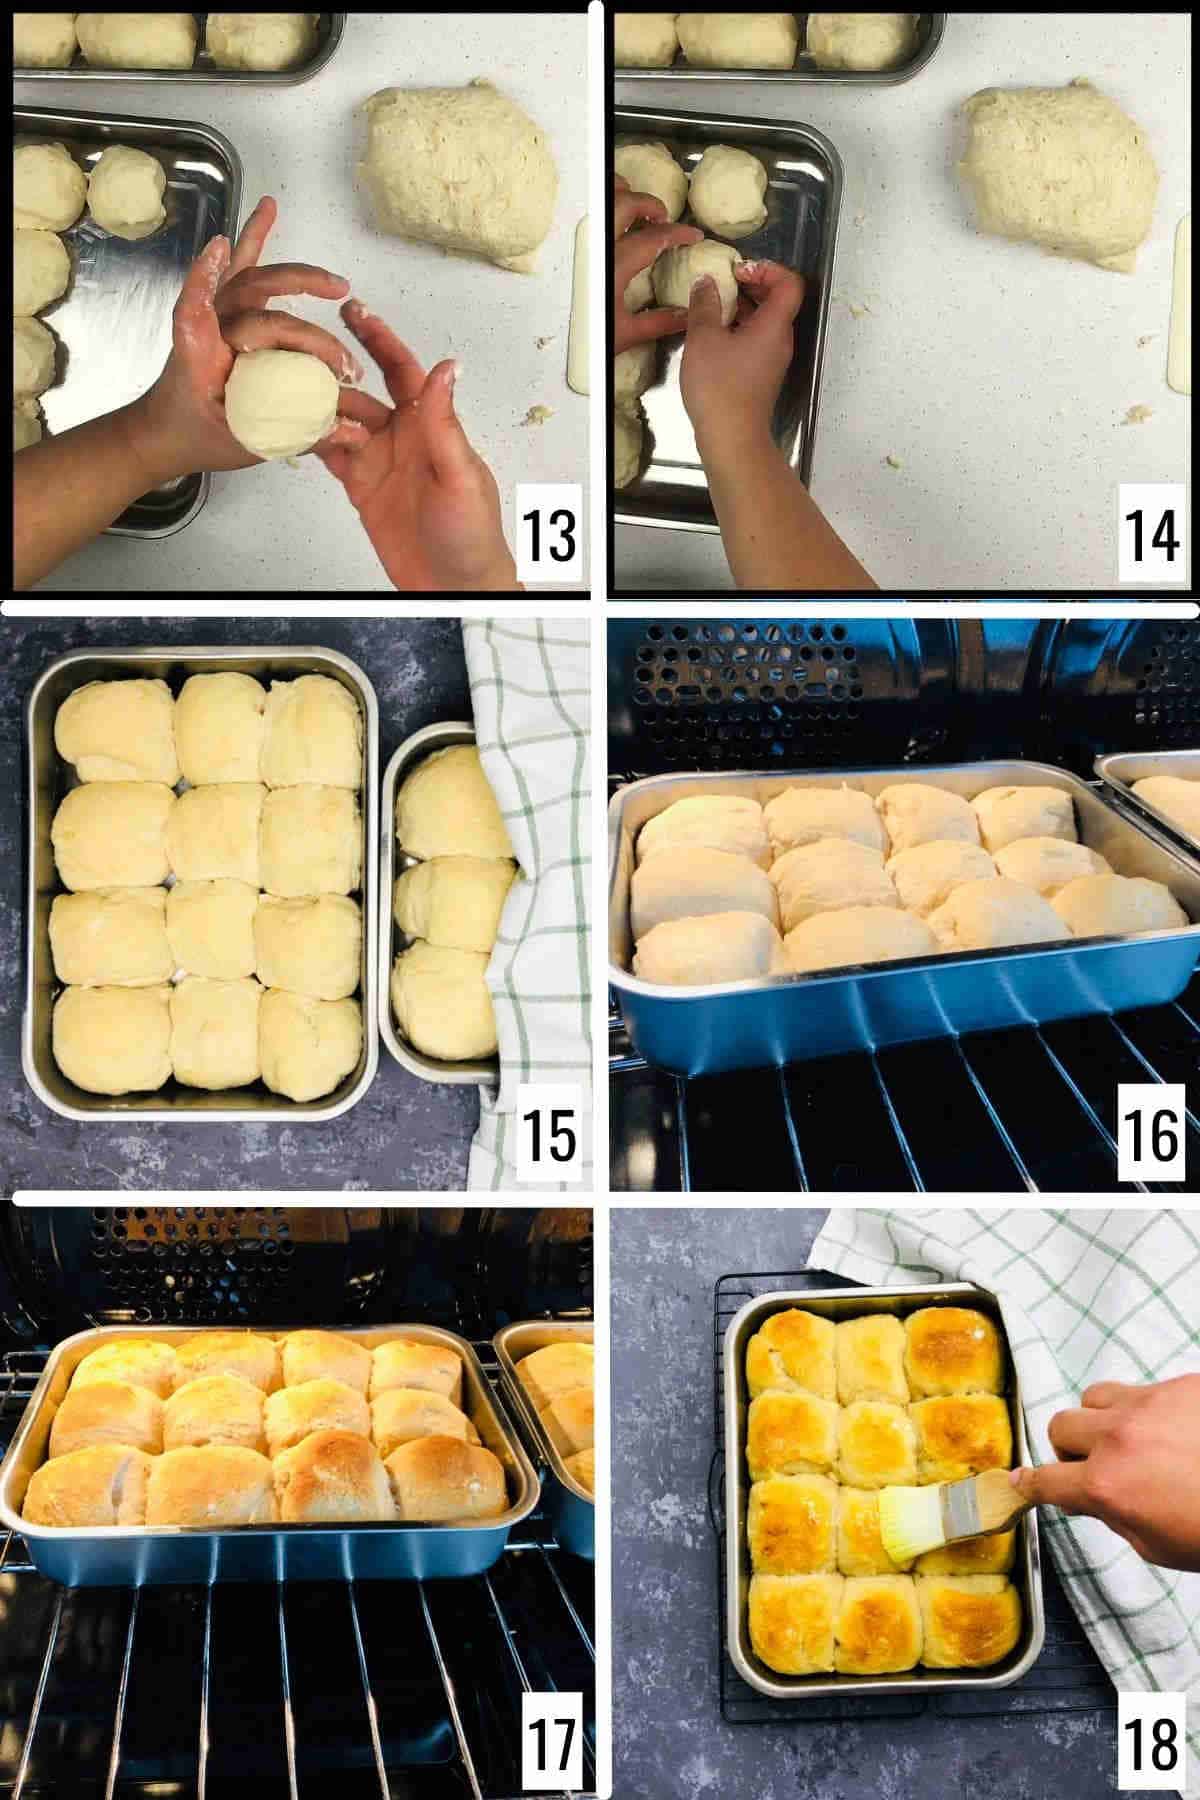
Step 8: Once the bulk fermentation is done, shape the dough. Pinch out a lemon-sized ball of dough and roll it into smooth balls. Tuck the dough into a tight ball and place it in the baking tray or oven-safe iron skillet (images 13 and 14). With this recipe, you can divide the dough into 24 equal pieces.
Step 9: Repeat with the rest of the dough (image 15). Cover the shaped rolls with plastic wrap and place them in the refrigerator overnight. At this stage, you can choose to bake directly without placing the dough in the fridge. If you are planning to bake the rolls on the same day, let them sit in a warm place for the dough to rise in the second proofing.
Step 10: Next morning, remove the shaped dough from the fridge and let it sit in a warm spot for 1-2 hours. Preheat the oven to 360 F (180 C) for 15 minutes. Bake for 25-30 minutes until the top is golden brown (images 16 and 17).
Step 11: Brush the sourdough bread rolls with melted butter while they are still hot (image 18). Cool them in the pan for 10 minutes, then transfer to a wire rack to cool slightly before serving.
Expert Tips
Make sure the milk is just lukewarm - not cold and definitely not hot. If the milk is too hot, it will kill the yeast in the starter.
Do not skip second proofing even if you choose to bake the dinner rolls on the same day. The best way to second-proof is to shape the dough and refrigerate it overnight. If you prefer not to do this, let the dough rest in a warm spot for 1-2 hours.
When shaping the rolls, aim to create proper surface tension by rolling them with your hands or against the work surface. This tension helps the rolls maintain their shape and rise evenly during baking.
Variations
Herb and cheese rolls: To the dough, add dried herbs or chopped fresh herbs like rosemary or thyme, along with grated cheese such as cheddar or Gruyère. See this cheese sourdough bread recipe for measurements.
Pumpkin bread rolls: Add pumpkin puree to the dough to make delicious pumpkin bread rolls, perfect for Thanksgiving dinner. Use this pumpkin sourdough bread recipe for measurements.
Yeast rolls: To make buttery rolls without a sourdough starter, try this easy yeast rolls for beginners recipe.
How to serve sourdough dinner rolls?
Versatile sourdough dinner rolls complement a range of occasions and dishes. They are ideal for holiday feasts and work well in mini turkey or ham sandwiches.
These rolls are perfect alongside hearty soups, stews, and chilis and as a base for sandwiches and sliders. Our favorite are these pizza sliders. Additionally, serving them with flavored oils, hummus, tzatziki, or Indian dishes like butter chicken or pav bhaji adds unique and delightful twists to their use.
Recipe FAQs
Yes, you can make the dough for sourdough dinner rolls ahead of time and refrigerate it. After the initial rise, shape the dough, cover it, and keep the dough in the refrigerator for up to 24 hours. When you're ready to bake the rolls, let the dough sit at room temperature, allow them to rise, and then bake according to this recipe. This method allows you to plan ahead and have freshly baked rolls at your convenience.
While the traditional sourdough roll recipe is typically made by using the stretch and fold technique, using a stand mixer can offer convenience and ease. For this, use the dough hook attachment and combine the ingredients in the bowl of a stand mixer. Start the mixer on low speed to mix the ingredients together, then increase it to medium speed and knead the dough as mentioned in the recipe.
Skipping cold-proofing for sourdough dinner rolls is an option if time is limited. Cold-proofing enhances flavor and texture, but you can proceed with regular proofing and baking. Ensure not to omit the second proofing after the initial rise; place the shaped dough in a warm spot for 1-2 hours before baking. While flavor and texture may vary slightly, delicious dinner rolls can still be achieved without the cold-proofing step.
Shaping these pull-apart rolls with sourdough dough can be a bit tricky due to the dough's high hydration. To ease shaping, use lightly floured hands and a work surface to prevent excessive sticking. Handle the delicate sourdough dough gently, avoiding overhandling that can deflate it. When shaping, apply gentle pressure to build tension for improved rise.
To store sourdough dinner rolls, use airtight containers or bags. Soft rolls can stay at room temperature for a day or two, stored in an airtight container or resealable plastic bag to prevent drying. For longer storage, freeze cooled rolls individually on a tray, then transfer them to airtight freezer-safe bags or containers for up to three months.
If you tried this Sourdough Dinner Rolls Recipe or any other recipe on my website, please leave a ? star rating and let me know how it went in the ? comments below.
Recipe card

Sourdough Dinner Rolls
Equipment
Ingredients
- 450 grams sourdough starter active
- 700 grams all-purpose flour
- 480 mL whole milk
- ¼ cup butter unsalted
- 3 tablespoon sugar
- 1 teaspoon salt
Instructions
Make the initial dough:
- Make sure your sourdough starter is active and bubbly.
- Combine milk and butter in a saucepan and warm it up. The milk should be just lukewarm, around 90-100 F, which is sufficient to melt the butter. Don’t overheat the milk.
- To the warm milk, add the active sourdough starter, salt, and sugar.
- Slowly add the flour and combine well making sure there are no dry flour bits. Knead it gently for 4-5 minutes. Add 1-2 tablespoon flour if needed.
- Let the dough sit at room temperature for 30 minutes.
Bulk fermentation:
- Perform 3-4 sets of stretch and fold at an interval of 30 minutes. With wet hands, grab a portion of the dough and slowly stretch it taking care not to break it, and fold it towards the center over the dough. Keep turning the bowl and repeat the process until all parts of the dough is covered. Carefully flip the dough and round it up. This completes one set of stretch and fold.
- Repeat this process 3-4 times at an interval of 30 minutes. The dough should develop strength and structure at the end of the stretch and fold cycle.
- Let the dough sit for bulk fermentation until it is almost double and has bubbles on the top. This may take 3-4 hours depending on the ambient temperature.
Shaping and second proof:
- Once the bulk fermentation is done, shape the dough.
- Pinch out a lemon-sized ball of dough, roll it into smooth balls, and place it in the baking tray. Repeat with the rest of the dough.
- Place the dough in the refrigerator overnight. At this stage, you can choose to bake directly without placing the dough in the fridge.
- If you are planning to bake the rolls on the same day, let them sit in a warm spot for second proofing.
Bake sourdough dinner rolls:
- Next morning, remove the shaped dough from the fridge and let it sit in a warm spot for 1-2 hours (until it comes to room temperature).
- Preheat the oven to 360 F (180 C) for 15 minutes.
- Bake for 25-30 minutes until the top is golden
- Cool it in the pan for 10 minutes, then transfer to a wire rack to let them cool down slightly before serving.


Comments
No Comments