
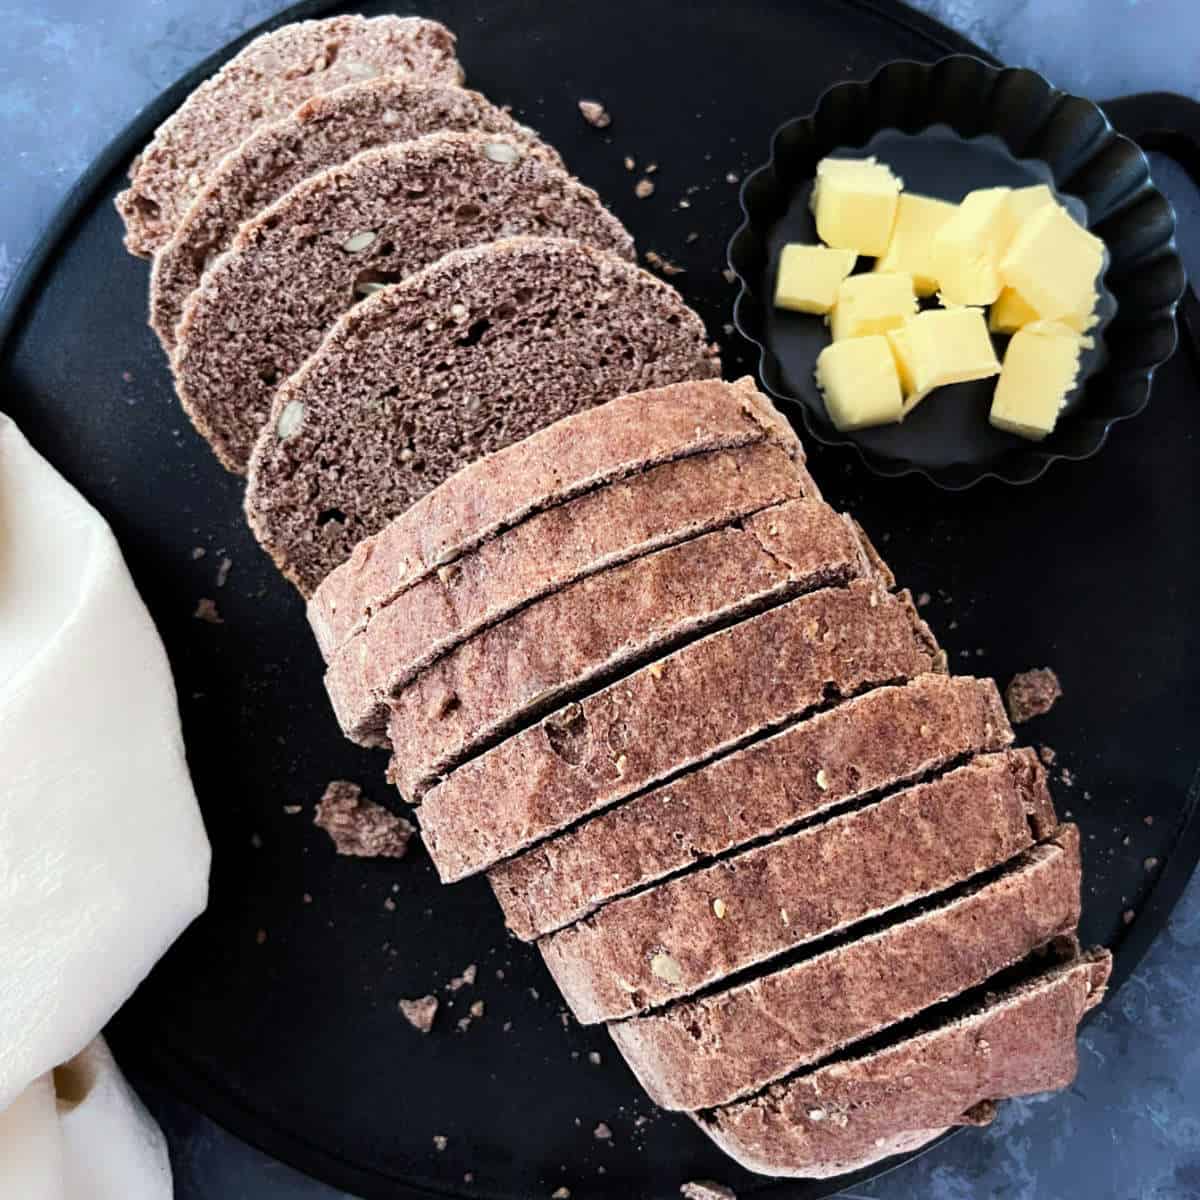
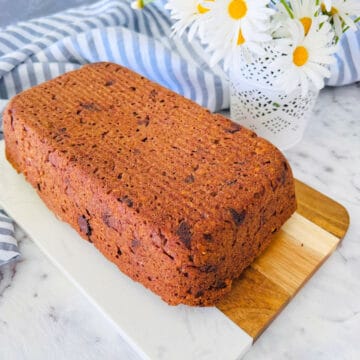
Ragi bread is a wholesome and delicious bread made with finger millet flour. With its earthy flavor, beautiful color, and perfect crumb texture, ragi bread is a treat for your taste buds.
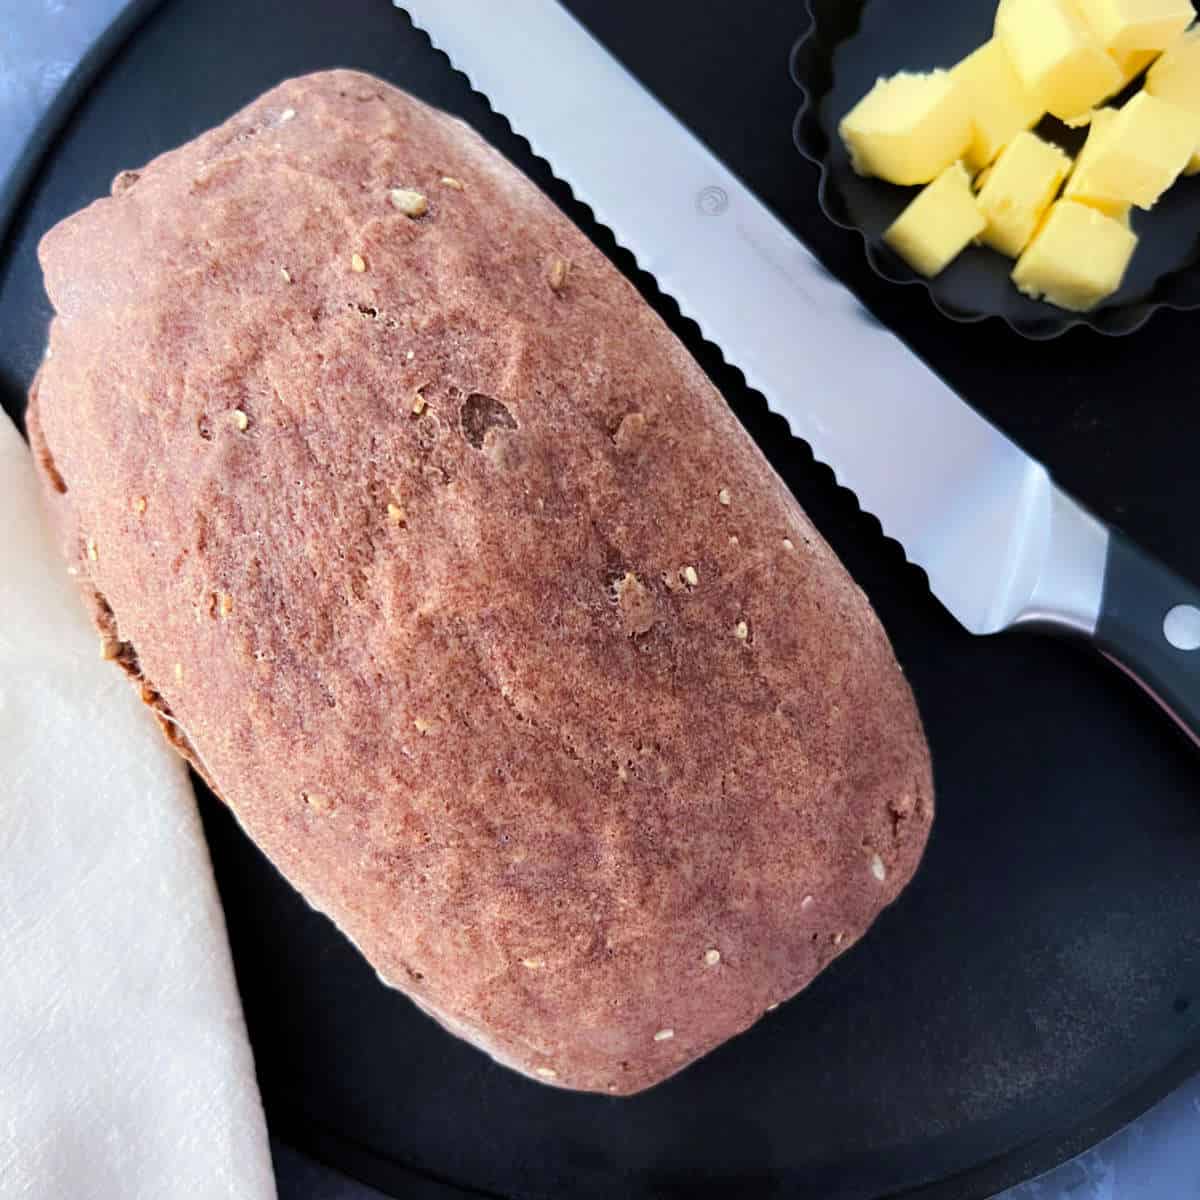
Introducing a wholesome and delectable alternative to regular bread - ragi bread! Made with a blend of finger millet flour and bread flour, this bread not only offers a unique flavor but also adds a delightful color to your table. Slicing with ease, it is ideal for sandwiches or toast, making it a perfect choice for breakfast.
Why you will love this recipe?
- Unique and delicious flavors: Its earthy flavor adds a unique and delightful taste to the bread, setting it apart from regular bread and offering a delicious twist to your usual bread options.
- Versatility: Ragi bread can be used for a variety of purposes, such as making sandwiches, toasting for breakfast, or as a base for other toppings. It can also be served as a side to soups or stews.
- Easy to make at home: My tried-and-tested recipe is straightforward and easy to follow. I am also including all tips you will need to make perfect millet bread.
Ingredients
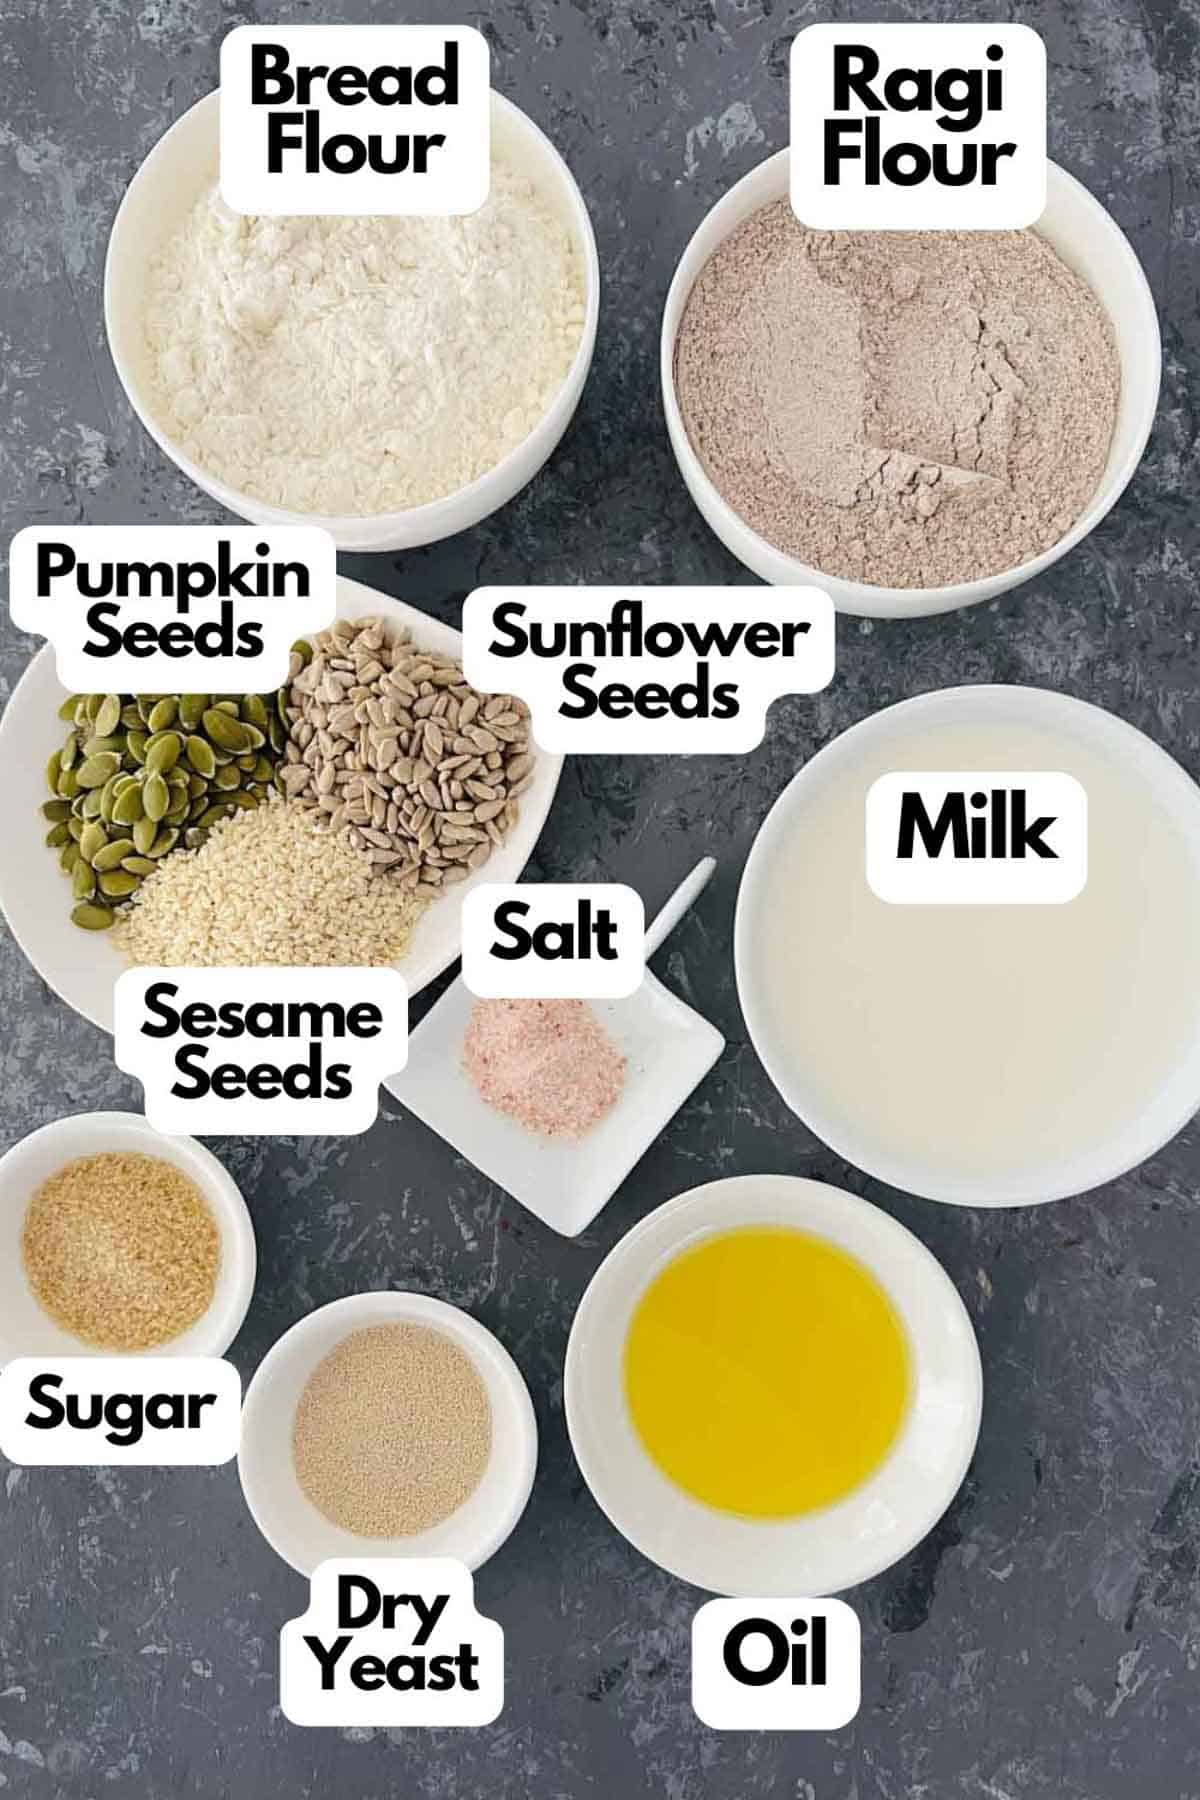
Flour: I have used ragi (finger millet) and bread flour in equal quantities.
Milk: I use whole milk as it adds richness to the dough. You can replace it with low-fat milk.
Seeds: I have used a mix of pumpkin seeds, sesame seeds, and sunflower seeds.
Other ingredients: Dry yeast, sugar, salt, and oil.
Step-by-step instructions
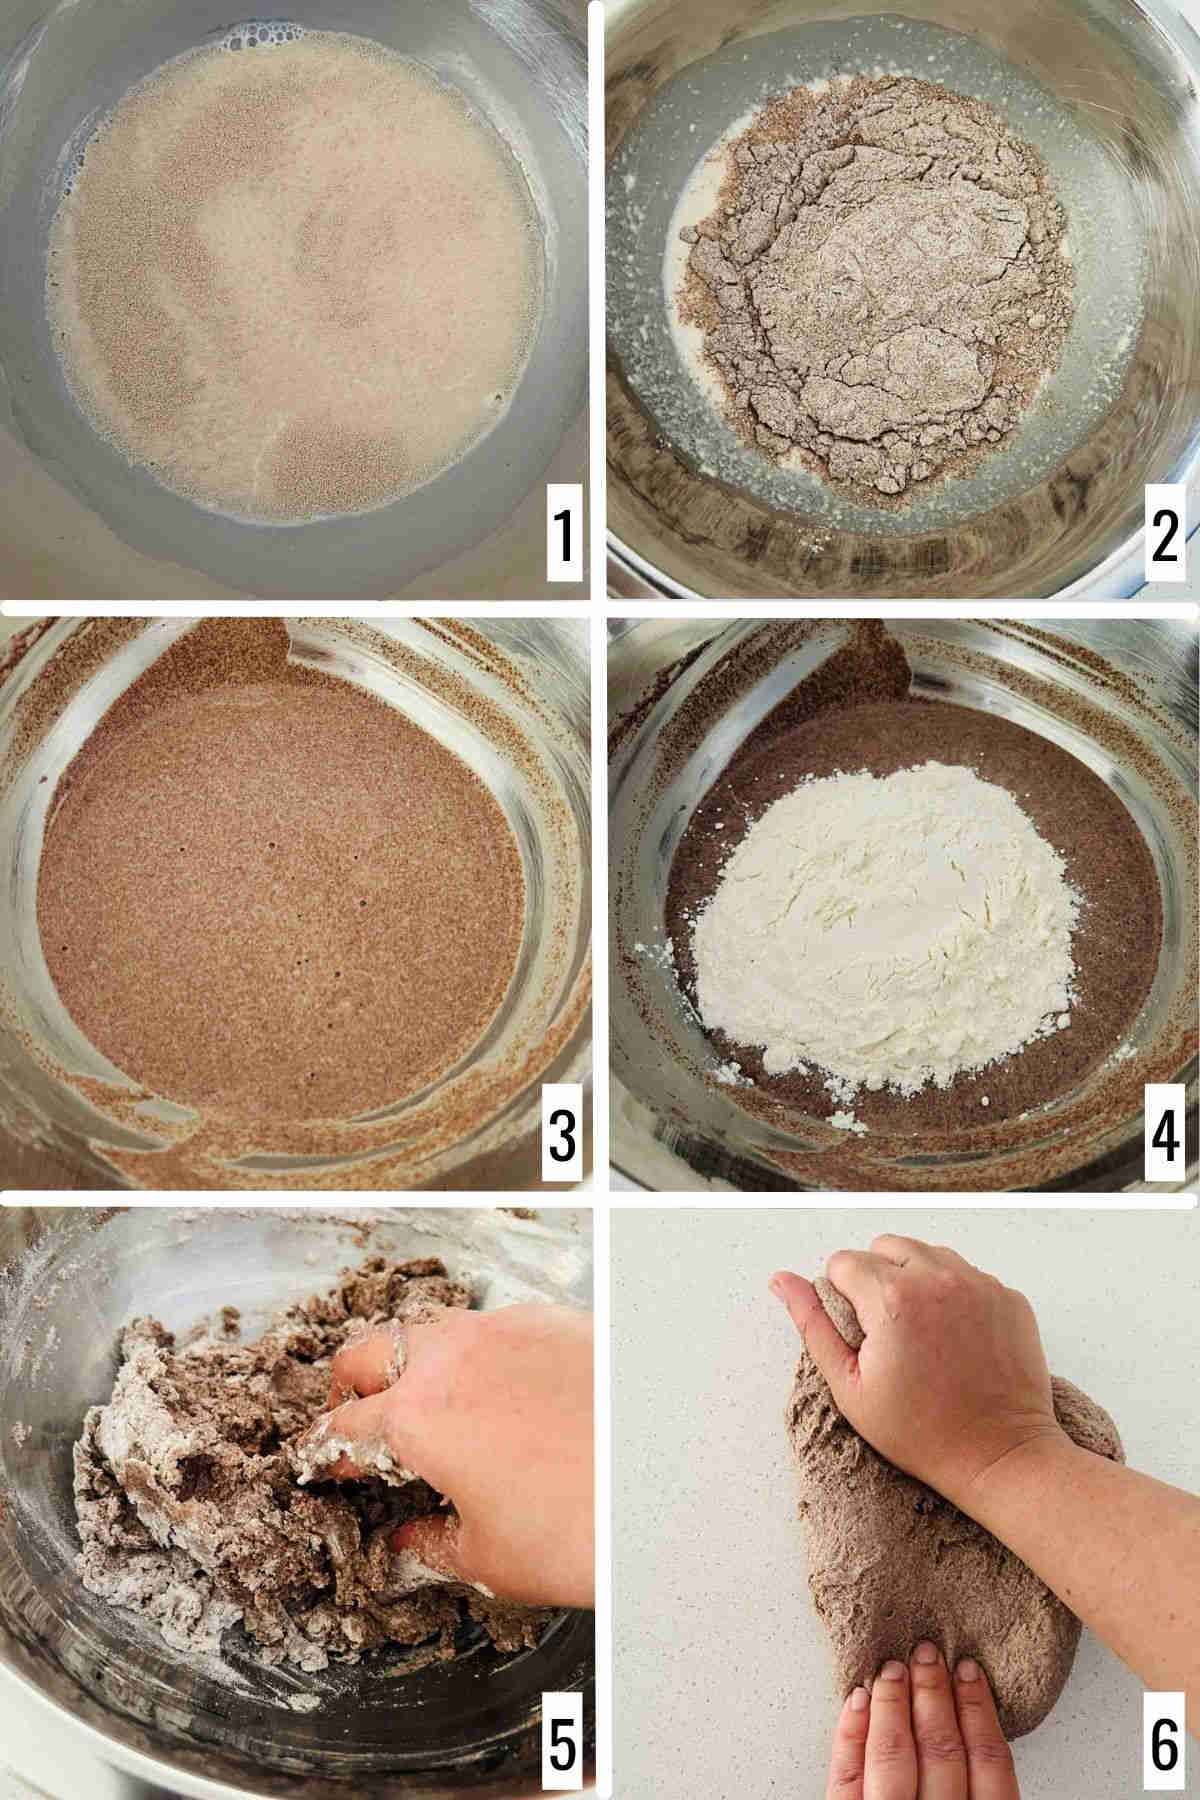
Step 1: Heat the milk until it is lukewarm. To this, add dry yeast and sugar. Mix well and let it sit for 10 minutes until the mixture is frothy (image 1).
Step 2: Once the yeast-milk mixture is frothy, add salt and ragi. Mix well (images 2 and 3).
Step 3: Add the bread flour and start kneading. Knead the dough well for 5-6 minutes (images 4, 5, and 6).
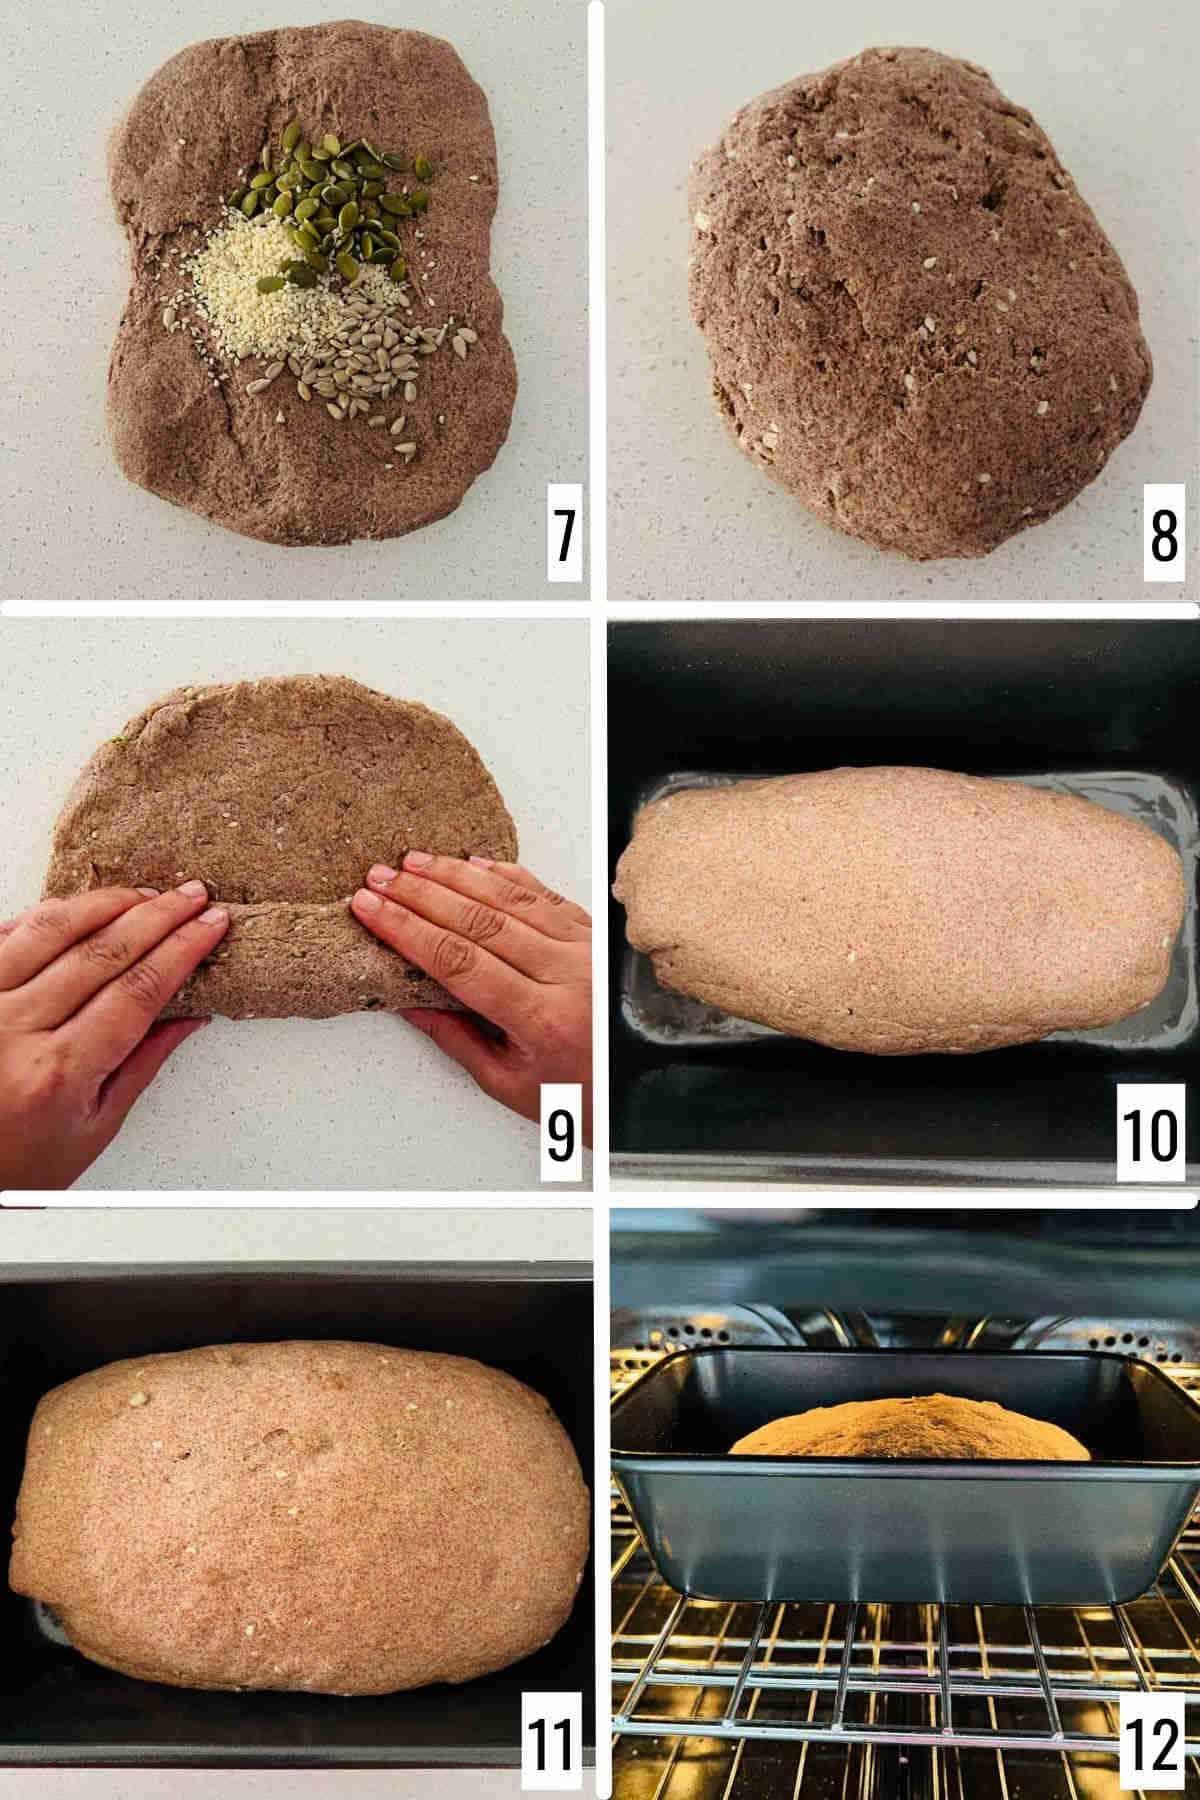
Step 4: Add the seeds to it and knead them in. Brush the bowl with oil and place the dough. Brush the dough with oil. Cover and let it rest for one hour (images 7 and 8).
Step 5: Once the dough is proofed, spread it into a rectangle and roll it into a log. Place in a greased loaf tin and rest for one hour (images 9 and 10).
Step 6: Bake in preheated oven at 340 F (170 C) for 30-35 minutes (images 11 and 12).
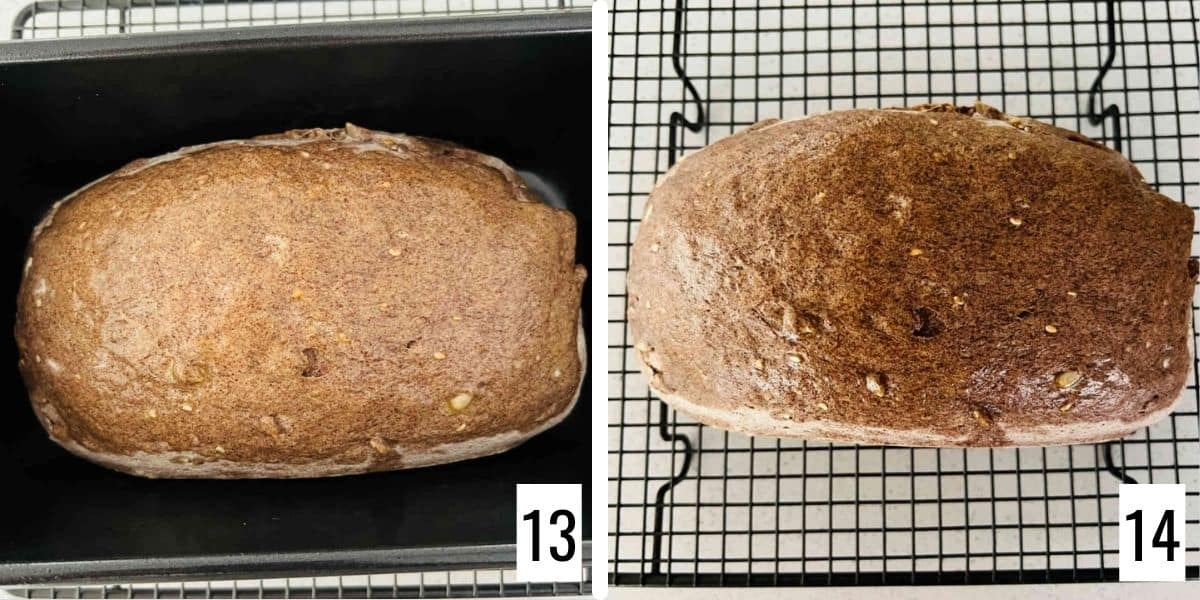
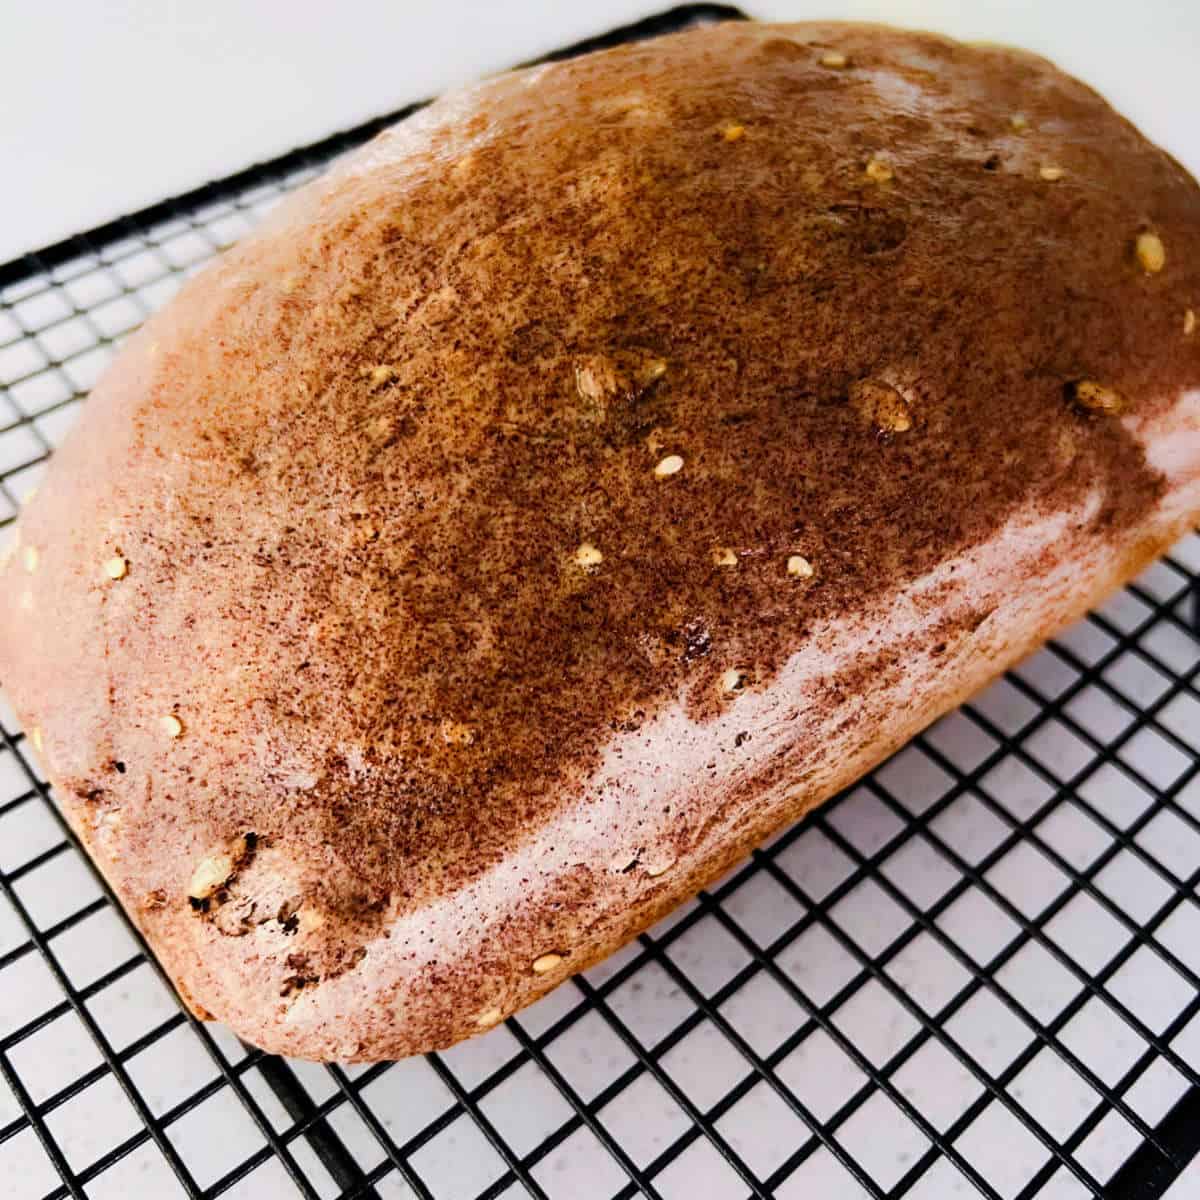
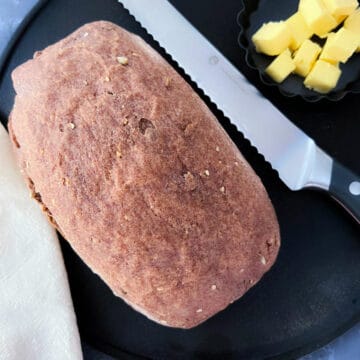
Step 7: Brush the top with butter. Cool it in the tin for 10 minutes, then cool it on a wire rack (images 13 and 14).
Expert Tips
I am using bread flour along with ragi flour in this recipe. You can replace bread flour with plain flour or atta (Indian whole wheat flour).
Add the ragi flour first and incorporate it well. Add bread flour after that and begin kneading. The dough must be soft but not sticky.
Proofing time may vary depending on the temperature. We want the dough to almost double during each proofing. Keep an eye on the dough and go by the feel of the dough rather than time.
Preheat the oven. This step can't be rushed. The dough should be placed in a hot oven so that it bakes perfectly.
Recipe FAQs
You can store this bread at room temperature for up to three days. This bread is also freezer-friendly. See the tips section above on how to freeze it.
No. I am using bread flour in this bread, and it is not gluten-free.
Yes, this bread is freezer-friendly. You can either store the whole loaf or slice the bread and freeze individual slices. Place the loaf in a freezer-safe bag or wrap individual slices using cling wraps to freeze them. Make sure the bread is cooled completely before slicing and freezing.
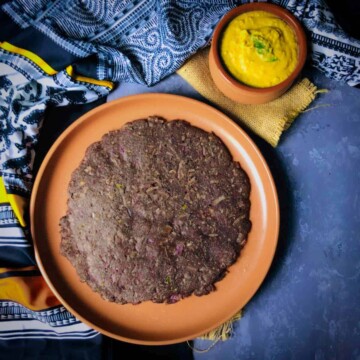
More millet recipes
If you tried this Ragi Bread Recipe or any other recipe on my website, please leave a ? star rating and let me know how it went in the ? comments below.
Recipe card
Ragi Bread (Finger Millet Bread)
Ingredients
- 220 ml milk scant one cup
- 1½ teaspoon dry yeast
- 2 teaspoon sugar
- ½ teaspoon salt
- 150 grams ragi flour 1 cup
- 150 grams bread flour 1 cup
- 1 tablespoon sunflower seeds
- 1 tablespoon pumpkin seeds
- 1 tablespoon sesame seeds
- 2 teaspoon oil
Instructions
Make and proof the dough:
- Heat the milk until it is lukewarm. To this, add dry yeast and sugar. Mix well and let it sit for 10 minutes (until the mixture is frothy).
- Once the yeast-milk mixture is frothy, add salt and ragi. Mix well.
- Add the bread flour and begin kneading. Knead the dough well for 5-6 minutes.
- Add the seeds to it and knead the dough to incorporate the seeds.
- Brush the bowl with oil and place the dough. Brush the dough with oil.
- Cover and let it rest for one hour or until it is almost double.
Shape the dough:
- Once the dough doubles, punch it and knead it again.
- Spread it into a rectangle and roll it into a log (see step-by-step images).
- Place in a greased loaf tin and proof for one hour.
Bake the ragi bread:
- Preheat oven to 350 F (180 C).
- Bake in preheated oven for 30-35 minutes.
- Cool it in the tin for 10 minutes, then cool on a wire rack.
- Slice and serve immediately or store in air-tight container.


Monny Abraham says
Can I use oat milk instead of cow’s milk?
Could you suggest a flour with a lower glycemic index than bread flour?
Thank you.
Shilpa says
Hi Monny, Yes oat milk can be used in this recipe. A good replacement for bread flour will be spelt flour as it contains gluten which is needed to get some structure to the bread. You can also increase the millet flour and use smaller amounts of bread flour instead. Please note that I have not tested this recipe using spelt flour or oat milk. Hope this helps.
- Shilpa
V says
I wonder if 220ml milk for 1 cup/250ml of 2 types of flours (ragi & wheat) is sufficient. mine seems dry..I will add more milk and see 🙂
Shilpa Kerur says
I've tested this recipe several times and the milk was just right. Some brands of atta tend to absorb more moisture so may need a bit more liquid. I'd love to know how your bake was!