
Learn how to make ghee or clarified butter at home with this recipe. All tips, tricks, and troubleshooting are included.

What is ghee
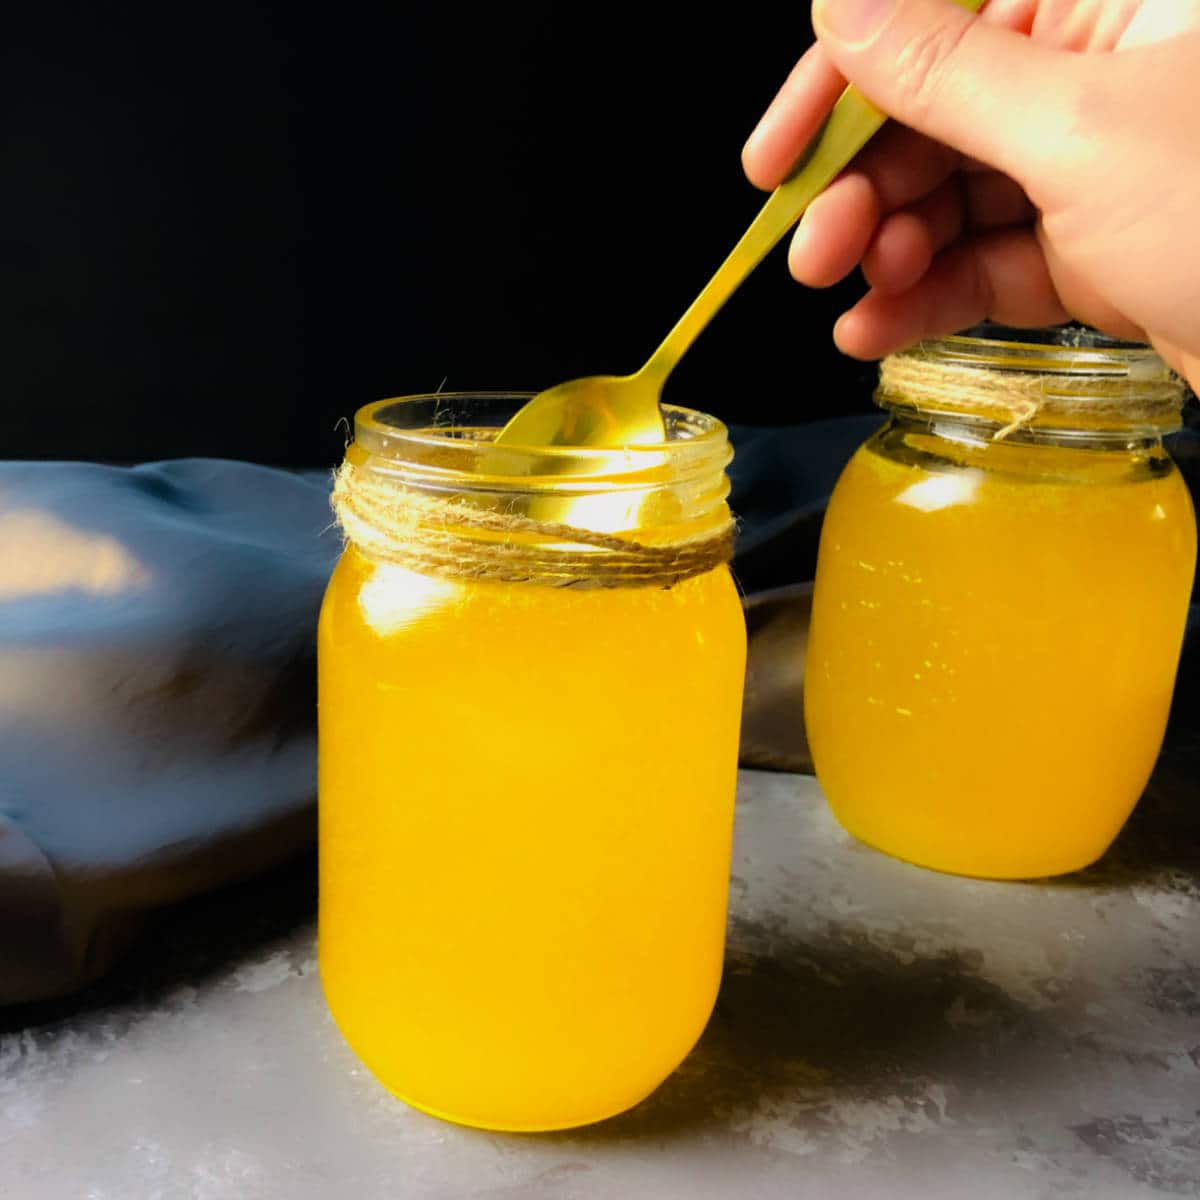
Ghee is a nutty-flavored form of highly clarified butter used in Indian cooking, produced by heating unsalted butter to separate milk solids from the fat. Considered "liquid gold," ghee is a nutritious staple in Indian households, used for cooking, flavoring meals, and enriching Indian desserts.
I have grown up eating homemade butter and ghee. I had never seen my mother buy them. My mother would collect cream from boiled milk and store it in the refrigerator every day. Towards the end of the week, she would churn this cultured cream into butter, and she would then make ghee out of the butter.
Why you will love this recipe?
- This ghee recipe provides detailed, step-by-step instructions, making it easy to prepare homemade ghee with confidence.
- It follows a traditional method of making ghee, which ensures the development of the desirable nutty aroma and flavor, replicating the authentic taste of this versatile ingredient.
- This recipe includes tips, such as how to check for readiness and all common questions and troubleshooting techniques.
Step-by-step instructions
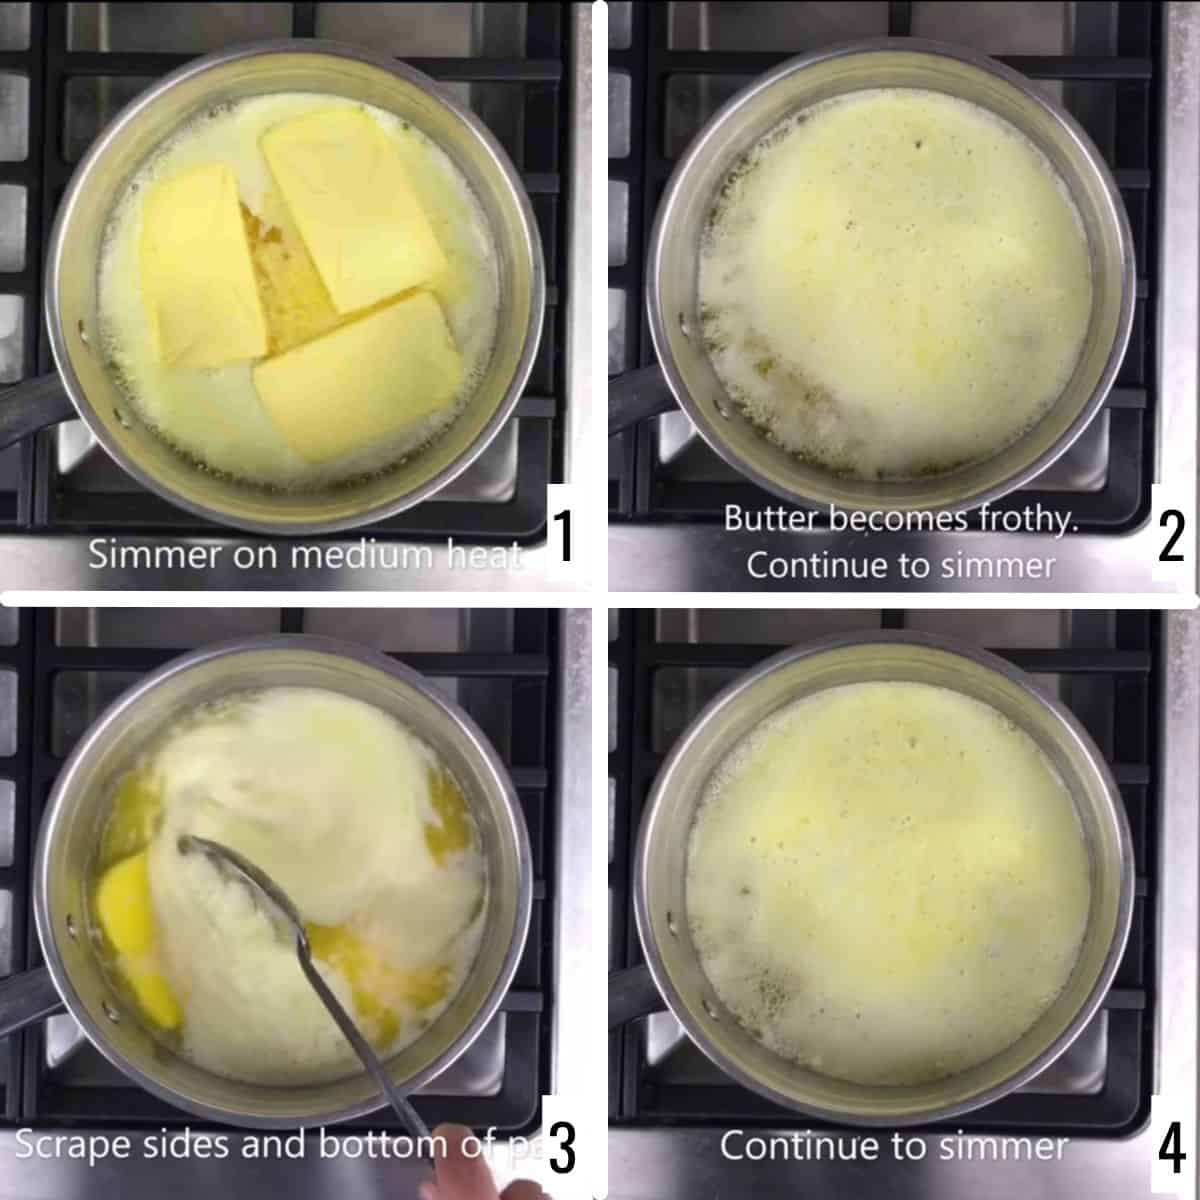
Step 1: Place the butter in a heavy-bottomed pan and place it on medium-high heat (image 1). The butter will slowly become frothy, and white foam will be formed. Keep simmering (image 2).
Step 2: Scrape the sides and bottom of the pan. Continue to simmer (images 3 and 4).
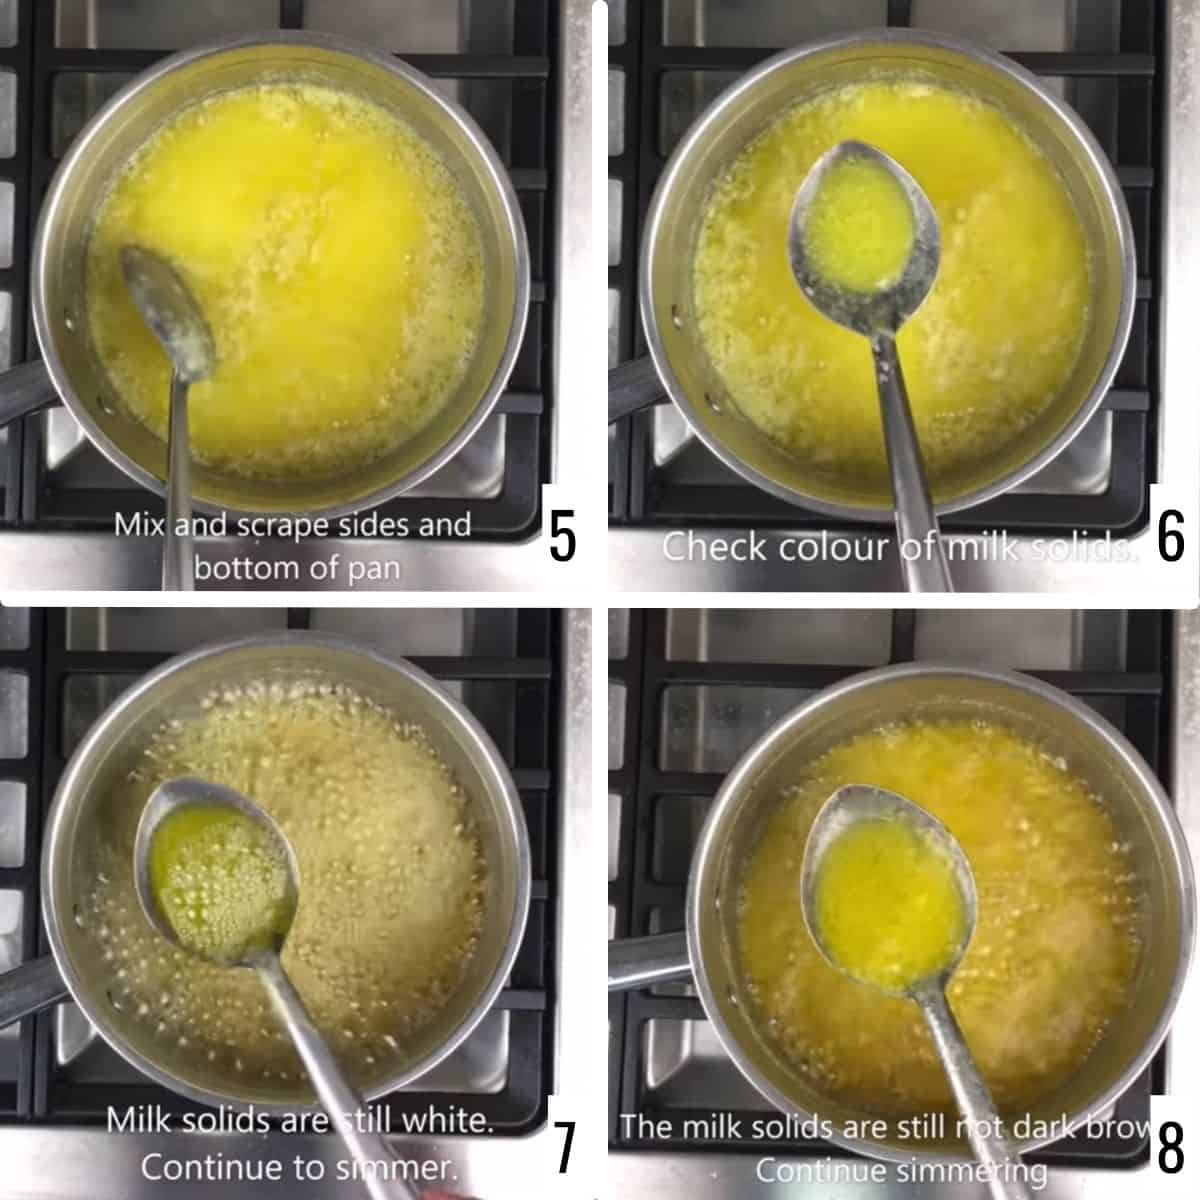
Step 3: Keep checking the color of the milk solids. Stir intermittently and scrape the sides and bottom of the pan (images 5-8).

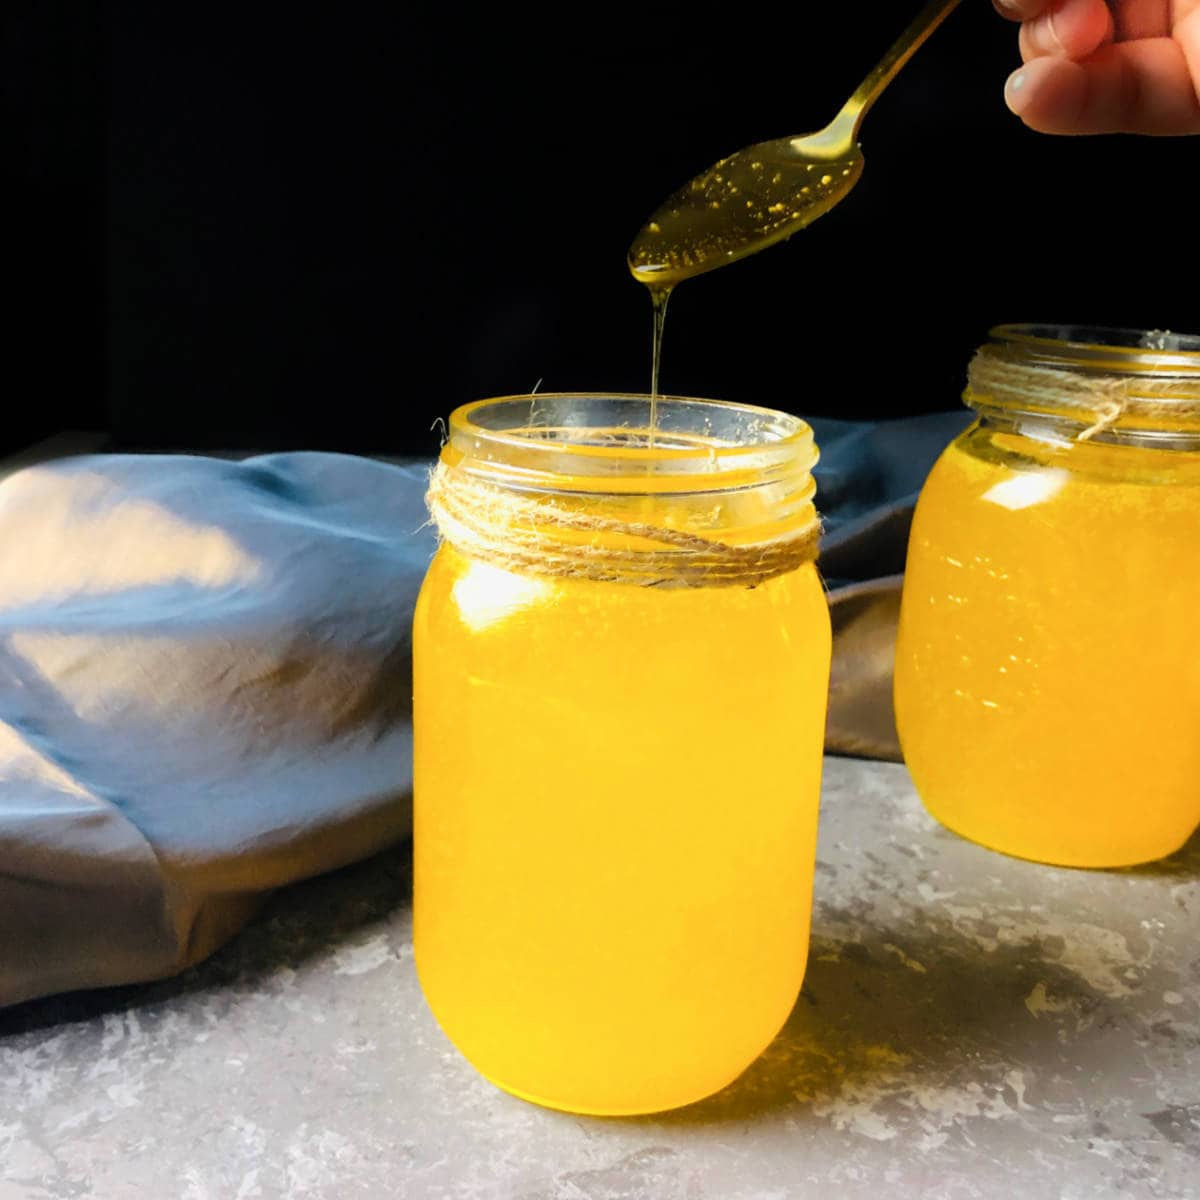
Step 4: The milk solids will start to settle to the bottom, and clear golden liquid will remain on top (image 9). The cooking time will depend on the amount of butter used.
Step 5: Carefully pour the hot ghee into the muslin cloth to separate the caramelized milk solids (images 10 and 11). Let it cool completely before storing (image 12).
Expert Tips
Ghee can be stored at room temperature in a dark spot for up to three months. Storing it in the refrigerator can give it a longer shelf life of up to one year. Cool it completely, place it in mason jars (or any clean glass jar), and seal them tightly before storing.
The best ghee is made from the butter of organic grass-fed cow's milk. You may either use homemade or store-bought butter. Always use good quality grass-fed butter, and where possible, use organic butter.
The whole process may take 20-30 minutes, and the total time depends on the amount of butter and the heat. Keep a close eye on it and keep stirring intermittently, taking care it does not burn.
You can also make ghee in an Instant Pot. Place the butter in the inner pot of the
Recipe FAQs
Two cups of butter will give you approximately 1.5 cups of ghee. You may adjust the quantity of butter as per your need.
Ghee is lactose-free but not dairy-free. It is made by removing the milk solids from butter. If it is cooked well enough to remove the lactose, it is considered lactose-free.
Ghee has a very high smoke point of 485 F (250 C), making it stable at high heat. Hence, it is more suitable for deep frying.
No. Just continue to simmer, and the froth will reduce and eventually disappear. There is no need to skim it off. Keep scraping the sides and bottom of the pan, as this will make sure the milk solids do not burn. Make sure to strain the ghee using cheesecloth or muslin.
To determine when ghee is ready for storage, listen for a reduction in its crackling sound, indicating that the water content has evaporated. Simultaneously, watch for a shift in the milk solids' color from white to dark golden brown. Heating ghee beyond this point can cause the milk solids to burn, introducing bitterness. Promptly transfer it to another heat-safe container to cool, as allowing it to linger in the cooking vessel may cause it to overcook and taste burnt. Insufficient simmering may leave residual water content, leading to spoilage unless refrigerated. Perfectly prepared ghee keeps well at room temperature, bearing the delightful nutty aroma characteristic of this prized ingredient, and with experience, you'll easily recognize when it's ready.
More kitchen basics recipes


If you tried this Homemade Ghee Recipe or any other recipe on my website, please leave a ? star rating and let me know how it went in the ? comments below.
Recipe card

Ghee Recipe / How to make ghee
Ingredients
- 32 oz unsalted butter (2 lb)
Instructions
- Take a heavy bottom pan and place the butter.
- Put it on medium heat and let the butter melt completely.
- Continue to stir. The butter will slowly become frothy.
- Keep simmering the butter. The froth will settle in about 10-15 minutes.
- Continue to simmer for a few more minutes.
- Keep stirring intermittently and scrape the sides and bottom of the pan. This will ensure that the milk solids do not burn.
- The white milk solids will slowly change color and start to turn brown.
- The whole process may take 25-30 minutes.
- The milk solids will start to settle to the bottom and yellow golden fat will remain on top. Turn off the heat.
- Meanwhile, place a muslin cloth over a strainer and place the strainer on a large vessel.
- Carefully pour the ghee into the muslin cloth to separate the milk solids.
- Let it cool completely before storing.
- Store ghee at room temperature.


Comments
No Comments